crwdns2933423:0crwdne2933423:0

Lenovo IdeaPad 3-15IML05 Speakers Replacement

crwdns2942213:0crwdne2942213:0

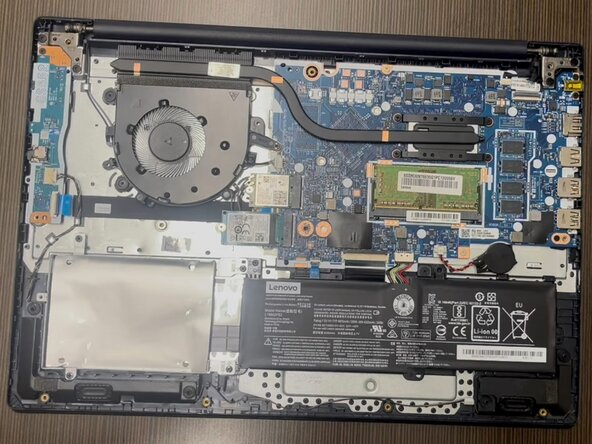
  1. Lenovo IdeaPad 3-15IML05 Speakers Replacement, Lower Case: crwdns2935265:01crwdnd2935265:01crwdnd2935265:02crwdne2935265:0 Lenovo IdeaPad 3-15IML05 Speakers Replacement, Lower Case: crwdns2935265:01crwdnd2935265:02crwdnd2935265:02crwdne2935265:0
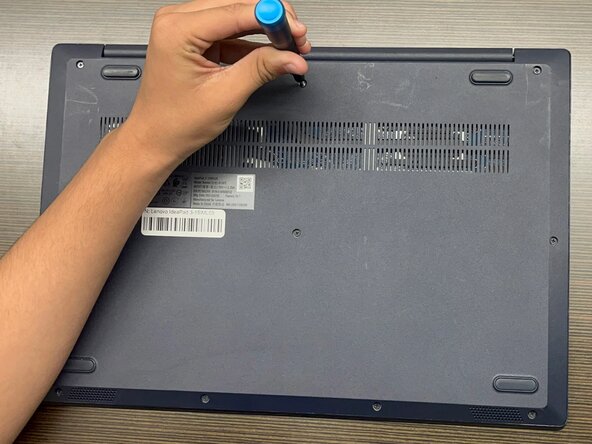
    • Before beginning, discharge the battery below 25%, power the device off, and disconnect all peripherals.

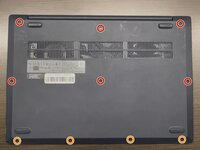
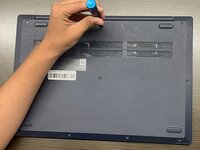
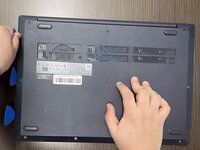
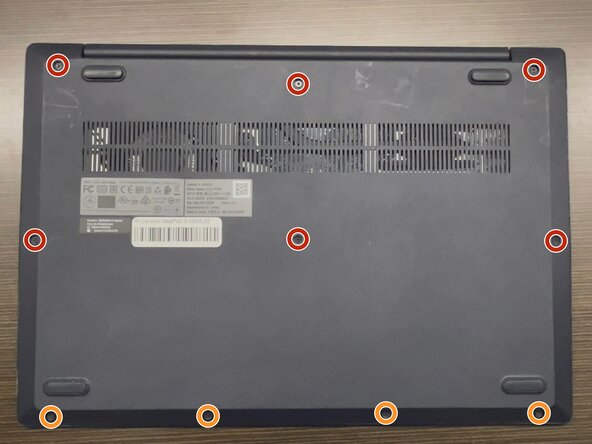
    • Use a Phillips #1 screwdriver to remove the following screws:

    • Six 7 mm screws

    • Four 4 mm screws

  2. Lenovo IdeaPad 3-15IML05 Speakers Replacement: crwdns2935265:02crwdnd2935265:01crwdnd2935265:02crwdne2935265:0 Lenovo IdeaPad 3-15IML05 Speakers Replacement: crwdns2935265:02crwdnd2935265:02crwdnd2935265:02crwdne2935265:0
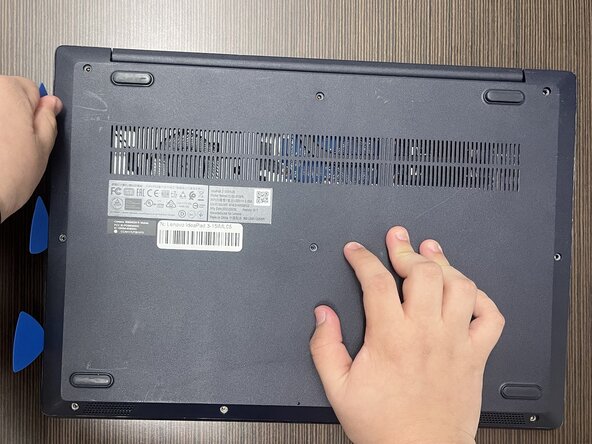
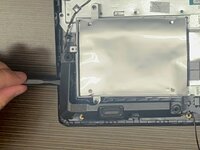
    • Insert an opening pick into the seam between the lower case and chassis.

    • Slide the pick around the entire perimeter until all of the plastic retaining clips release.

    • Remove the lower case.

    • Forcing the back cover open could break the plastic retaining clips.

    • During reassembly, lay the cover flat and press around the edges to secure it to the plastic clips.

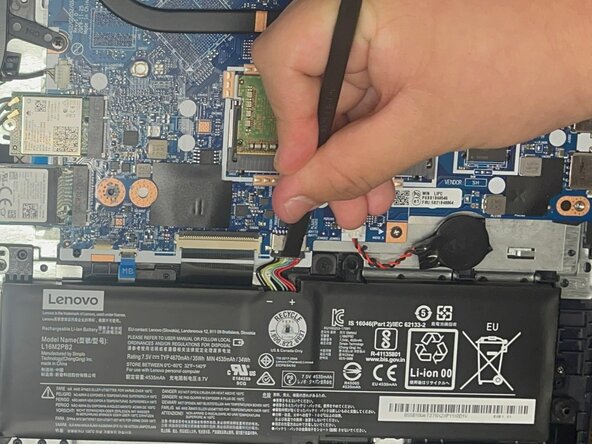
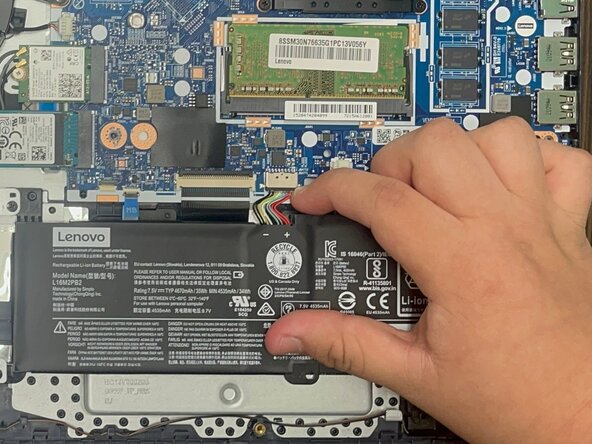
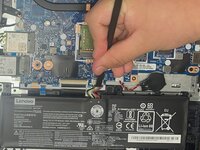
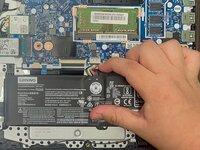
  3. Lenovo IdeaPad 3-15IML05 Speakers Replacement, Lenovo IdeaPad 3-15IML05 Battery Disconnection: crwdns2935265:03crwdnd2935265:01crwdnd2935265:02crwdne2935265:0 Lenovo IdeaPad 3-15IML05 Speakers Replacement, Lenovo IdeaPad 3-15IML05 Battery Disconnection: crwdns2935265:03crwdnd2935265:02crwdnd2935265:02crwdne2935265:0
    • Use a plastic spudger or your fingernail to gently push the JST battery connector out of its socket.

    • Pulling directly on the cable could damage the connector.

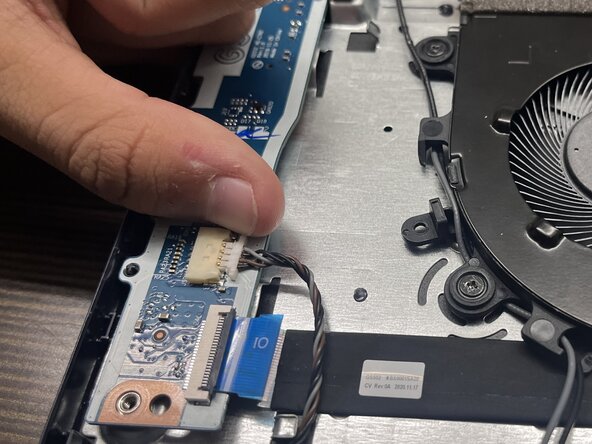
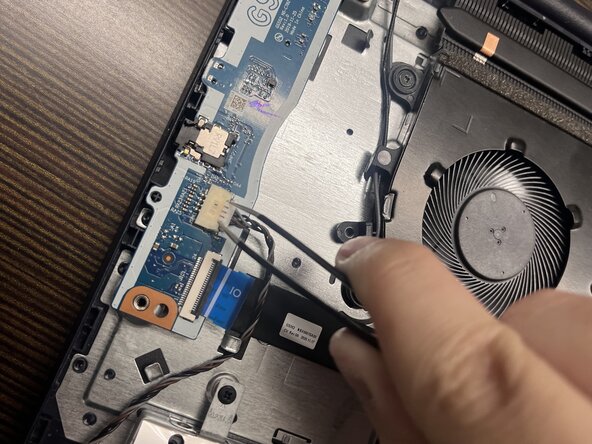
  4. Lenovo IdeaPad 3-15IML05 Speakers Replacement, Speakers: crwdns2935265:04crwdnd2935265:01crwdnd2935265:02crwdne2935265:0 Lenovo IdeaPad 3-15IML05 Speakers Replacement, Speakers: crwdns2935265:04crwdnd2935265:02crwdnd2935265:02crwdne2935265:0
    • Using your fingernail or tweezers, "walk" the speaker's sliding connector out of its socket.

    • Alternate between sides and be patient. This part could take some time. Don't pull on the cables.

    • The connector is held in place by two metal clips located underneath. When removing the connector, carefully guide the wire out of the clips.

    • To reconnect the cable, align the cable and use a spudger or clean fingernail to push it fully into the socket.

    • Don't push on the cables, or you may damage the connector.

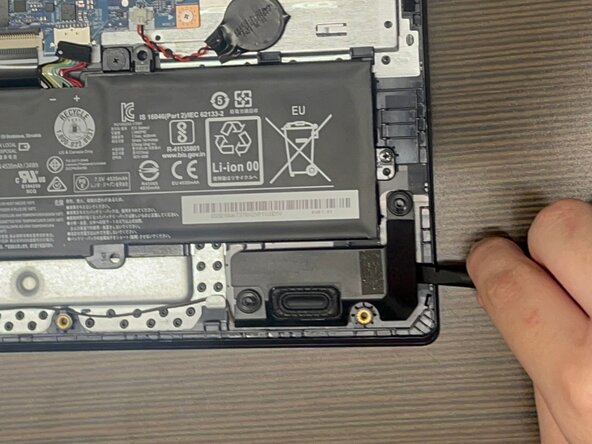
  5. Lenovo IdeaPad 3-15IML05 Speakers Replacement: crwdns2935265:05crwdnd2935265:01crwdnd2935265:03crwdne2935265:0 Lenovo IdeaPad 3-15IML05 Speakers Replacement: crwdns2935265:05crwdnd2935265:02crwdnd2935265:03crwdne2935265:0 Lenovo IdeaPad 3-15IML05 Speakers Replacement: crwdns2935265:05crwdnd2935265:03crwdnd2935265:03crwdne2935265:0
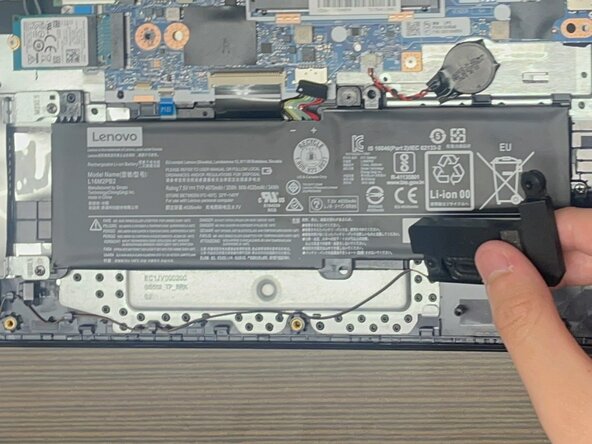
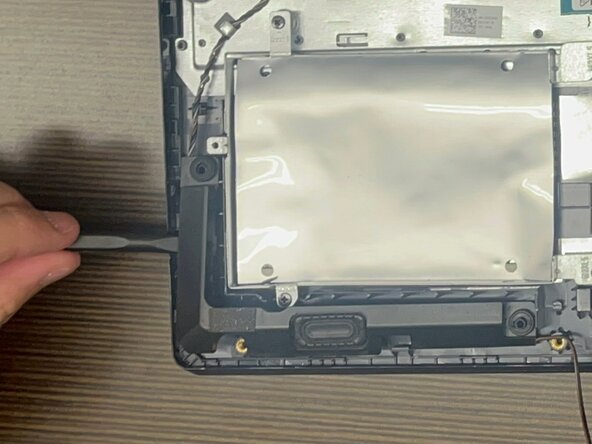
    • Using the spudger, pry underneath the speaker and lift it.

    • Carefully guide the speaker wire out of the plastic clips.

    • Lift and remove the speakers.

    • The speakers are held using rubber grommets.

    • During reassembly, press the speaker wire into the plastic clips.

crwdns2915888:0crwdne2915888:0

To reassemble your device, follow the above steps in reverse order.
Take your e-waste to an R2 or e-Stewards certified recycler.
Repair didn’t go as planned? Try some basic troubleshooting or ask our Answers community for help.
Robert Carbajal Gonzalez

crwdns2935283:006/17/25crwdne2935283:0

721 crwdns2915208:0crwdne2915208:0

crwdns2935297:07crwdne2935297:0

crwdns2915084:0crwdne2915084:0

Austin Community College, Team 22-1, Watkins Summer 2025 crwdns2935289:0Austin Community College, Team 22-1, Watkins Summer 2025crwdne2935289:0

AUSTINCC-WATKINS-SU25S22G1

crwdns2931471:03crwdne2931471:0

crwdns2935297:07crwdne2935297:0

crwdns2947412:00crwdne2947412:0

crwdns2917038:0crwdne2917038:0

crwdns2936625:0crwdne2936625:0:

crwdns2936751:024crwdne2936751:0 0

crwdns2936753:07crwdne2936753:0 6

crwdns2936753:030crwdne2936753:0 50

crwdns2942667:0crwdne2942667:0 104