crwdns2915892:0crwdne2915892:0
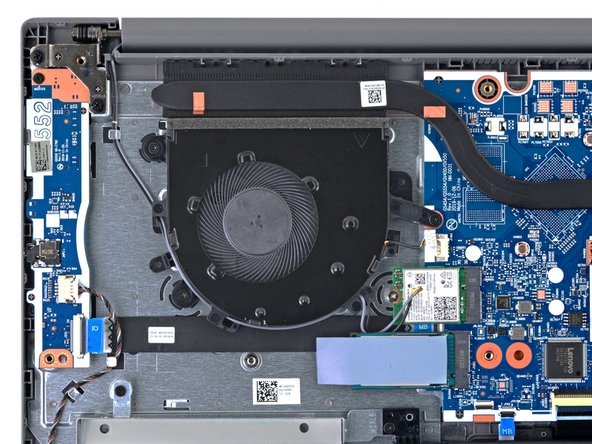
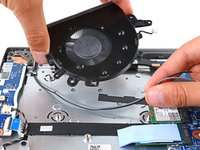
Use this guide to replace a broken fan in your Lenovo IdeaPad 3-15IIL05 laptop.
You may need to replace the fan if your laptop is overheating.
crwdns2942213:0crwdne2942213:0
-
-
Unplug all cables and fully shut down your laptop.
-
-
-
Use a Phillips screwdriver to remove the ten screws securing the back cover:
-
Six 7.6 mm-long screws
-
Four 4.7 mm-long screws
-
-
-
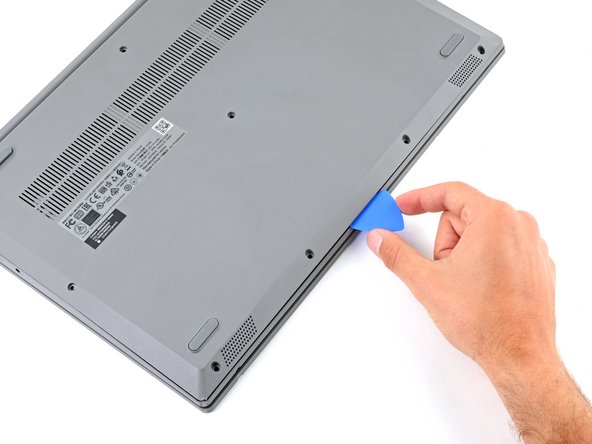
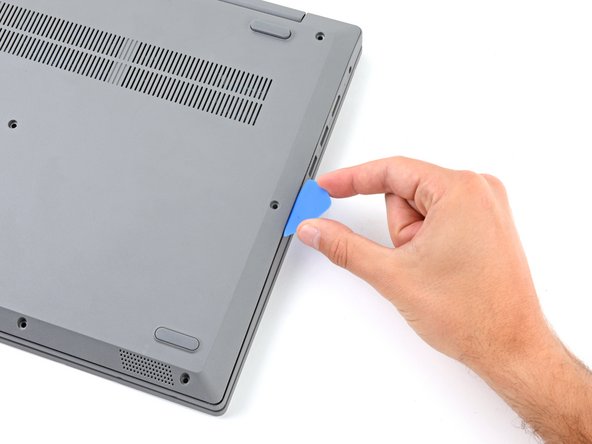
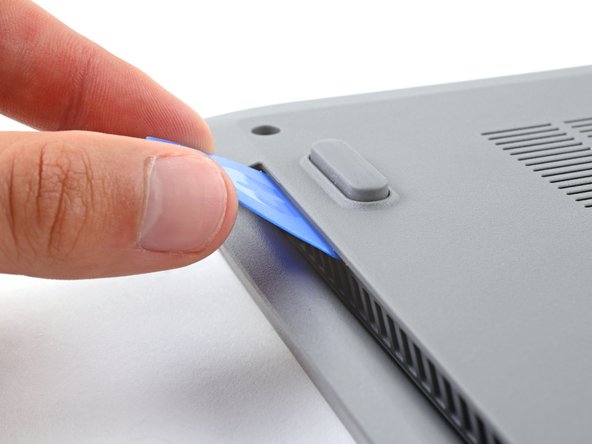
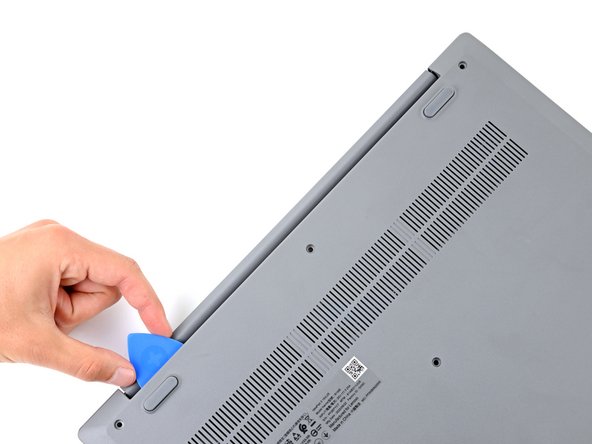
Insert the flat side of an opening pick between the top left corner of the back cover and frame.
-
Angle the pick down to about 45 degrees.
-
-
-
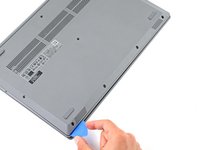
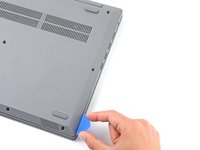
Slide the pick to the bottom left corner of the laptop to release the left clips.
-
-
-
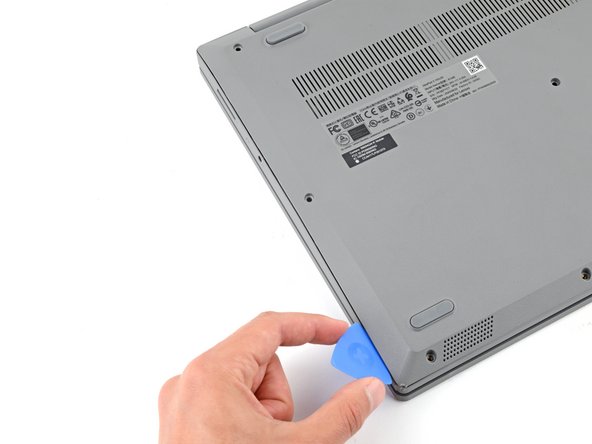
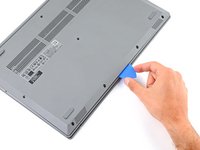
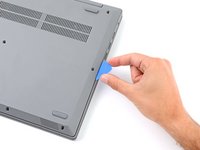
Slide the opening pick to the bottom right corner to release the bottom clips.
-
-
-
-
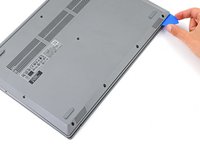
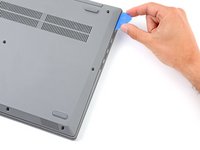
Slide the opening pick to the top right corner to release the right clips.
-
-
-
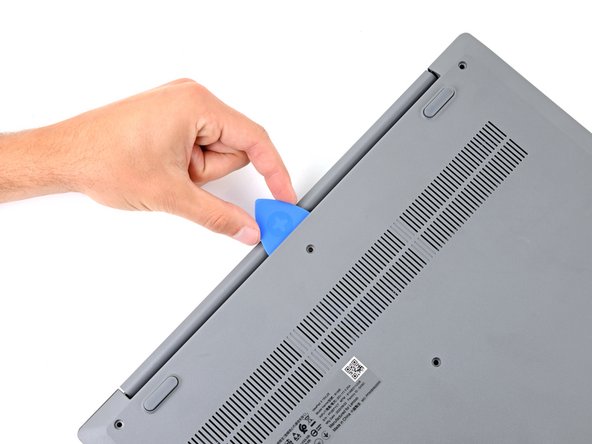
Insert the flat end of an opening pick between the back cover and frame, to the left of the right hinge.
-
Pry the back cover up with the pick to release the top right clips.
-
Leave the pick inserted next to the right hinge.
-
-
-
Angle the pick up to about 45 degrees.
-
Slide the opening pick to the top left corner to release the remaining clips.
-
-
-
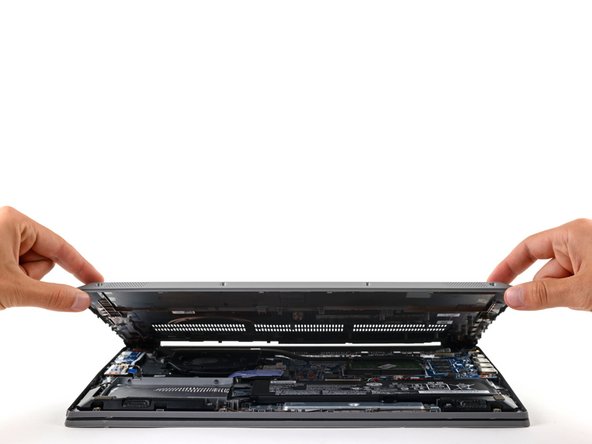
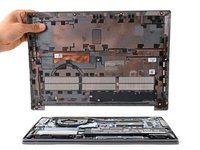
Remove the back cover.
-
-
-
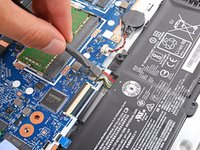
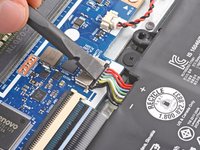
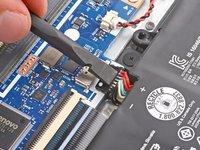
Use the flat end of a spudger to gently push the battery connector out of its socket on the motherboard.
-
-
-
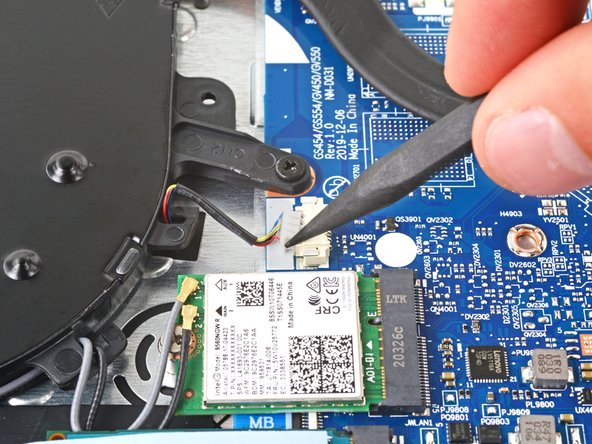
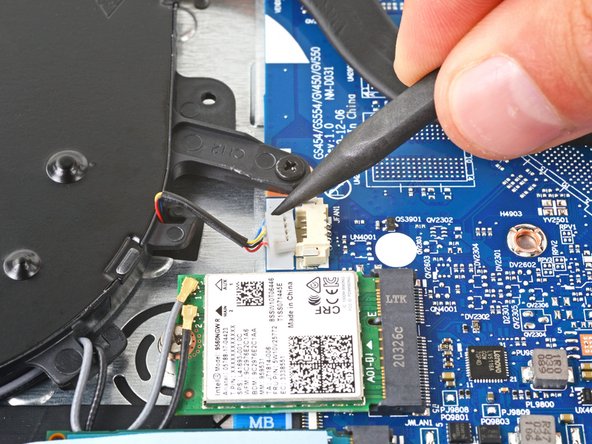
Push on alternating sides of the fan cable connector with a spudger to "walk" it out of its socket.
-
-
crwdns2935267:0crwdne2935267:0Tweezers$3.99
-
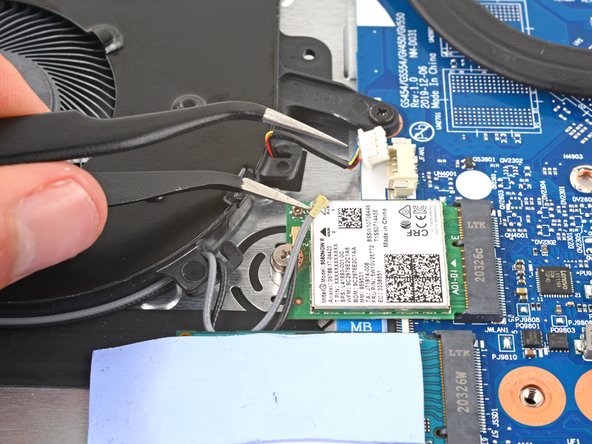
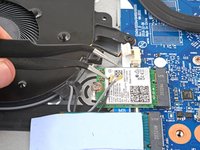
Slide one arm of your angled tweezers under the head of the gray antenna cable connected to the WLAN card.
-
Gently lift straight up to disconnect the cable.
-
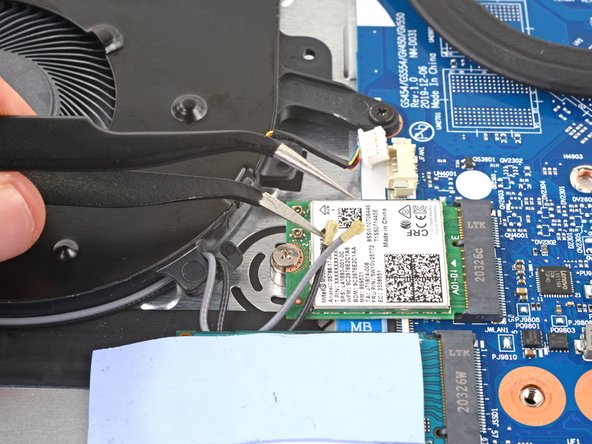
Repeat the same process to disconnect the black antenna cable.
-
-
-
Use a Phillips screwdriver to remove the three screws securing the fan:
-
Two 4.4 mm-long screws
-
One 5.6 mm-long screw
-
-
-
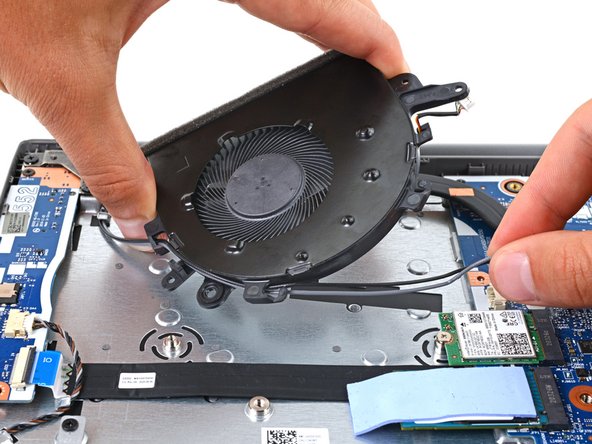
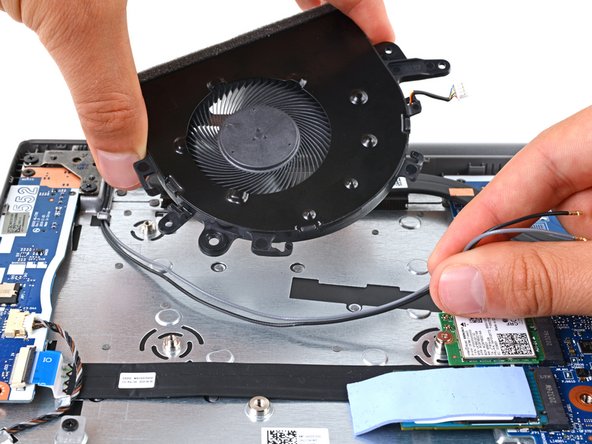
Lift the fan up and gently guide the black and gray antenna cables out of their clips on the edge of the fan.
-
Remove the fan.
-
To reassemble your device, follow these instructions in reverse order.
Check your repair by running hardware tests with Lenovo Diagnostics.
Take your e-waste to an R2 or e-Stewards certified recycler.
Repair didn’t go as planned? Try some basic troubleshooting, or ask our Answers community for help.
crwdns2935221:0crwdne2935221:0
crwdns2935227:0crwdne2935227:0


