crwdns2915892:0crwdne2915892:0
Use this step-by-step guide to replace your SSD on your Lenovo IdeaPad 1-15ALC7
If you're noticing that your laptop is having issues booting up or taking an abnormal amount of time to load any programs, it could be due to a damaged or worn-out SSD. SSDs have a limit on their write/erase cycles, so over time, the cells wear out and may cause a data error or bad sectors. Another possibility is that the SSD has overheated. This can happen due to poor ventilation or continuous heavy use. SSDs have thermal limits, and consistent overheating can shorten their lifespan.
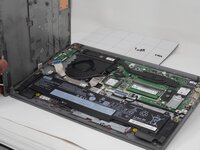
Before you begin the repair, power off the device completely and unplug it from the charging adapter.
crwdns2942213:0crwdne2942213:0
-
-
Unscrew and remove the T5 Torx screws that secure the lower case:
-
Six 6.5 mm screws
-
Four 5 mm screws
-
Insert a Jimmy into the seam between the lower case and chassis.
-
Pry around the entire perimeter until the lower case fully releases.
-
Remove the lower case.
-
-
-
-
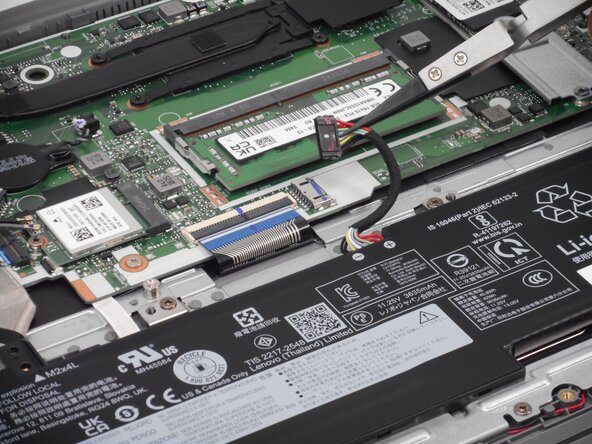
Use tweezers or your fingernails to gently "walk" the battery connector directly out of its motherboard socket.
-
-
-
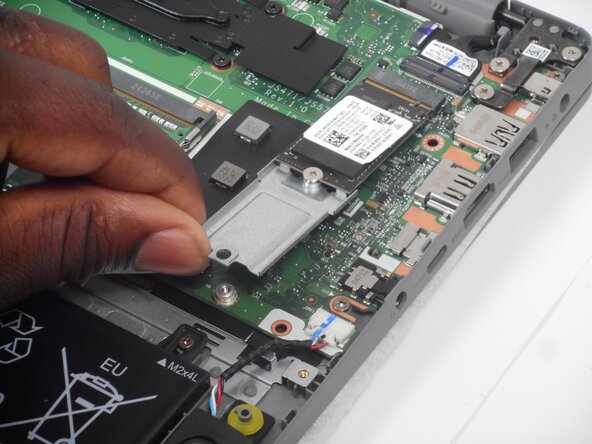
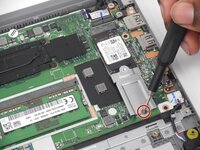
Remove the single 3 mm screw securing the SSD to the motherboard.
-
Gently grasp the edge of the SSD and lift it slightly at an angle (about 20-30 degrees).
-
Carefully pull the SSD straight out of the M.2 slot, sliding it away from the connector to fully disconnect it.
-
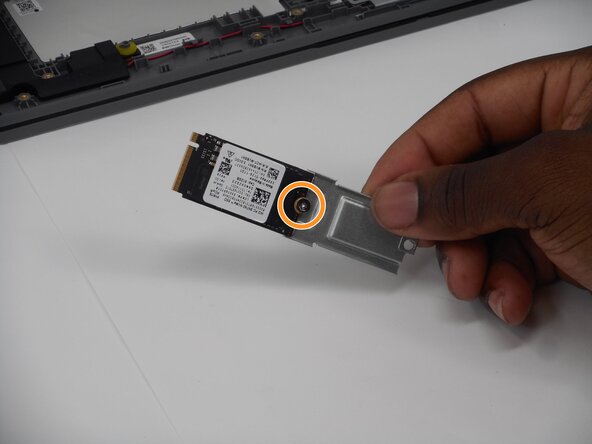
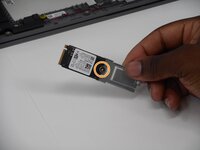
Unscrew the second 3 mm screw that attaches the SSD to the bracket and remove the SSD from the bracket.
-


To reassemble your device, follow the above steps in reverse order.
Take your e-waste to an R2 or e-Stewards certified recycler.
Repair didn’t go as planned? Try some basic troubleshooting or ask our Answers community for help.

crwdns2935287:0crwdne2935287:0

University of Memphis, Team 3-2, Sneed Spring 2025 crwdns2935289:0University of Memphis, Team 3-2, Sneed Spring 2025crwdne2935289:0
UM-SNEED-S25S3G2
crwdns2931471:04crwdne2931471:0
crwdns2935297:06crwdne2935297:0