crwdns2915892:0crwdne2915892:0
If your floor fan is not spinning properly or making unusual noises, this guide will help you repair it by replacing the rotor. A damaged rotor can cause reduced airflow, overheating, or complete fan failure. Before starting, check for any loose screws, dust buildup, or obstructions in the blades. Make sure to unplug the fan before beginning the repair process.
Unplug the fan from any power source before starting the repair to avoid electric shock.
Some internal components may have sharp edges. Handle parts carefully to prevent injury.
crwdns2942213:0crwdne2942213:0
-
-
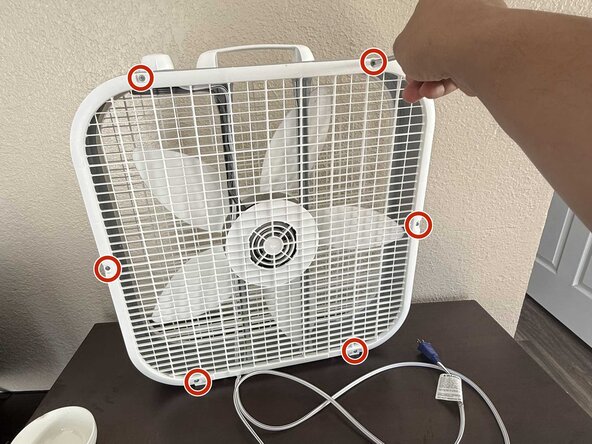
Remove the six 1.5 mm Phillips #1 screws on both sides of the fan.
-
Gently push both side covers upward while applying light pressure to remove the fan guard.
-
-
-
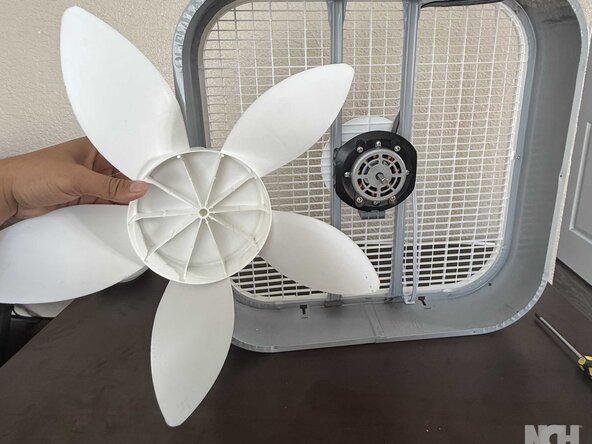
Lift the fan blade assembly directly up and off the rotor.
-
-
-
Remove the four 1.5 mm Phillips #1 screws securing the rotor cover.
-
-
-
-
Turn the fan over to access the back of the frame.
-
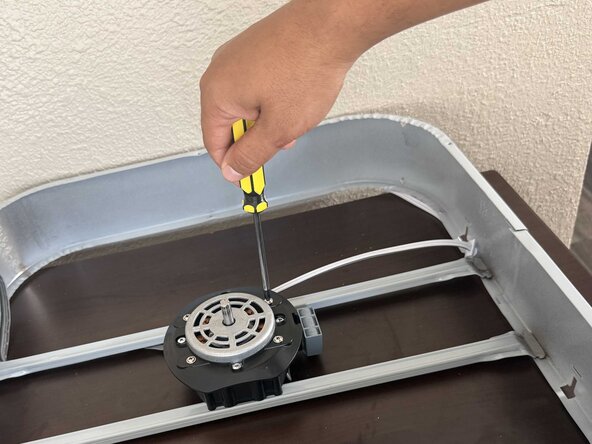
Remove the four 1.5 mm Phillips #1 screws securing the rotor to the frame.
-
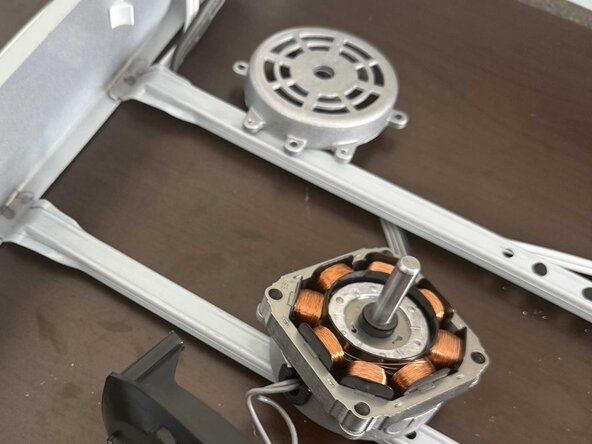
Lift the cover off the rotor.
-
-
-
Remove the four 1.5 mm screws that secure the rotor cover.
-
Remove the rotor cover.
-
-
-
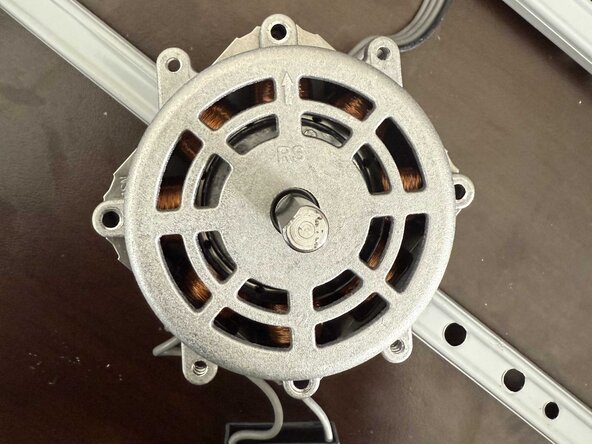
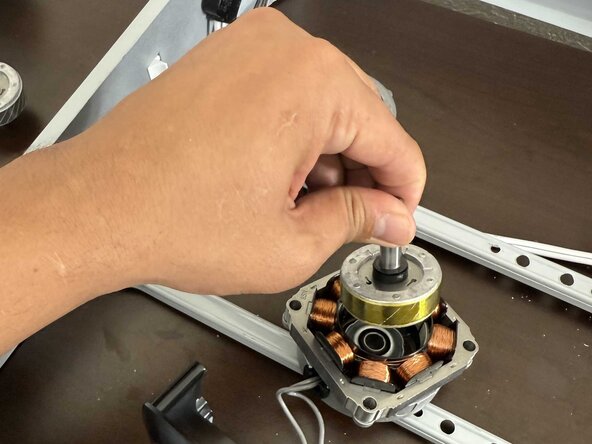
Carefully detach and remove the old rotor.
-
-
-
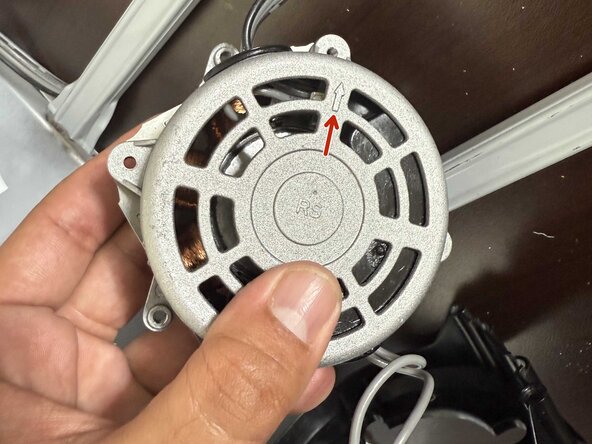
Ensure both arrows on the front and back of the rotor are aligned correctly for proper reassembly.
-


To reassemble your device, follow the above steps in reverse order.
Take your e-waste to an R2 or e-Stewards certified recycler.
Repair didn’t go as planned? Try some basic troubleshooting or ask our Answers community for help.
Double-check that all screws are securely fastened. Plug in the fan and test it to ensure smooth operation. If the fan does not function properly, inspect the assembly and make sure all parts are correctly aligned and secured.
crwdns2935221:0crwdne2935221:0
crwdns2935227:0crwdne2935227:0

crwdns2915084:0crwdne2915084:0

Cooperators crwdns2935289:0Cooperatorscrwdne2935289:0
Community
crwdns2931471:020crwdne2931471:0
crwdns2935297:084crwdne2935297:0