crwdns2915892:0crwdne2915892:0
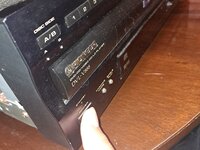
This demonstrates how to replace a rubber belt in a "Pioneer DVL-V888" LaserDisc player.
The LaserDisc player is a complex video playback machine that predates the DVD player with many complex functions using very large discs as its playback method. This particular model was released in 1998 with multiple other functions and playback formats including DVDs, LaserDiscs, CDs, and Video CDs.
One of the issues this device may develop is due to continuous usage and age, the rubber belt of the LaserDisc component may unwind due to wear and tear. Overall, this guide aims to assist users of this device in maintaining this device's usage.
Before you begin the repair, make sure the device is off and unplugged from the outlet or surge protector.
crwdns2942213:0crwdne2942213:0
-
-
Unplug your LaserDisc player before you begin.
-
-
-
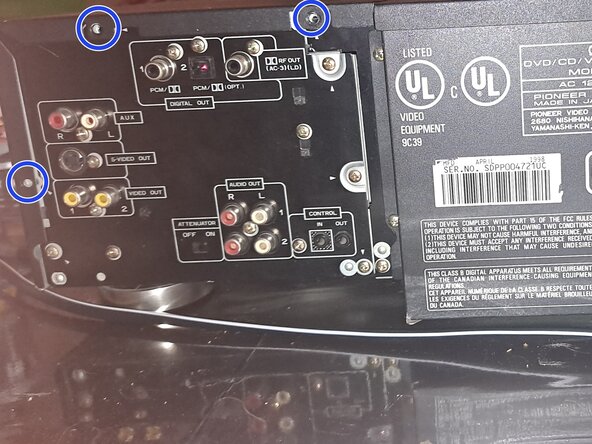
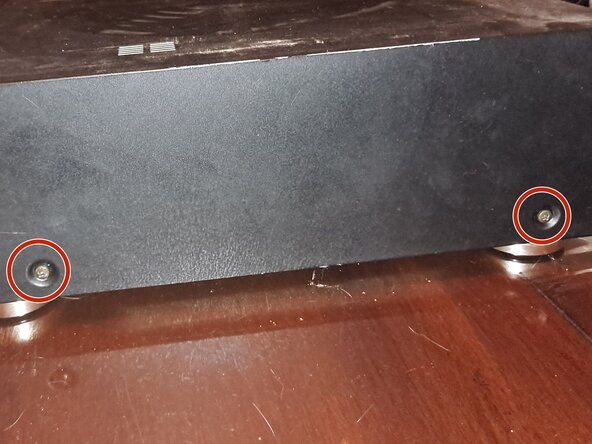
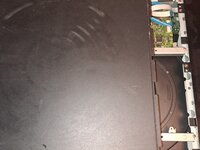
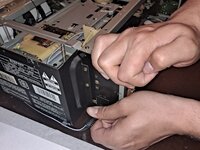
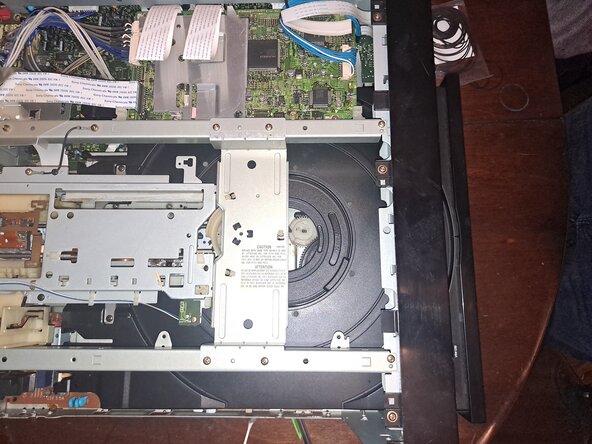
Find each screw located on the player, there should be 2 screws on both the left and right side. There will also be 6 screws on the back.
-
Acquire your philips head screwdriver and carefully remove each screw carefully.
-
The 2 Screws on the left and right side are Black 5.1mm Philips #2 screws.
-
The 6 screws on the back are Brass 5.1mm Philips #2 screws.
-
-
-
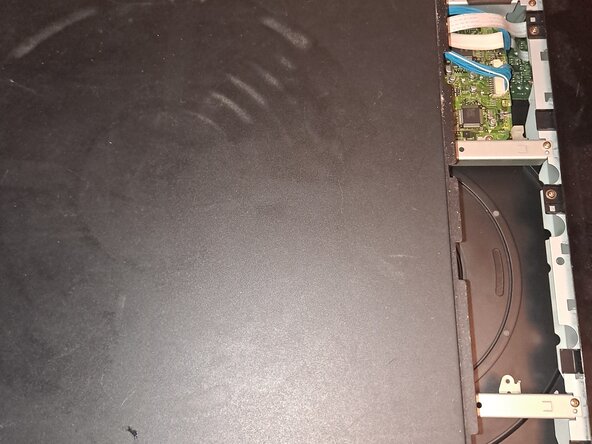
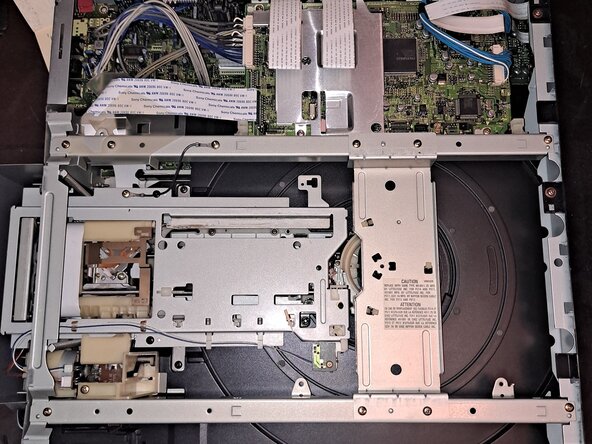
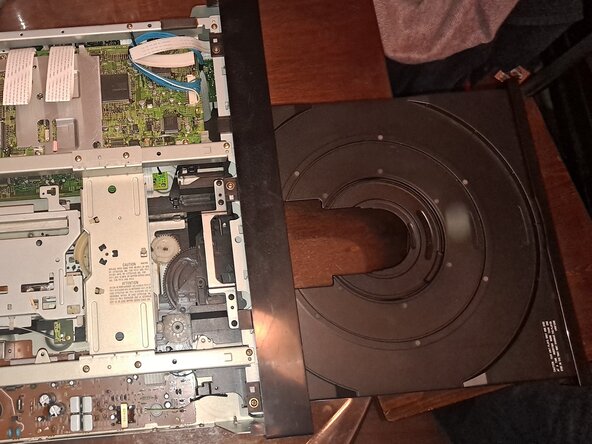
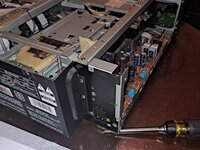
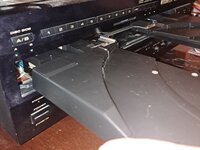
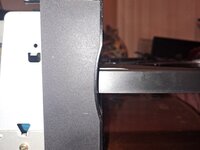
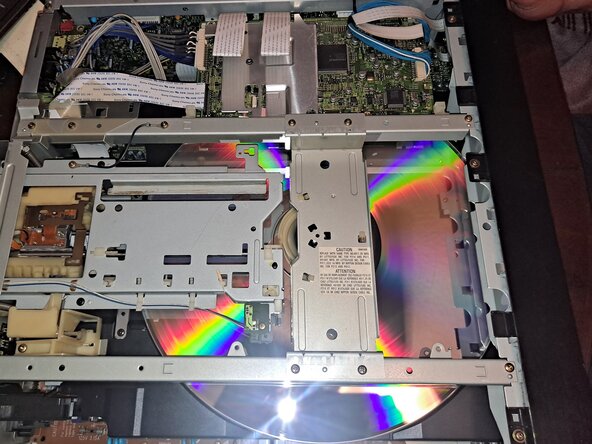
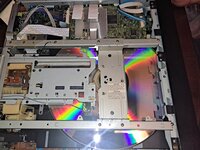
Once all of the screws are removed, slide the top off of the laserdisc player so that the whole frame is exposed.
-
-
-
Plug the device back in and click the power button to confirm that the conveyor belt for the disc player works.
-
If the disc tray slides out, continue to the next step.
-
-
-
Unplug the power source again, this time while the disc tray is out.
-
-
-
-
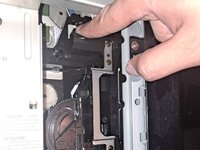
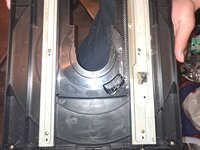
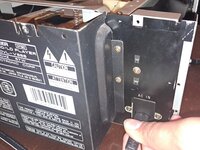
Loosen the two clips shown in the picture to release the lock holding the disc tray in place.
-
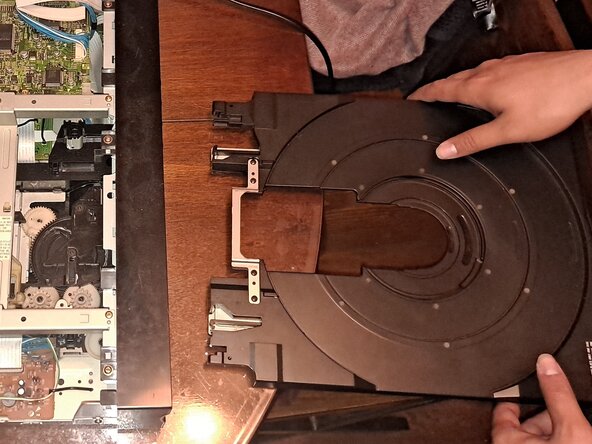
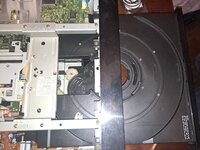
Slide the disc tray out of the laserdisc player horizontally ensuring no damage to the other parts.
-
-
-
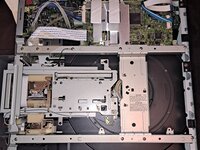
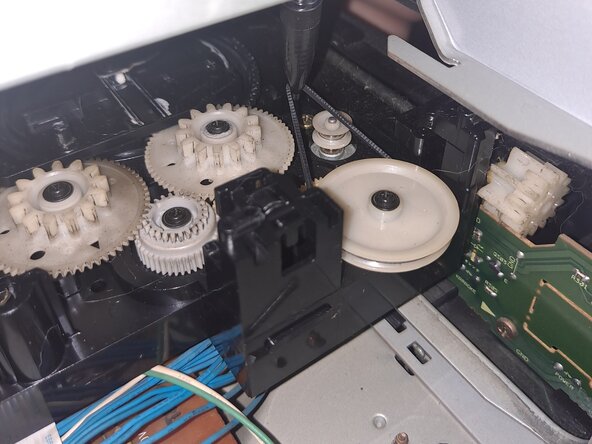
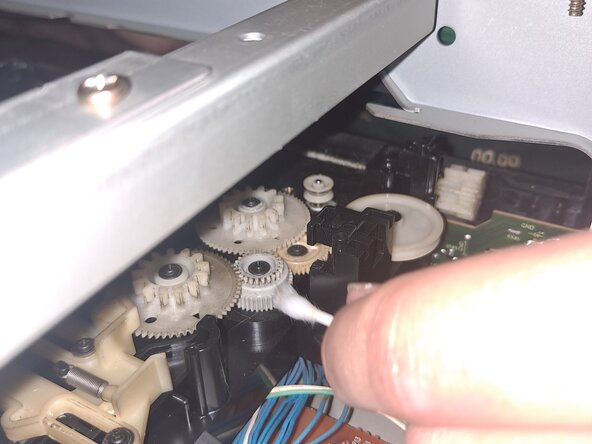
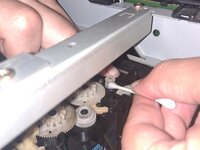
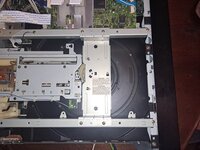
Locate 3 gears and a wheel spinner within the laserdisc player and focus on the wheel.
-
Remove the rubber band from the wheel carefully (To the right of the gears).
-
-
-
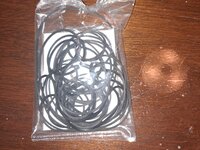
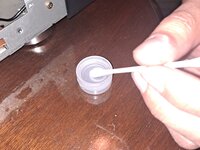
Prepare the rubber belt for replacement as well as Q-tips and isopropyl alcohol for cleaning.
-
-
-
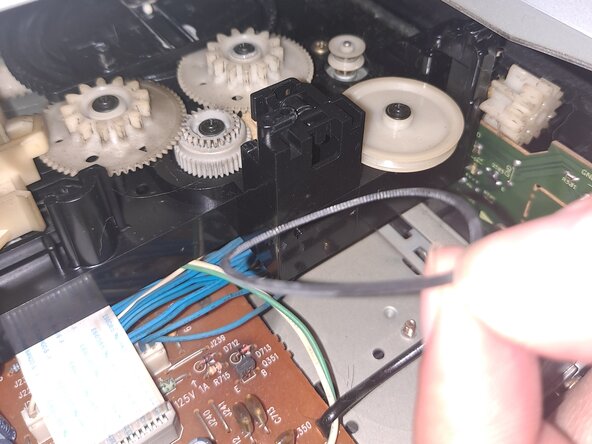
Dip a Q-tip into the Isopropyl alcohol and use it to clean the gears and wheels.
-
-
-
Wrap the rubber belt around the larger wheel and make sure it is stable.
-
-
-
Hold the disc tray in a stable position horizontally and ensure it that it is lined up with the tray slot.
-
-
-
Slide the disc tray back into the device ensuring it was aligned before placing inside.
-
-
-
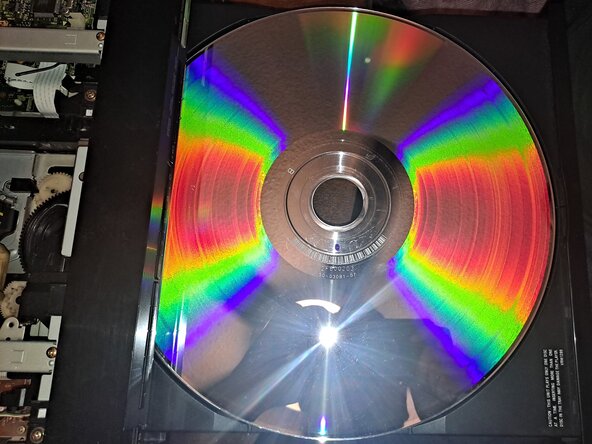
Plug the device back in and insert a laserdisc to test if the device is functioning.
-
-
-
If the device is functioning correctly, you may now reassemble the device placing the metal cover over the top.
-
Re-insert the screws and tighten them so that they are not loose.
-
Enjoy your finished work, Well Done!
-


To reassemble your device, follow these instructions in reverse order. Take your e-waste to an R2 or e-Stewards certified recycler.
To reassemble your device, follow these instructions in reverse order. Take your e-waste to an R2 or e-Stewards certified recycler.

crwdns2915084:0crwdne2915084:0

CSU Los Angeles, Team 2-3, Ribeiro Spring 2025 crwdns2935289:0CSU Los Angeles, Team 2-3, Ribeiro Spring 2025crwdne2935289:0
CSULA-RIBEIRO-S25S2G3
crwdns2931471:04crwdne2931471:0
crwdns2935303:01crwdne2935303:0