crwdns2915892:0crwdne2915892:0
This guide walks you through replacing the display connector on the LG Chocolate 3 (VX8560). If the screen is malfunctioning due to a loose or damaged connector, following this guide will help you restore functionality.
The display connector links the phone's screen to the motherboard, transmitting visual data. A faulty connector can cause the screen to have a blank display or the screen to flicker.
Important Safety and Handling Information:
- Power off and battery removal: before beginning, turn off the device and remove the battery to prevent electrical damage
- Careful Handling of small parts: the display connector can be fragile; avoid applying excessive force when reconnecting
crwdns2942213:0crwdne2942213:0
-
-
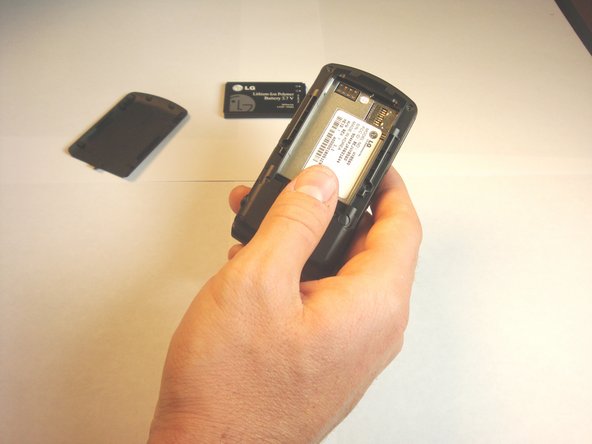
Turn the phone over so that the backside is facing up.
-
-
-
Push the battery cover from the indentation and slide it away from the phone to remove it.
-
-
-
-
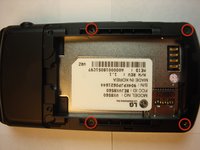
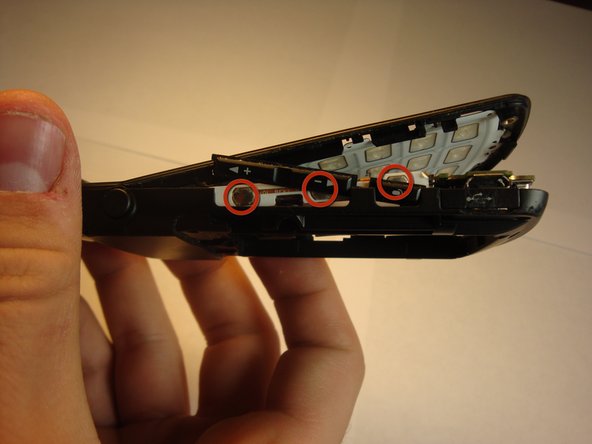
Using a Phillips #00 screwdriver, remove all four screws that are visible along the edge of the phone
-
-
-
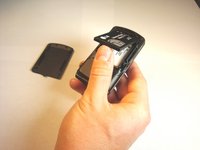
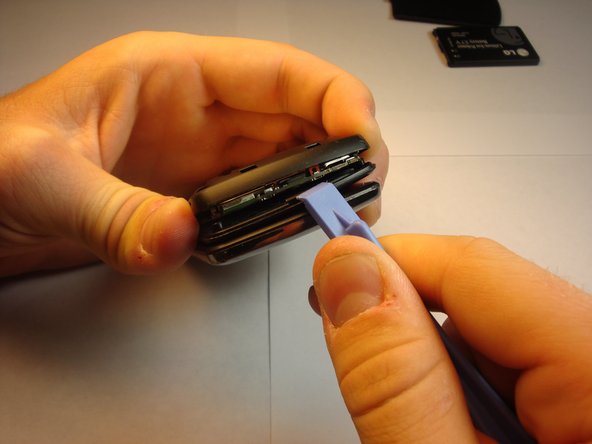
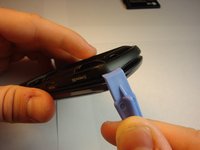
Find the seam between the phone’s keypad cover and back cover, and slide a plastic pry tool along the edge to gently pry the two pieces apart without completely separating them.
-
-
-
Place the side keys so that they are aligned with the silver circles located on the side of the motherboard.
-
-
-
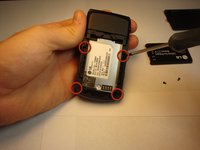
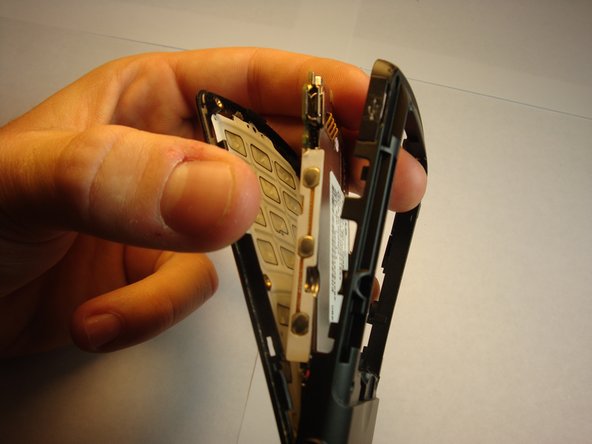
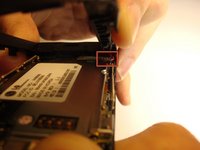
Insert the pointed end of a spudger between the plastic end of the wire and the motherboard socket, then carefully lift or push the wire to disconnect it.
-
To reconnect, align the two golden pins with their corresponding socket on the motherboard and gently press down until you hear a click indicating a secure connection.
-
-
-
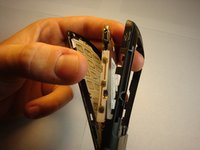
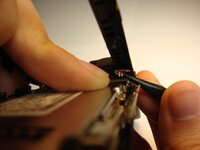
Skip this step if the screen display connector is already detached from the motherboard. Using a spudger, insert the pointed end between the plastic end of the wire and the motherboard socket, then carefully lift or push the wire to disconnect it. You should see two golden pins protruding from the plastic connector.
-
To reconnect, align the two golden pins with their corresponding socket on the motherboard and gently press down until you hear a click indicating a secure connection.
-
To reassemble your device, follow the Side Keys Installation guide in reverse order.
-


To reassemble your device, follow these instructions in reverse order. Take your e-waste to an R2 or e-Stewards certified recycler.
crwdns2935287:0crwdne2935287:0

Cal Poly, Team 13-62, Johann Spring 2013 crwdns2935289:0Cal Poly, Team 13-62, Johann Spring 2013crwdne2935289:0
CPSU-JOHANN-S13S13G62
crwdns2931471:04crwdne2931471:0
crwdns2935297:012crwdne2935297:0