crwdns2915892:0crwdne2915892:0
Please follow our first few steps to identify your device and ensure that it is applicable to this guide. Once this is completed you may begin the process of replacing your screen.
crwdns2942213:0crwdne2942213:0
-
-
Pry open the back case on the device with a plastic opening tool going around the edges of the device to ensure it is taken off with no damage then finally remove it and place it on the side.
-
-
-
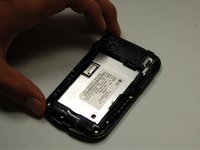
Pry the battery out of the device with a plastic opening tool opposite from the plastic pieces keeping it in place and remove it gently in order to ensure that you don’t damage it.
-
-
-
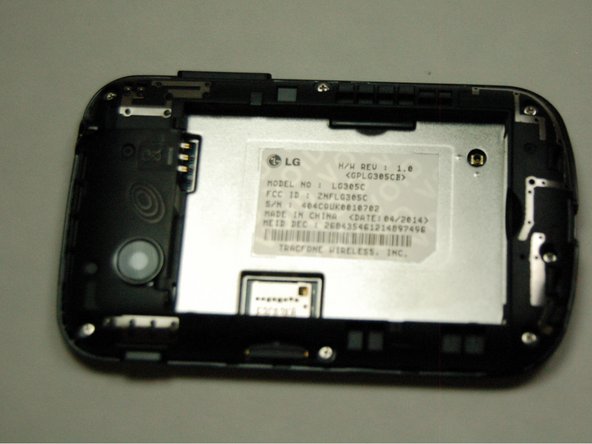
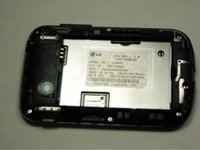
Unscrew the back of your device and on the white strip underneath, it should read LG 305C.
-
Note: If it does not read LG305C as the model number, please refer to another guide in order to replace your screen.
-
-
-
-
Refer to our guide below:
-
-
-
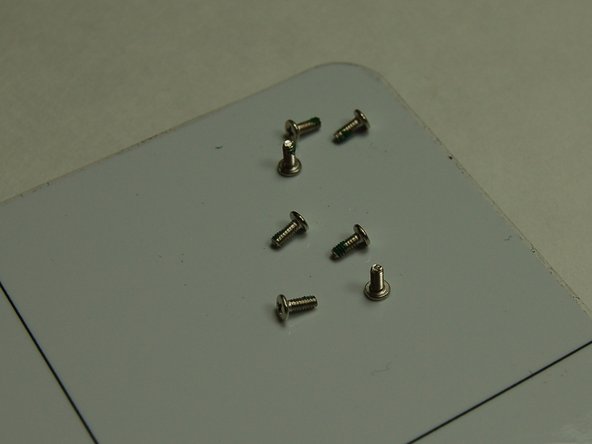
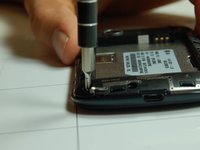
Use a Phillips #00 screwdriver to remove the seven screws that are located along the edges of the device.
-
-
-
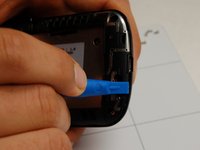
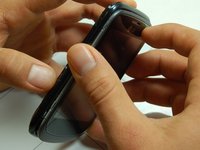
Using your plastic pry tool, pry along the edges of plastic side of the screen to loosen and separate the first screen layer.
-
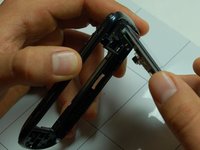
As shown in Picture 2, push in the notch along the edge of the charging port.
-
-
-
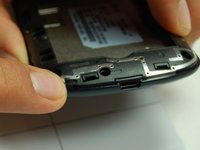
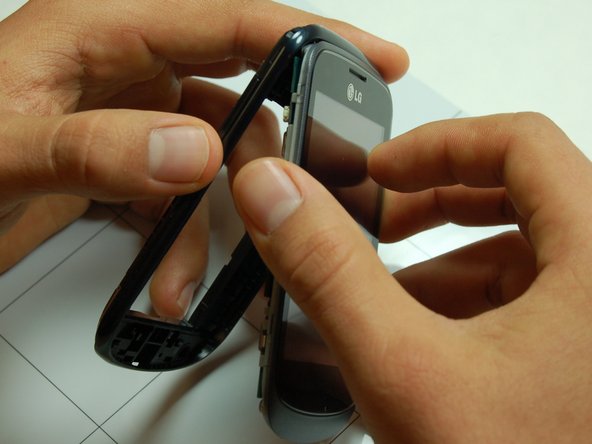
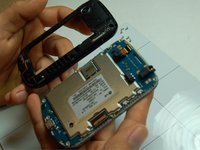
Remove the front end of the screen by gently swinging it out from its notched in position as shown.
-
-
-
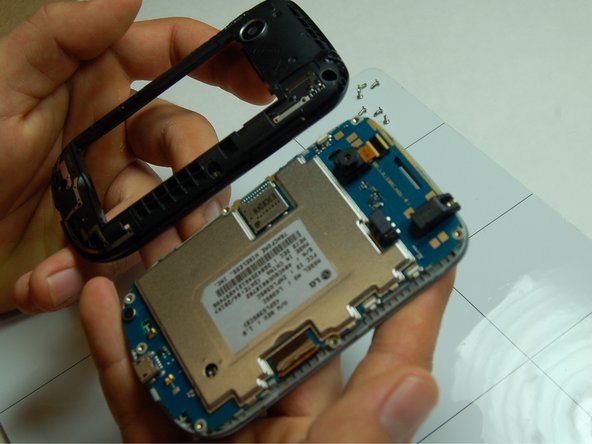
Gently pry off the touch screen connection attached to the motherboard with your finger.
-
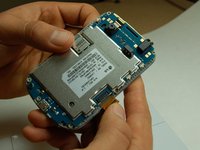
Once detached, gently separate the motherboard and plastic screen mold. It should look the same as Picture 2
-


To reassemble your device, follow the steps in reverse. Take your e-waste to an R2 or e-Stewards certified recycler.
crwdns2935221:0crwdne2935221:0
crwdns2935227:0crwdne2935227:0