crwdns2915892:0crwdne2915892:0
Use this guide to replace the front cover on your Kobo Clara BW (P365 model) eReader.
Important: There are three Clara BW versions: N365, N365B, and P365. Check your eReader's model number (printed near the bottom of the rear case) before starting this guide. This guide is for the P365 model.
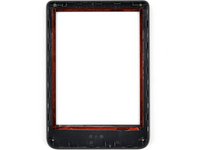
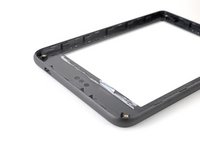
The front cover consists of the plastic shell around the perimeter of the display.
Kobo supports their eReaders with a warranty. If your device is still under warranty, Kobo may be able to help. Before starting a repair, review your warranty information or check support documentation.
Note: Some photos used in this guide are of different Kobo Clara models. Any slight visual discrepancies won't affect the guide procedure.
crwdns2942213:0crwdne2942213:0
-
-
Unplug all cables and fully shut down your eReader.
-
-
-
Lay your eReader down so the back cover is facing up.
-
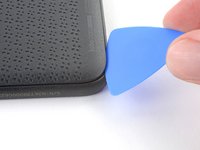
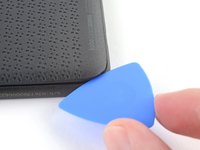
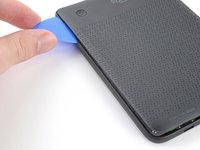
Insert the flat edge of an opening pick between the frame and the bottom left corner of the back cover.
-
Push the pick downwards at a slight angle until it slides under the back cover.
-
-
-
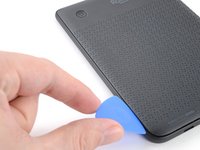
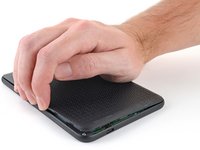
Slide the pick toward the bottom right corner to release the clips along the bottom edge.
-
-
-
Remove the pick and reinsert it under the bottom left corner.
-
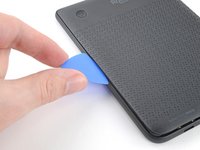
Angle the pick flat under the back cover and rotate it around the bottom left corner to release its clips.
-
-
-
-
Slide the pick toward the top left corner to release the clips along the left edge.
-
-
-
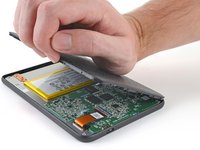
Grip the left edge of the back cover and lift it away from the eReader to release the remaining clips.
-
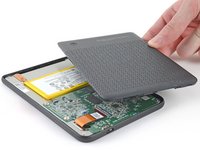
Remove the back cover.
-
-
-
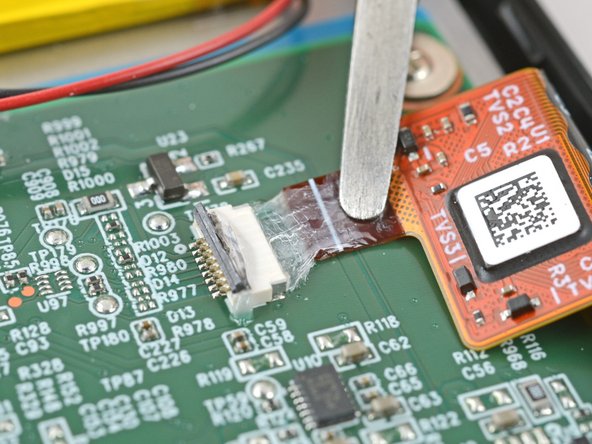
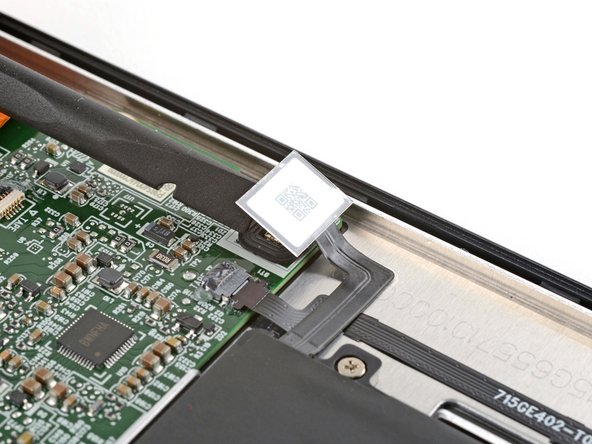
The coating is brittle and can flake into many small pieces. Heating the coating helps, but working with it is still a time-consuming process.
-
The ZIF connector locking tabs are coated in a gel that can jam the hinge and keep the locking tab from completely unlocking. Make sure the tabs are completely upright before disconnecting any cables.
-
Depending on your repair, you might have to remove the coating completely from the connectors and their cables.
-
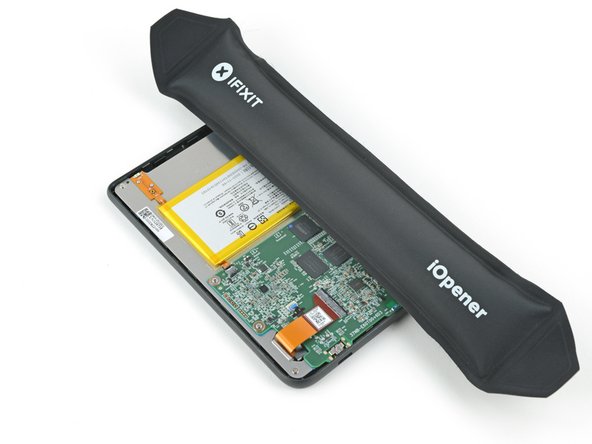
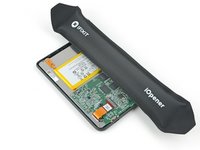
If at any point the coating becomes too difficult to work with, heat it for 90 seconds with an iOpener or a hair dryer.
-
-
-
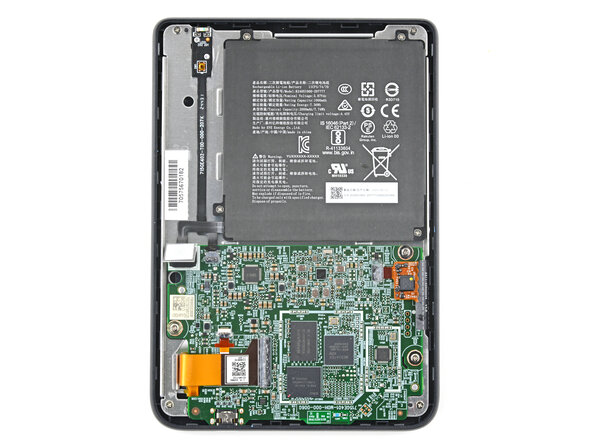
Use a clean fingernail or the flat end of a spudger to pry up and disconnect the battery press connector.
-
-
-
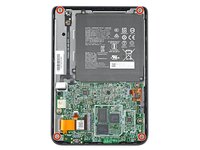
Use a Phillips screwdriver to remove the four 3 mm‑long screws securing the corners of the front cover.
-
-
-
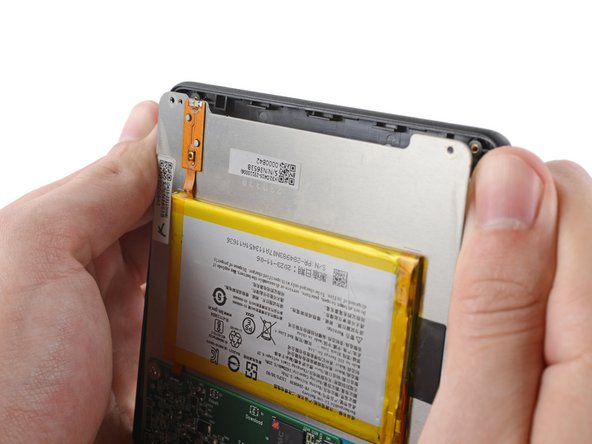
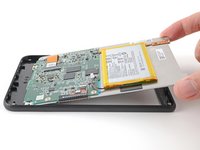
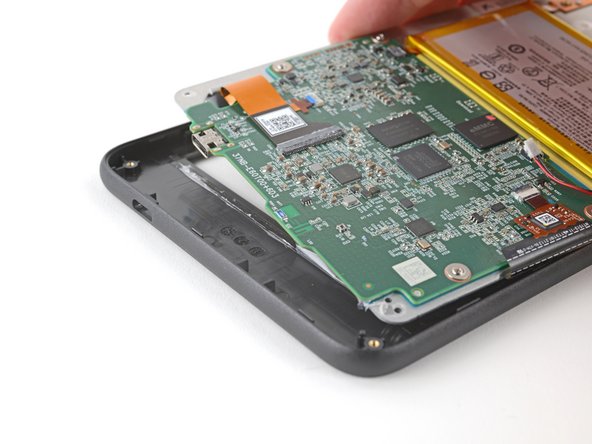
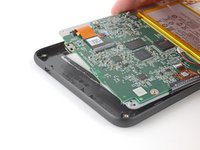
The screen is secured by weak adhesive along the perimeter of the front cover and a layer of coating at the bottom edge.
-
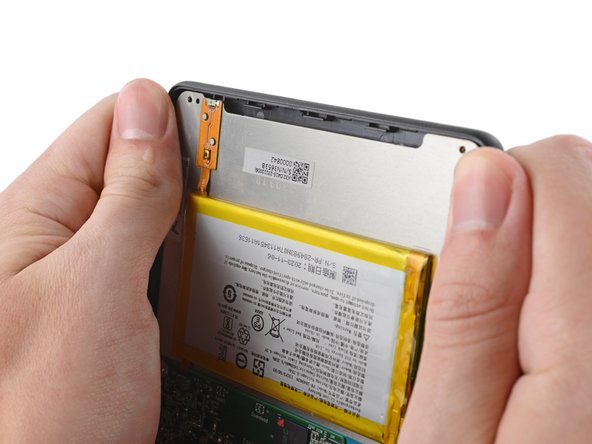
Bend the top edge of the front cover around the screen to separate the adhesive.
-
-
-
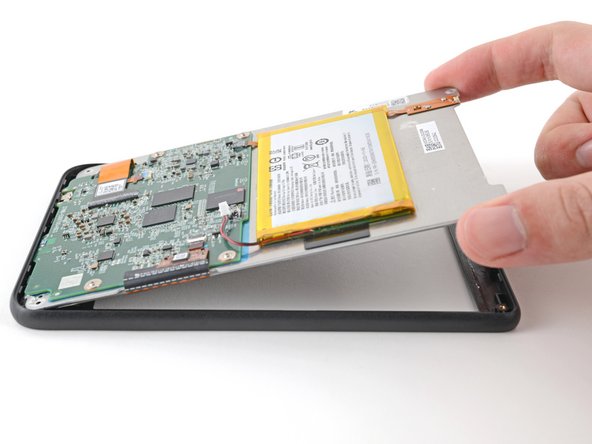
Lift the top edge of the screen to separate any remaining adhesive around the perimeter of the front cover.
-
Slide the screen toward the top of the eReader to expose the coating at the bottom edge.
-
-
crwdns2935267:0crwdne2935267:0Tesa 61395 Tape$2.99
-
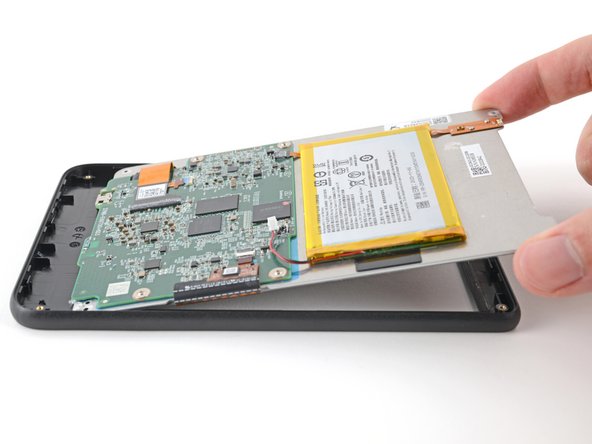
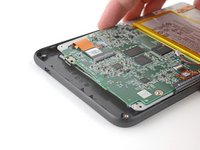
Lift and rotate the screen off the bottom edge of the front cover to separate the coating.
-
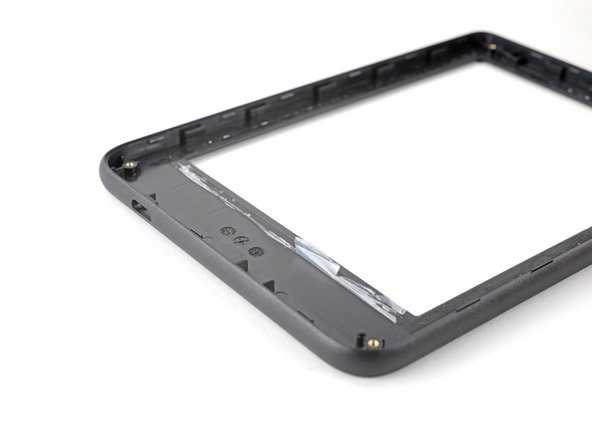
Remove the screen. Only the front cover remains.
-
If your replacement front cover comes with pre‑installed adhesive, remove the liner. Otherwise, use a thin, double‑sided tape like Tesa Tape to replace the adhesive.
-
Align the front cover over the screen and press down around the perimeter until the clips snap back into place.
-
To reassemble your device, follow these instructions in reverse order.
Remember: after repairs, your eReader is no longer IPX8 waterproof.
Compare your new replacement part to the original part—you may need to transfer remaining components or remove adhesive backings from the new part before you install it.
Make sure each of your device's main functions still work, e.g., LED backlight, touch, Wi-Fi, etc.
Repair didn’t go as planned? Try some basic troubleshooting, or ask our Answers Community for help.


