crwdns2915892:0crwdne2915892:0
This guide covers the basic steps to replace the buttons of the keyboard on the First Generation Amazon Kindle.
crwdns2942213:0crwdne2942213:0
-
-
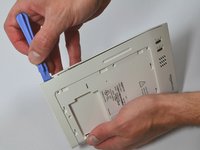
Slide the grey plastic cover laterally off the back of the device.
-
-
-
Use a plastic opening tool to lift the battery on the side closest to the edge of the device.
-
Unplug the battery from the device by pinching the white connector and pulling.
My present keyboard Kiindle model is 2nd gen-made in China…was warned at purchase by Amazon that it wld not be repairable… will your solution/battery repair work?
Thanks,Dortrin
-
-
-
Unscrew eight (8) Phillips #00 screws (3 mm).
-
-
-
Start at one side of the device. Use a plastic opening tool to separate the casing of the device. Slowly work your way around the entire device.
-
-
-
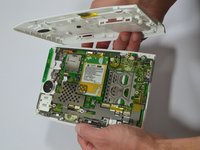
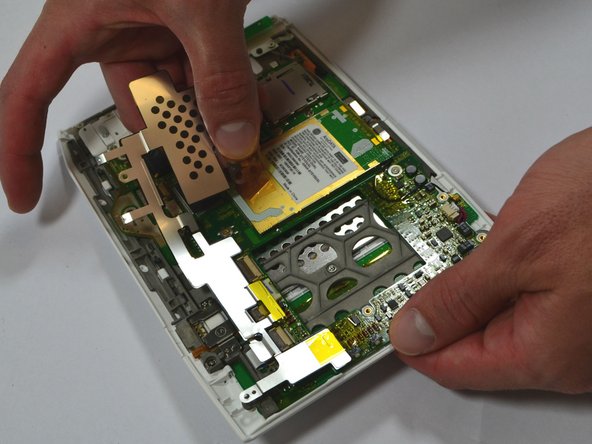
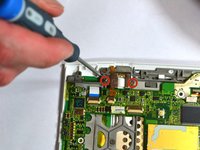
Unscrew the two (2) Phillips #00 screws (3 mm) which fasten the metal casing shield.
-
Slowly remove the metal casing shield by lifting it and carefully peeling up the tape.
-
-
-
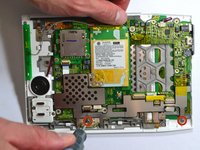
Remove the four (4) Phillips #00 screws (3 mm) which fasten the SD Card Reader.
-
-
-
Lift the flap attaching the blue and white ribbon cable to the motherboard by lifting it vertically with a spudger.
-
Carefully lift the SD Card Reader vertically from the motherboard.
-
-
-
-
Remove the two (2) Phillips #00 screws (3 mm) connecting the ON/OFF Power and Wifi Switches.
-
-
-
Lift the flap attaching the blue and white ribbon cable to the motherboard by lifting it vertically with the pointed-end of the spudger.
-
Carefully lift the ON/OFF Power and Wifi Switches vertically from the device motherboard.
-
-
-
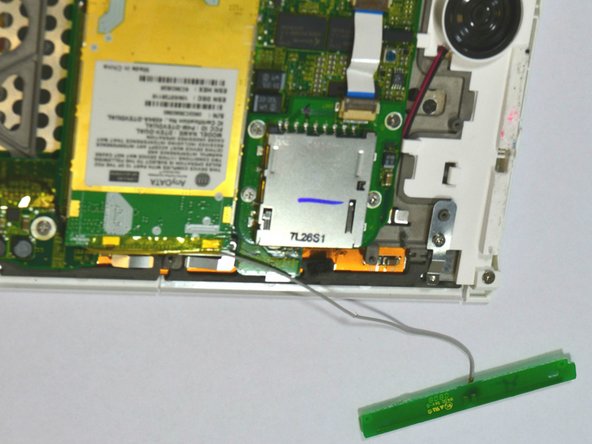
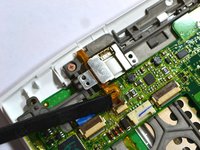
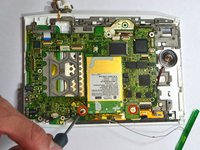
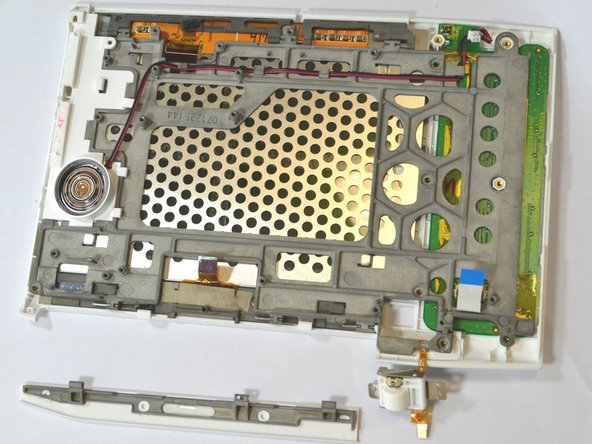
Use a spudger to remove the Wifi antenna from the device by carefully prying it up off the casing.
Wire to antenna actually goes under the small metal piece at lower right of this image. The piece needs to be removed in order to get the antenna and motherboard away from the rest later.
-
-
-
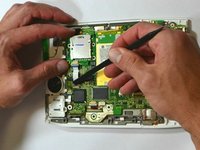
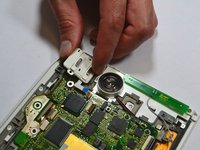
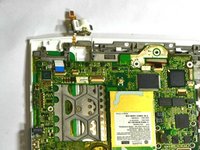
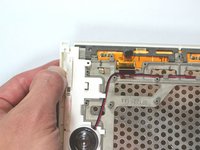
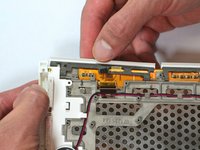
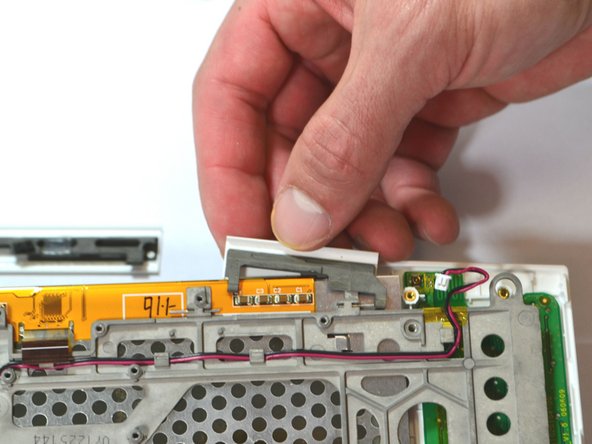
Unscrew the two (2) Phillips #00 screws (3 mm) attaching the scroll bar.
-
Use a spudger to lift the flap vertically in the second image to release the scroll bar from the motherboard.
-
-
crwdns2935267:0crwdne2935267:0Tweezers$4.99
-
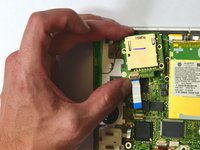
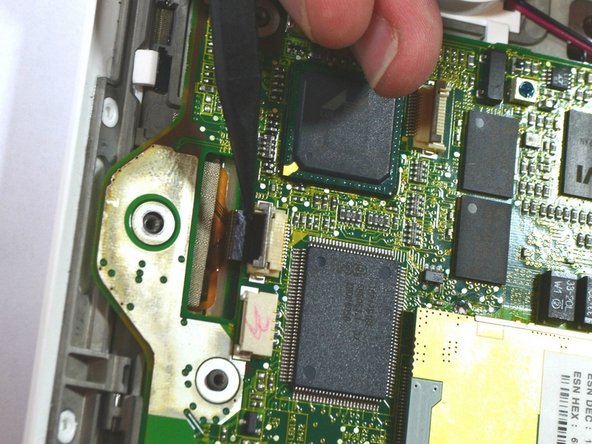
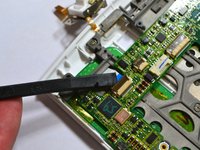
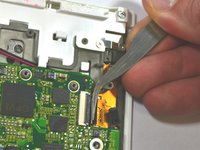
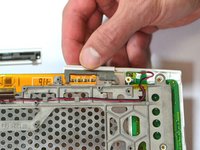
Lift the flap attaching the blue and white ribbon cable to the motherboard by lifting it vertically with the spudger.
-
Lift the flap with the pointed-end of the spudger to detach the ribbon cable indicated in the second image.
-
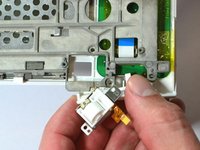
Use tweezers to pull the ribbon cable in the third image laterally to detach it.
-
-
-
Detach the cable by pulling laterally with tweezers or your fingertips. Do this by grasping the edges of the white connector and pulling laterally.
-
Grasp the end of the cable with tweezers or your fingertips and pull upwards to detach it from the motherboard.
-
-
-
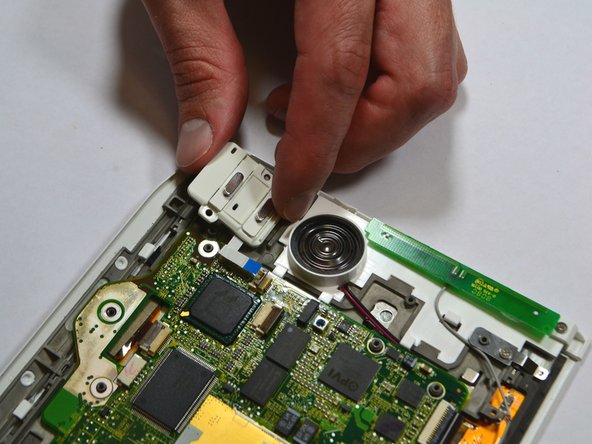
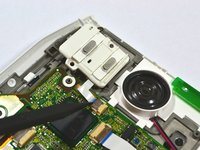
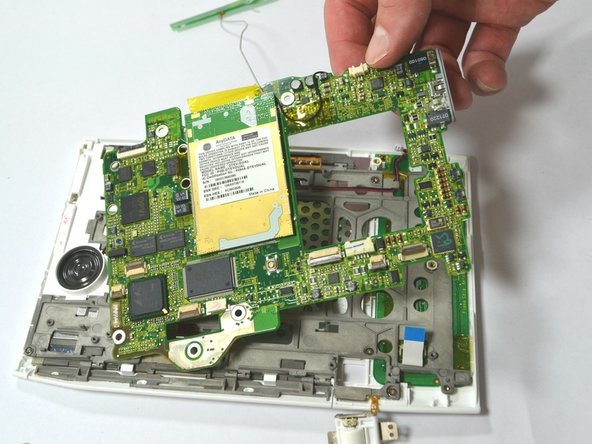
Remove the two (2) Phillips #00 screws (3 mm) which attach the motherboard to the front casing.
-
Carefully lift the motherboard off.
-
The piece marked in the third image may be loose and fall out freely. If it does not fall off, use your fingers or a plastic opening tool to snap it off. Make sure to place it under the motherboard during reassembly, as found in the image.
-
-
-
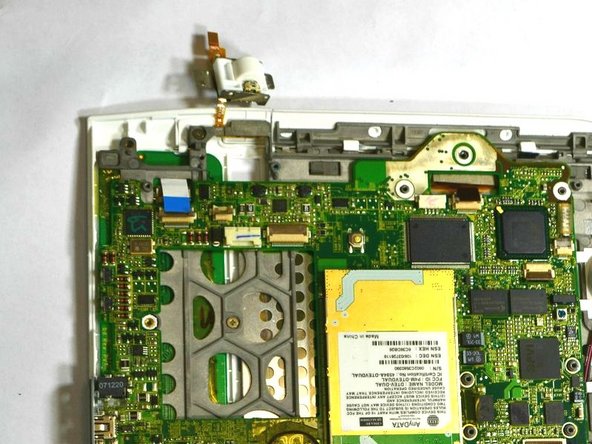
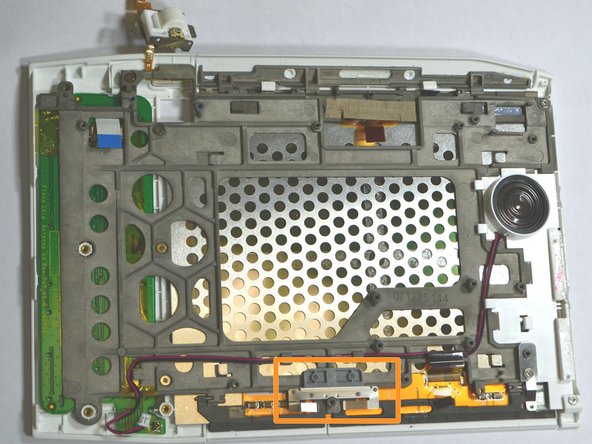
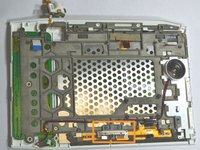
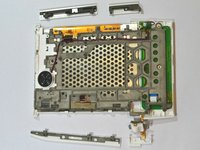
Remove the seven (7) Phillips #00 screws (3 mm) remaining on the frame.
The orange marked piece needed to be taken off earlier, because it holds the wire to the WiFi antenna down.
-
-
-
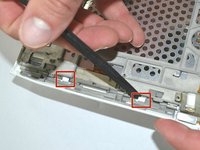
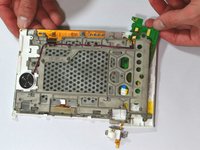
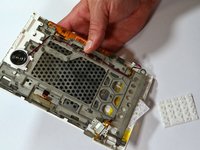
Press down firmly on the two white tabs, behind the large 'NEXT PAGE' button with the spudger. This will unsnap the front casing from the rest of the device.
-
Slide out the large 'NEXT PAGE' button laterally away from the keyboard.
-
-
-
Slightly lift the top corner of the panel.
-
Slide the 'PREV PAGE' button out laterally towards the top corner.
-
-
-
Slide out the small 'NEXT PAGE' button laterally towards the keyboard.
-
-
-
Slide out the small 'BACK' button laterally towards the keyboard.
-
-
-
The keyboard and the blue and white ribbon cable will slide out horizontally from behind the frame.
-
The rubber key pads will slide out from behind the frame.
-


To reassemble your device, follow these instructions in reverse order.
To reassemble your device, follow these instructions in reverse order.
crwdns2915084:0crwdne2915084:0

University of Kentucky Louisville, Team 1-1, Chamberlain Spring 2013 crwdns2935289:0University of Kentucky Louisville, Team 1-1, Chamberlain Spring 2013crwdne2935289:0
LOUISVILLE-CHAMBERLAIN-S13S1G1
crwdns2931471:02crwdne2931471:0
crwdns2935297:08crwdne2935297:0
crwdns2947410:01crwdne2947410:0
Where do you get a replacement controller wheel/button. This is what failed on my 1st gen kindle.