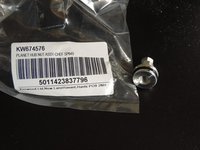
crwdns2915892:0crwdne2915892:0
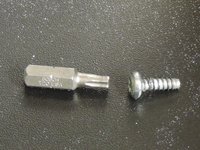
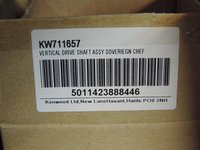
Disassembly of the gearbox to replace the SER1018 sun gear.
-
-
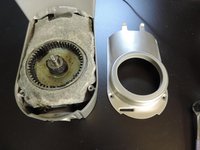
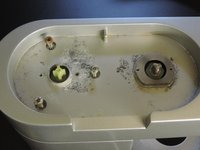
Remove the button
-
Remove the white sheath
-
-
-
Unscrew the hex nut
-
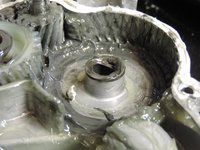
Remove the sun gear straight ahead.
-
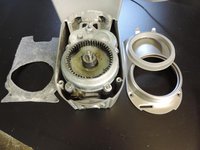
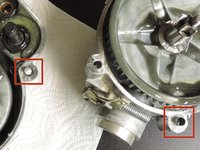
Unscrew the Torx screws fixing the bottom of the housing to the machine
-
-
-
Remove the bottom of the machine
-
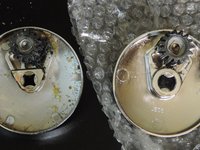
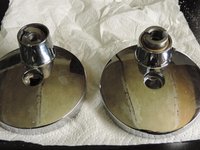
Remove the felt pad
-
-
-
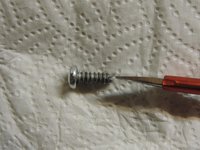
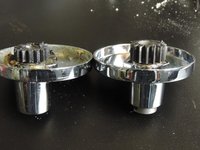
Unscrew the screws on each side of the circular discs to remove the circular plastic discs
-
-
-
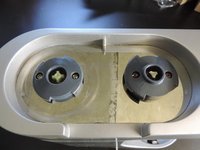
Unscrew the three Torx screws
-
Lift the housing cover up and out of the machine.
-
-
-
-
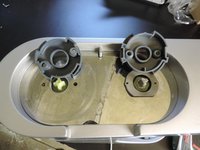
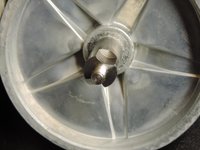
According to "Jens" simply turn the plastic drive wheel in the opposite direction of the watch to remove it, while blocking the housing. "Julien" found a YouTube video that shows how to proceed. Start at 7:25. Big thanks to Jens and Julien.
-
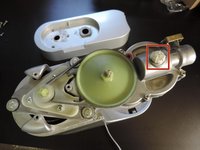
It's very hard to loosen the Tx20 screw hidden by the plastic drive wheel. Beware of metal burrs that your finger may catch.
-
Whoever takes the risk can make a hole in the wheel. I did not have the courage.
Aucun problème : j’ai percé un petit trou pour ensuite passer le tournevis et dévisser la vis
-
-
-
A slot has been made to facilitate the reassembly of the screw
Bei meiner KVC50 konnte ich das große Kunststoffzahnrad mit einem schlanken 13er Gabelschlüssel, mit dem ich die Mutter unter dem Zahnrad gehalten habe, und einem 20er Gabelschlüssel von oben abschrauben.
-
-
-
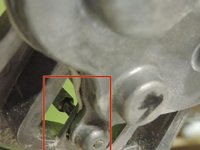
Remove the guides (red mark). They can be reassembled after closing the housing
-
Remove the seal. I replaced it with silicone similar to what is used in the bathroom.
-
-
The toothed wheel is riveted onto the tool port, so it can not be disassembled further.
-
-
The former one has a cross patteren
-
-
-
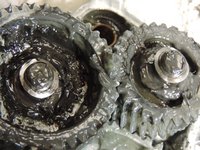
Place each gear on the axis
-
-
-
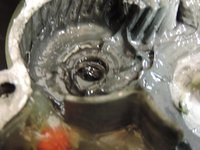
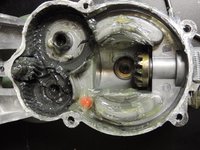
There is a lot of greasein the case. Spread the grease on the surfaces that need it.
-
Replace the seal. See step 8.
-
Set the machine up with the arm in a horizontal position. The shaft of the will fall if the arm is raised
-
Gently slide the two parts into each other.
-
The screws were loose during disassembly. I fixed them with a drop of screw fixation solution.
-
Reinsert the guides to the original positions
-
-
-
Screw the hidden screw back in
-
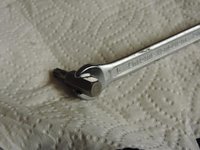
Tighten with the special tool of step 7
-


To reassemble your device, follow these steps in reverse order.
To reassemble your device, follow these steps in reverse order.
crwdns2935221:0crwdne2935221:0
crwdns2935229:010crwdne2935229:0
crwdns2934873:0crwdne2934873:0
100%

crwdns2934883:0[deleted]crwdne2934883:0 crwdns2934875:0crwdne2934875:0
crwdns2934877:0crwdne2934877:0 ›
crwdns2947412:06crwdne2947412:0
non mais les vieux ustensiles ne sont pas compatible avec le nouvelle axe
Ce tutoriel est très utile pour démontrer un model similaire (le KM070)
Merci c’est très utile. Pour enlever la vis T20 sous la roue d’entraînement j’ai utilisé une clé torx à angle droit du commerce. Pour la remonter un petit trou de 8 sur le dessus de la roue pour passer la clé sans rien affaiblir. Pour le joint je pense que le silicone n’est pas judicieux car on ne pourra plus le démonter . J’ai opté pour un mastic de plombier genre Gebajoint.
Selbe Anleitung in Deutsch: Kenwood Chef Gear Drive SER1018 Replacement
Same tutorial in English: Kenwood Chef Gear Drive SER1018 Replacement
J'ai pris l'option de percer la grande roue crantée. J'y suis allez doucement et c'est ok pour enlever la vis
Really helpful guide.
Described everything I needed to do to replace a broken sungear drive
Thanks for taking the time to document it all.