crwdns2915892:0crwdne2915892:0
Removing and replacing the solenoid for the drain valve is quite simple. If the drain valve is not opened properly, the most likely failure pattern is as follows: after rinsing, the pressure is not taken from the brew group, the brew group motor continues to try to work, sounds very agonized. This process repeats itself a few times.
crwdns2942213:0crwdne2942213:0
-
-
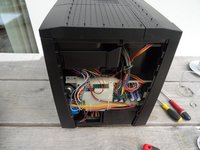
Remove all attachments: water tank, drip tray, aroma lid
-
-
-
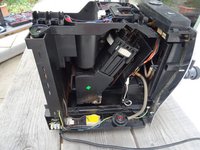
Turn the machine so the back is facing toward the front.
-
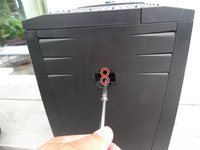
The Jura sign must be removed. Turn it a few millimeters counterclickwise.
-
Remove the Jura sign.
-
-
-
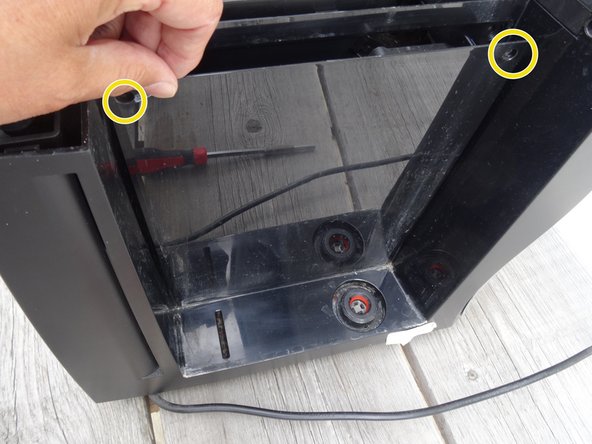
Behind the Jura sign are two screws with an oval head. They have to be removed.
-
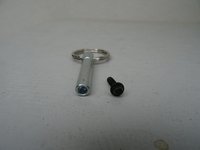
These screws have an oval head that makes them look like rivets (picture 2). You need to use a special bit for their removal. If the right bit is not available, it could be done with a pair of needle nose pliers. Jura wants to keep us out of our own machines!!!!
-
-
-
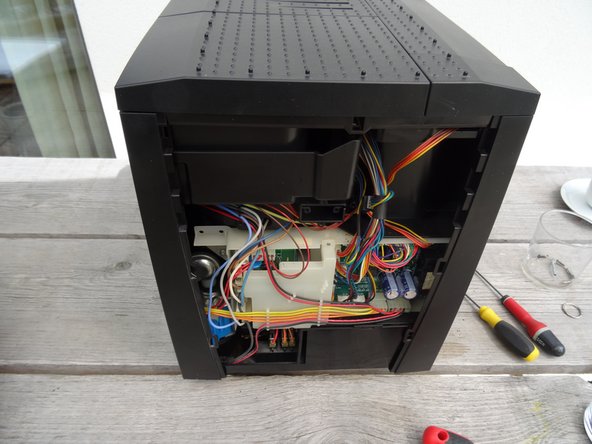
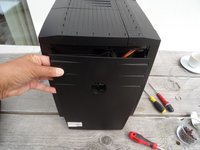
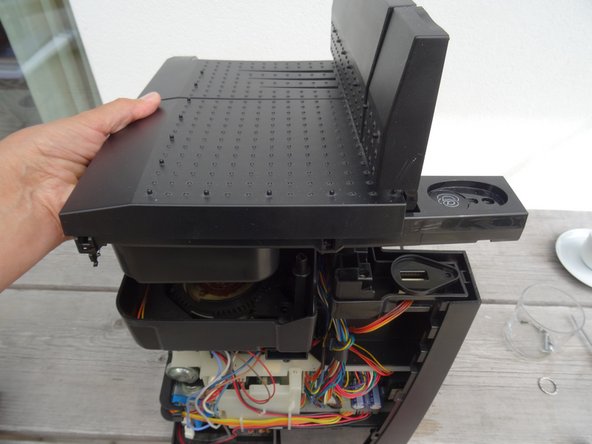
Push the back down a bit and then remove it.
-
-
-
-
Pull the right side panel- as seen looking to the frontpanel - backwards and take it off.
-
-
-
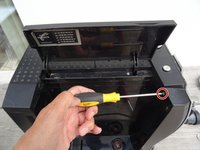
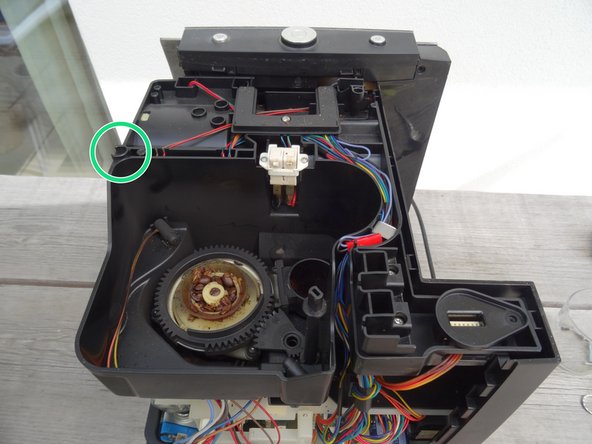
Remove the Torx T15 screw on the front wall of the side panel.
-
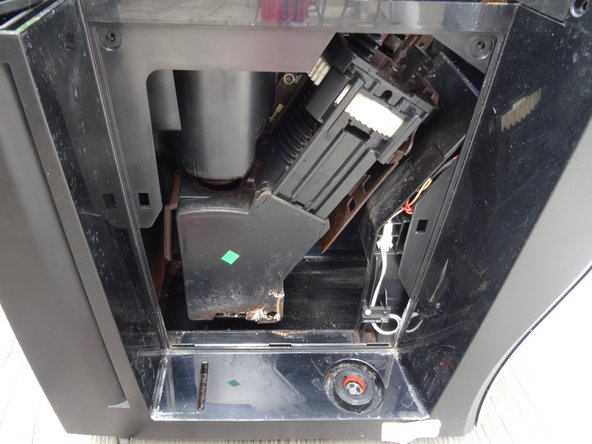
In the side part there is a lid over the brew group. The lid is fastened at the top with two oval head screws. Remove those to remove the lid.
-
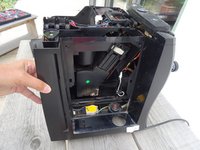
With the cover removed the brew group becomes visible
-
-
-
This step shows how to remove the top cover
-
Remove the powder tray and all coffee beans.
-
The cover is fastened with three Torx T15 screws. Those are easily visible under the covers as well as the small cover on the left back side.
-
Remove the two Phillips screws on the bean container and remove the bean container.
-
Lift the cover upwards.
-
-
-
Pull the left side panel backwards to take it off.
-
-
-
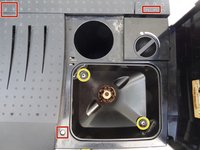
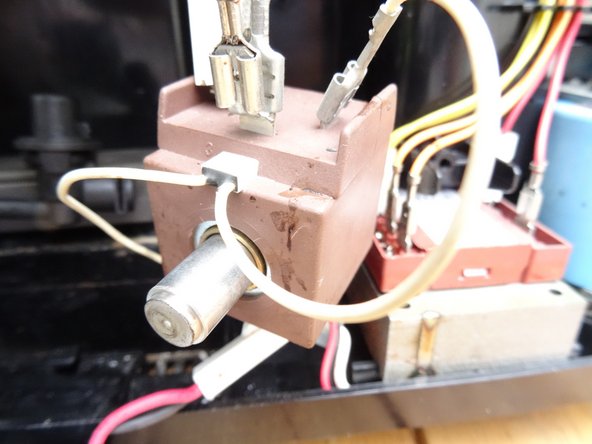
The solenoid is secured with a bracket held in place by two Torx T10 screws
-
Remove the two screws.
-
Take off the bracket
-
Take the solenoid out.
-
Disconnect the cables from the solenoid.
-
-
-
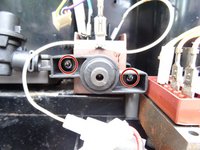
In newer models, there is a drainage motor instead of a magnet. In principle, it is removed in the same way as the magnet. Use these instructions
-
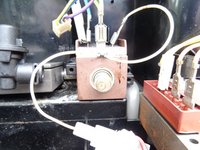
Remove the two Torx T15 screws on the drain motor and take out the motor. The side with the blue cable is marked with a dot.
-
First leave the motor connected. Trigger a flush and observe if the pin moves back and forth.
-


Work through the steps in reverse order to reassemble your device.
crwdns2934873:0crwdne2934873:0
100%


crwdns2934885:0crwdne2934885:0 crwdns2934875:0crwdne2934875:0
crwdns2934877:0crwdne2934877:0 ›
crwdns2947410:01crwdne2947410:0
Gute Anleitung, vielleicht sollten Sie noch den Hinweis reinbringen, dass die Messingbuchse um den Eisenkern Stößel sich lockern kann und dann einige Milimeter raussteht. Das Ventil dann sehr laute Rattergeräusche erzeugt. Man kannste Buchse dann wieder reindrehen.
Und Sorry, aber bei meiner Z5 sind das keine 10er Torx, sondern 15er.
Das Risiko, dass man mit dem 10er Schlüssel, gut angezogene Schrauben Köpfe beschädigt und dann die Schrauben gar nicht mehr rausbringt ist schon gegeben.