crwdns2915892:0crwdne2915892:0
The ceramic valve controls which way the fresh water will flow - to the coffee preparation, to the hot water spout or to the steam nozzle. The ceramic valve May leak or become defective. Replacing it is quite simple. But try repairing the ceramic valve first, you can save a lot of money.
crwdns2942213:0crwdne2942213:0
-
-
Remove the water tank and the drip tray. Remove all coffee beans from the storage container.
-
-
-
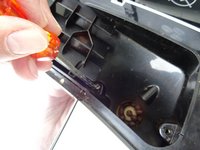
Flip open the lid of the bean compartment.
-
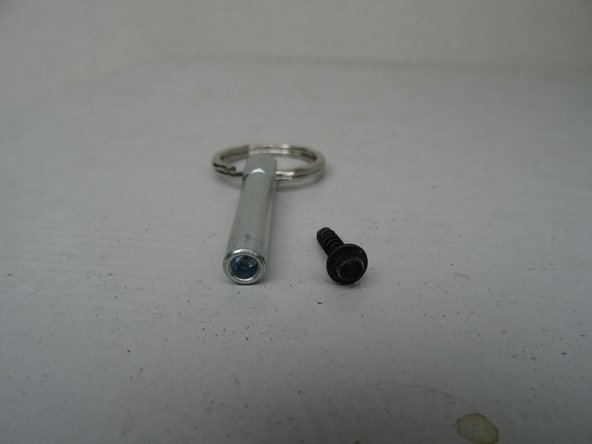
Unscrew the two slotted screws inside the bean compartment. The screws have a rubber washer and will not come out completely.
-
Remove the bean compartment.
-
-
crwdns2935267:0crwdne2935267:0iFixit Precision 4 mm Screwdriver Bit$2.99
-
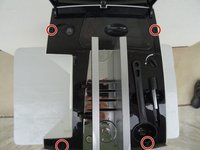
The top cover is fastened with oval head screws. Unscrew them.
-
-
-
Also remove the two oval head screws underneath the ground coffee compartment lid.
-
-
-
-
Now you can pry up the top cover all around.
-
Remove the top cover. This often requires a little force.
-
-
-
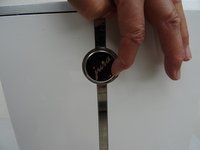
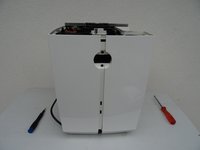
Turn the device with the back facing you.
-
Turn the Jura label a few degrees counterclockwise. If it's hard to do, use a small suction cup.
-
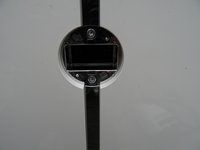
Remove the Jura label.
-
-
-
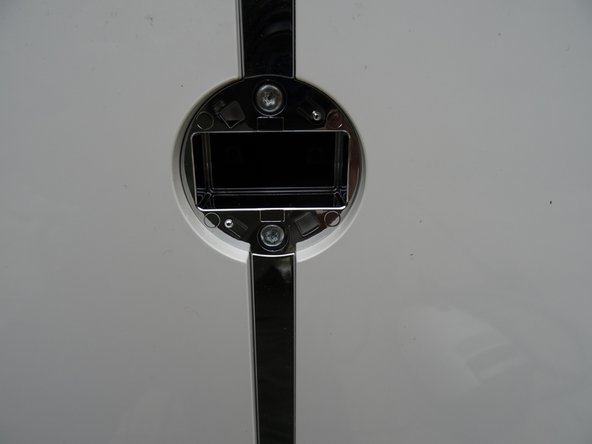
Underneath the label you will find two Torx T15 screws. Remove them.
-
Carefully pull the top of the chrome cover slightly outwards, then push it down and put it aside.
-
-
-
Remove the Torx T15 screw on the side panel with the water tank.
-
-
-
Pull the right side panel slightly towards the back.
-
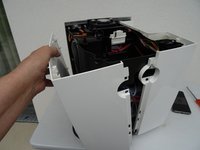
Remove the side panel.
-
-
-
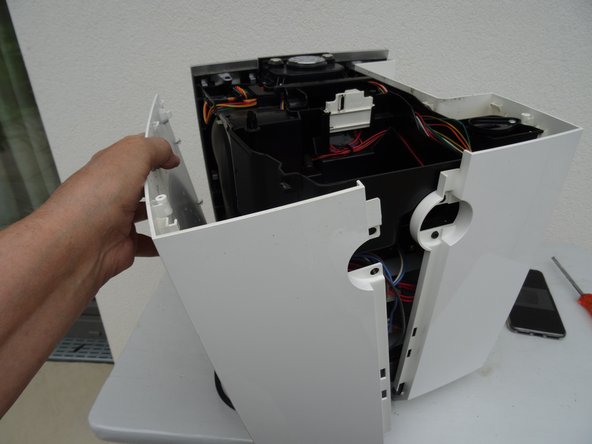
Pull the left side panel slightly towards the back and remove it.
-
-
-
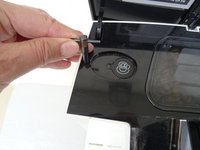
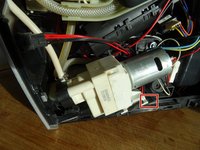
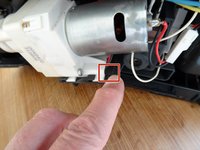
Find the ceramic valve at the bottom behind the right side panel It is slid onto a black plastic support plate and connected with two cable connections and three hoses.
-
Using your finger press the black plastic detent down.
-
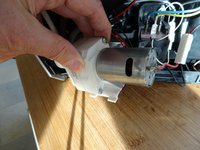
Push the ceramic valve upward to the right.
-
If you want to replace the valve, you have to disconnect all cables and hoses. If you are only removing the valve to access other components (outlet valve, heat exchanger), you do not need to disconnect the connections.
-


To reassemble your device, follow these instructions in reverse order.
To reassemble your device, follow these instructions in reverse order.
crwdns2934873:0crwdne2934873:0
100%

crwdns2934885:0crwdne2934885:0 crwdns2934875:0crwdne2934875:0
crwdns2934877:0crwdne2934877:0 ›
crwdns2947412:02crwdne2947412:0
Great and clear guide which helped me take apart my device with ease. Question, what type of failure mode does the device exhibit when this needs replacing? My Jura IMPRESSA won't output any water when cleaning is selected. Unsure if this might be the cause.
As far als I know its Error 6
VauWeh -