crwdns2915892:0crwdne2915892:0
If the battery in your JBL Xtreme 3 (JBLXTREME3BLKAM) portable Bluetooth speaker is failing or has completely died, this guide will instruct you on replacing the battery.
Please review information about proper battery disposal.
Warning: Please take precautions if you suspect a swollen battery.
crwdns2942213:0crwdne2942213:0
-
-
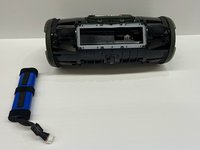
Begin by placing the speaker with the grooves on the bottom of the device facing towards you.
-
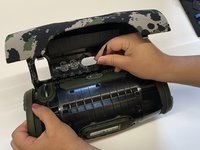
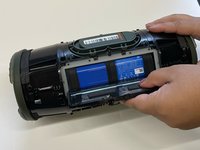
Use a spudger to carefully pry around the seams of the speaker to open and unlatch the outer shell.
-
Use your hands to finish removing the outer case of the device.
-
-
-
Use a Phillips #0 screwdriver to remove the two 10 mm screws.
-
-
-
-
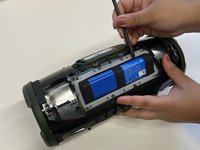
Use a spudger to carefully pry open the latch located above the control button as shown in the photo. Please be careful!!!
-
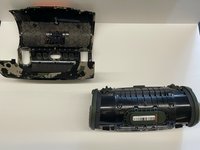
Remove the speaker from the shell.
-
-
-
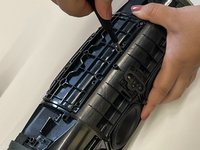
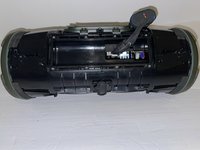
Turn the device so that the control buttons are facing down.
-
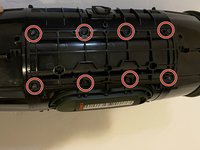
Use a Phillips #1 screwdriver to remove the eight 10 mm screws from the panel.
-
Carefully remove the panel.
-
-
-
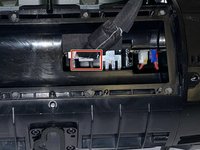
Use the spudger to carefully pry the battery out.
-
-
-
Use the plastic opening tool to press the white notch while simultaneously unplugging the battery connector.
-


To reassemble your device, follow these instructions in reverse order.
crwdns2935221:0crwdne2935221:0
crwdns2935229:06crwdne2935229:0

crwdns2935287:0crwdne2935287:0

Western Carolina University, Team 1-2, Virtue Fall 2022 crwdns2935289:0Western Carolina University, Team 1-2, Virtue Fall 2022crwdne2935289:0
WCU-VIRTUE-F22S1G2
crwdns2931471:04crwdne2931471:0
crwdns2935297:07crwdne2935297:0