crwdns2915892:0crwdne2915892:0
If your JBL stops turning on or won’t charge when showing no signs of working with a working charger or battery, use this guide to replace the internal motherboard.
crwdns2942213:0crwdne2942213:0
-
-
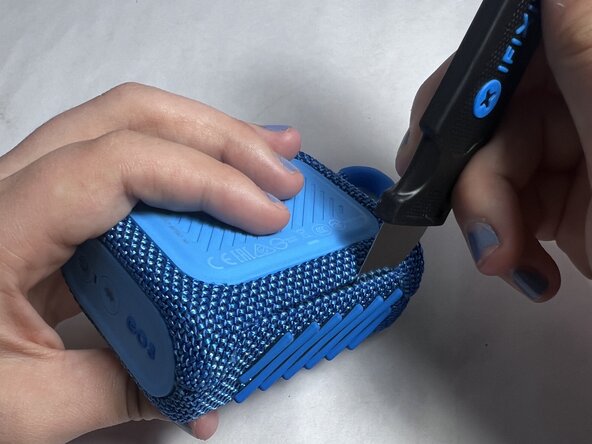
Using an iFixit Opening Pick or a Jimmy, pry along the seam between the rubber outer layer and the hard shell.
-
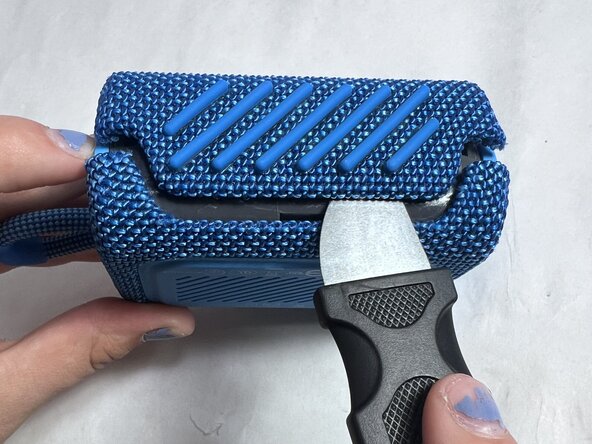
Work your way around the edges until the shell loosens and can be fully removed.
-
-
-
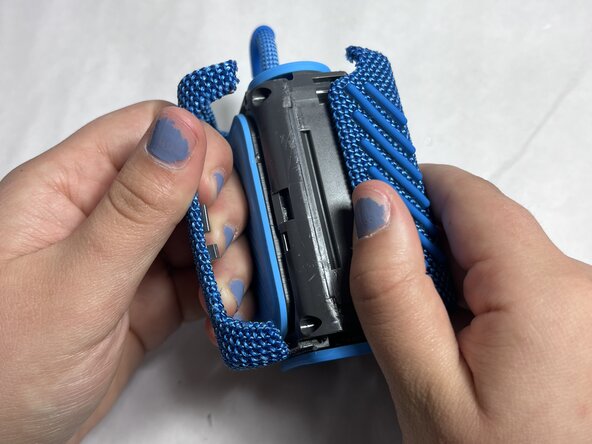
Once the shell is loosened on all sides, gently lift and remove it completely.
-
Align the new shell with the speaker’s body, making sure all edges are properly positioned.
-
Press firmly around the edges until the shell snaps securely into place.
-
-
-
-
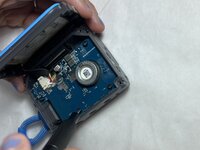
Locate the internal screws underneath the outer shell.
-
Use your precision screwdriver to remove all screws securing the plastic enclosure.
-
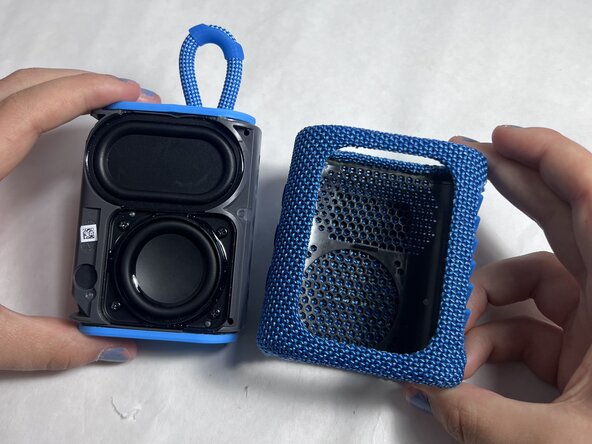
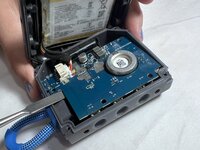
Carefully lift the casing to expose the motherboard and other internal components.
-
-
-
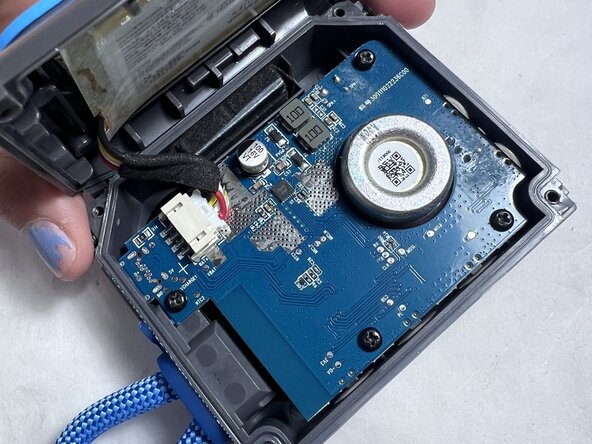
Unscrew the motherboard to the internal casing of the speaker.
-
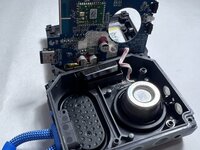
Unscrew the speaker attached to the casing as well.
-
The speaker and part of the battery may be soldered onto the motherboard, proceed with caution when removing attachments
-


To reassemble your device, follow the above steps in reverse order.
Take your e-waste to an R2 or e-Stewards certified recycler.
Repair didn’t go as planned? Try some basic troubleshooting or ask our Answers community for help.

crwdns2935287:0crwdne2935287:0

UMass Dartmouth, Team 4-5, Konn Spring 2025 crwdns2935289:0UMass Dartmouth, Team 4-5, Konn Spring 2025crwdne2935289:0
UMASSD-KONN-S25S4G5
crwdns2931471:04crwdne2931471:0
crwdns2935297:05crwdne2935297:0