crwdns2915892:0crwdne2915892:0
An IBM ThinkPad T42 Wi-Fi card allows the device to connect to a wireless network. If your Wi-Fi card is broken or needs to be replaced, this guide will show you how.
crwdns2942213:0crwdne2942213:0
-
-
Use a Phillips #0 screwdriver to remove the twenty screws on the underside of the T42.
-
-
-
Remove the four Phillips screws located on either side of the rear of the T42 (there are two on each end.)
leave these four screws alone. No need to remove them.
There are tiny numbers showing the lengths of the screws. 1-2-3-4 where 1 is the shortest.
The dark red circles are not very easy to see. How about white ones?
-
-
-
Flip the laptop over and open the screen to access the keyboard and trackpad.
-
-
-
-
Carefully maneuver the palm rest away from the keyboard, as both the keyboard and palm rest/trackpad will come off together.
-
-
-
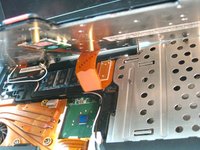
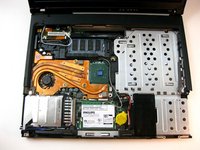
To remove Wi-Fi card, first disconnect both display wires on the top right.
-
-
-
Then slide both of the metal pieces holding it down outwards, and it will pop up.
-
To reassemble your device, follow these instructions in reverse order.
To reassemble your device, follow these instructions in reverse order.
crwdns2935221:0crwdne2935221:0
crwdns2935229:03crwdne2935229:0
crwdns2947412:02crwdne2947412:0
Get the HMM for the laptop! On a few of these, I have had to just pull out the internal wi-fi card, and use a USB wi-fi adapter.
The only screws that need to be removed are the ones that are numbered 1-4 on the bottom of the case. Best to remove the screws with #4 next to them, then remove the keyboard and then remove 1-3 and then the palm rest. Removing the ones on the rear is unnecessary.


