crwdns2915892:0crwdne2915892:0
Use this guide to replace the display assembly including the frame of your Huawei P9.
Before disassembling your phone, discharge the battery below 25%. The battery can catch fire and/or explode if accidentally punctured, but the chances of that happening are much lower if discharged.
crwdns2942213:0crwdne2942213:0
-
-
First switch off your phone and remove the SIM card tray.
-
Unscrew the two Pentalobe P2 screws located at the bottom next to the device's USB C port.
-
-
-
Use an iSclack or a suction handle to separate the phone assembly from the rear panel.
-
-
-
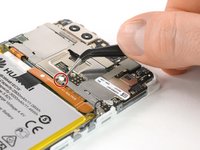
Disconnect the fingerprint sensor using a spudger.
-
-
-
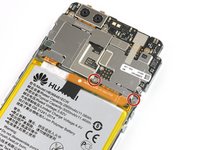
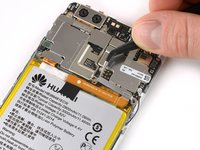
Unplug the antenna cable.
-
Remove the sticker that sits on top of the screw.
-
-
-
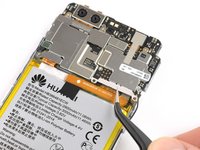
Unscrew the two Phillips #00 screws that hold the metal plate in place.
-
The plate, which is covering the battery connector, has two little hooks on each side. Use a tweezer to free them and unhinge the plate by carefully moving it upwards.
-
-
-
Now you can unplug the battery connector and bend it aside.
-
The EVA-L09 model has an NFC antenna adhered onto the battery.
-
-
-
-
Free the ends of the adhesive pull tabs to get a good grip on them.
-
-
crwdns2935267:0crwdne2935267:0Tesa 61395 Tape$5.99
-
The battery is secured with three pieces of adhesive, a removable pull-tab in the center, and on the SIM tray side. A third piece of adhesive on the button side has no pull-tab.
-
Pull the adhesive tabs in a slow constant movement to free the battery.
-
Slowly lift the battery toward the button side and free it from the remaining hidden piece of adhesive.
-
-
-
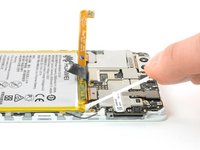
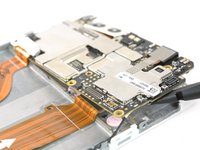
Remove the other five Phillips #00 screws from the motherboard.
-
-
-
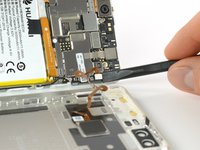
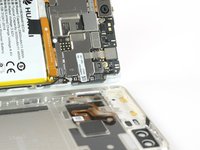
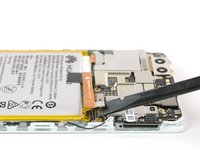
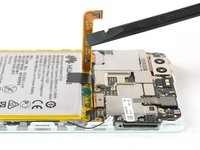
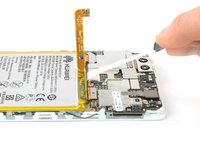
Disconnect the motherboard flex cable as well as the power and volume button cable.
-
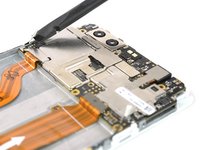
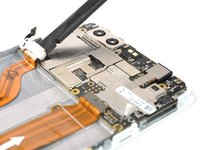
Unplug the LCD screen flex cable.
-
-
-
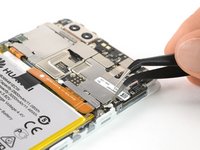
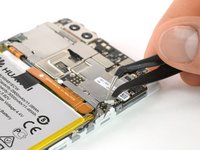
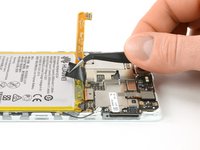
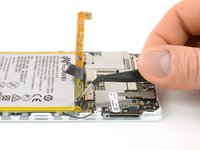
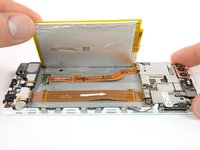
Remove the motherboard assembly.
-
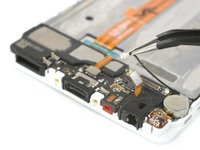
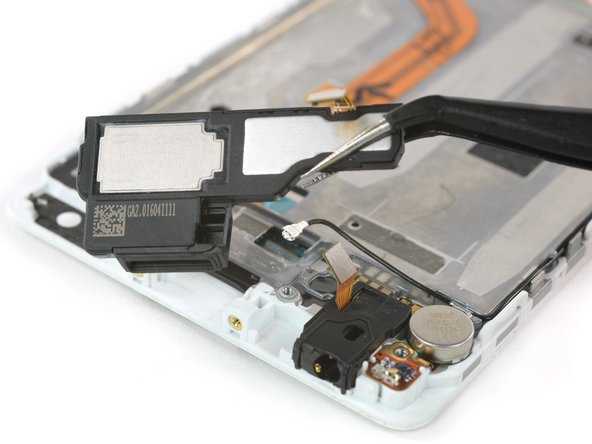
Remove the earpiece speaker (mind adhesive underneath).
-
-
-
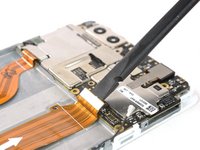
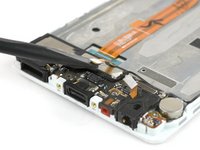
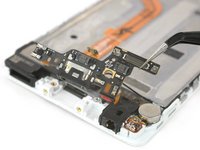
Remove the proximity sensor module from its bracket.
-
Carefully peel off the motherboard flex cable.
-
-
-
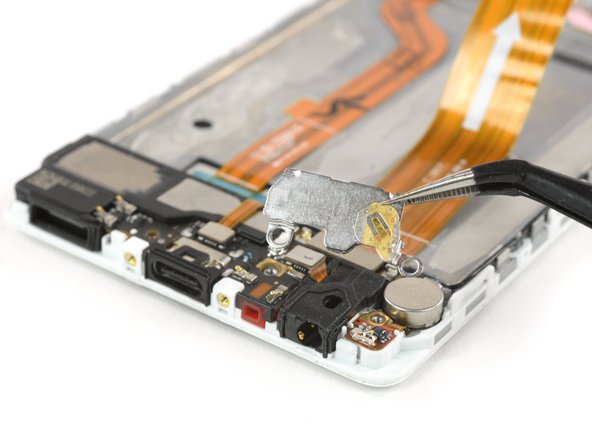
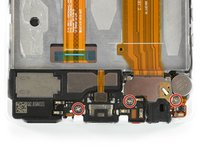
Remove the three Phillips #00 screws from the daughterboard.
-
Carefully remove the metal bracket. The headphone jack connector might stick to it.
-
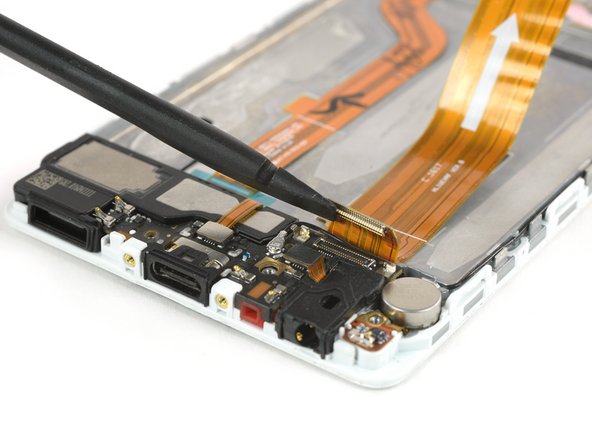
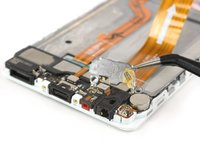
Unplug the motherboard flex connector and put the cable aside.
-
-
-
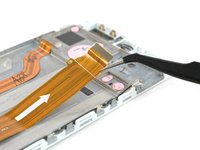
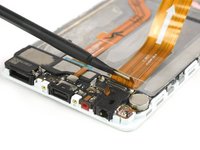
Disconnect the headphone jack flex connector.
-
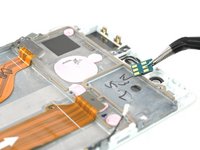
Unplug the antenna cable.
-
-
-
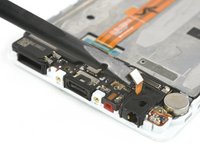
Unplug the connector of the loudspeaker.
-
Remove the daughterboard.
-
Pry the speaker off of the adhesive holding it to the display assembly.
-
-
-
Remove the headphone jack out of its recess.
-
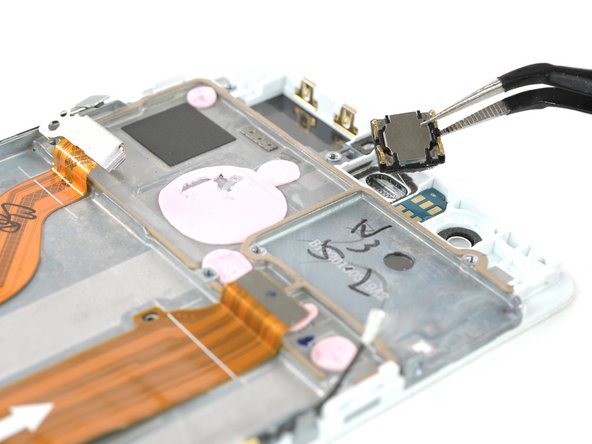
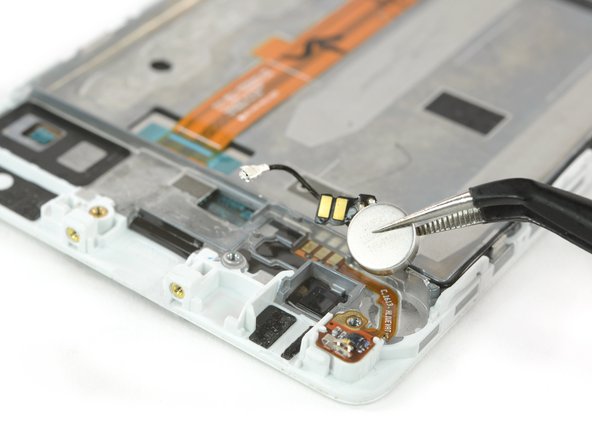
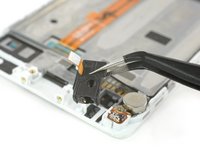
Pry the vibration motor out of its adhered recess in the display assembly.
-
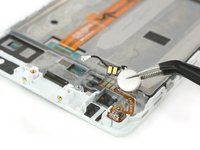
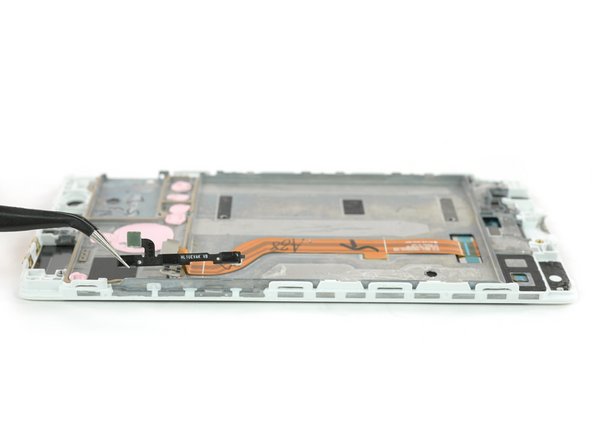
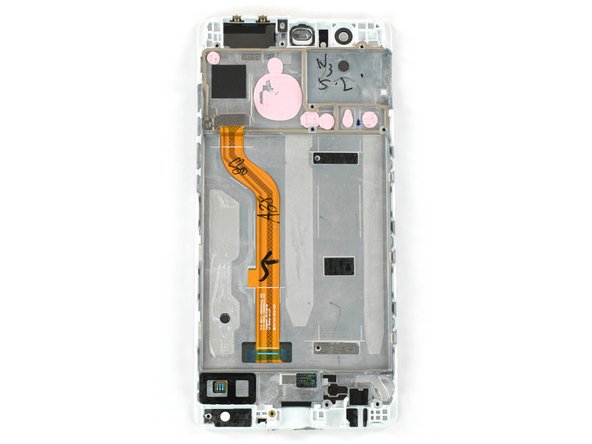
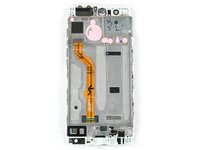
Carefully remove the fragile contact cable from the adhesive holding it to the frame.
-
-
-
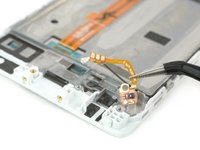
Remove the antenna cable and the power and volume bottom cable on either side.
-


To reassemble your device, follow these instructions in reverse order.
To reassemble your device, follow these instructions in reverse order.
crwdns2935221:0crwdne2935221:0
crwdns2935229:019crwdne2935229:0

