crwdns2915892:0crwdne2915892:0
Use this guide to replace the Display assembly of your Huawei P8 Lite including the frame.
crwdns2942213:0crwdne2942213:0
-
-
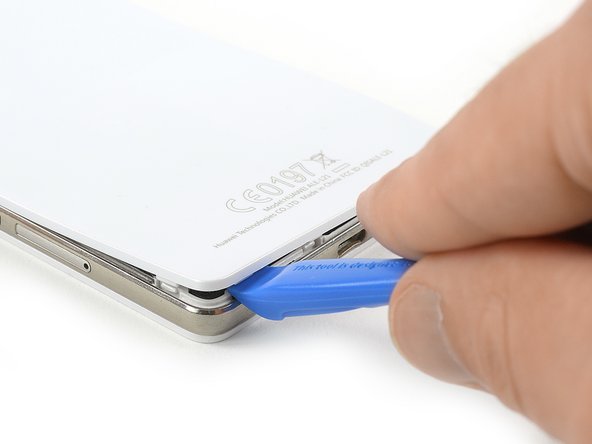
Use an Opening Tool and start to lever up the back cover of your Huawei P8 Lite at the bottom of your phone.
-
-
-
There are clips around the whole mid frame, holding down the back cover. Open all of them with the Opening Tool.
-
When all clips are open, remove the back cover from the rest of the phone.
-
-
-
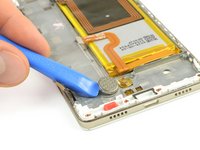
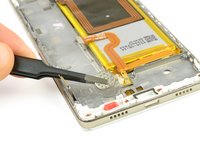
Use a tweezer to remove the warranty sticker which sits on a screw in the bottom right of your phone.
-
-
-
Remove the 4 black Torx T5 screws which hold down the lower part of the loudspeaker.
-
Remove the three silver Phillips #00 screws which hold down the upper part of the loudspeaker.
-
-
-
-
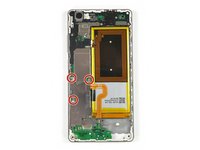
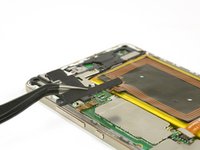
Remove the three Phillips #00 screws that hold the metal plate in place.
-
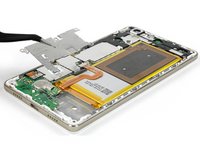
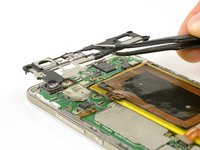
Remove the metal plate with a tweezer.
-
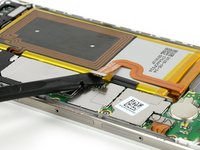
Unplug the battery flex connector with a spudger.
-
-
-
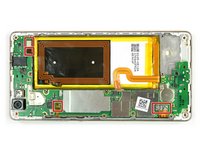
Remove the two Torx T5 screws.
-
Remove the five Phillips #00 screws.
-
-
-
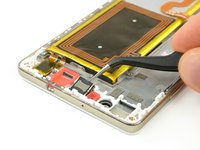
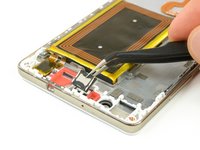
Carefully pry off the plastic cover on the left side. The NFC antenna contacts might be slightly glued to the cover.
-
Then remove the top cover.
-
-
-
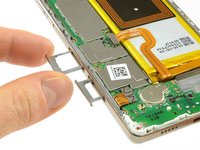
Remove the SIM card and SD card trays.
-
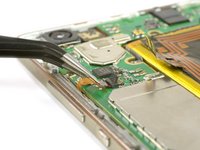
Disconnect the three plug connectors and one ZIF connector.
-
-
-
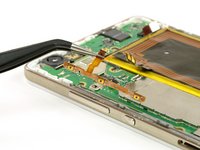
Remove the volume and power button cable.
-
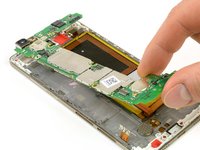
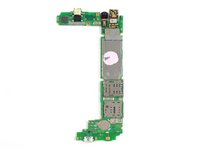
Take out the motherboard by lifting the bottom part first.
-
-
-
Pry off the vibrator using a plastic opening tool.
-
-
-
Lift out the earpiece speaker of its recess with a tweezer.
-
-
-
Use the pull tab as seen here in the battery guide to remove one of the adhesives strips underneath the battery.
-
Use an opening pick or spudger to carefully pry the battery out the rest of the way.
-
-
-
Inspect your new display assembly and be sure to transfer any missing parts from the old one.
-
To reassemble your device, follow these instructions in reverse order.
crwdns2935221:0crwdne2935221:0
crwdns2935229:022crwdne2935229:0
crwdns2947412:04crwdne2947412:0
Hat super geklappt, danke! Zwei wichtige Dinge - NFC Antenne ist schwer von Batterie zu lösen- müsste gleich bei Akku mit beschrieben sein und bei Schritt 7 oder 11, dass man noch eine Steckverbindung lösen muss (verklebt!) und übertragen muss. Hat geklappt, danke Euch - eure tools sind super dazu!
Danke allehoffis für dein Feedback. Freut mich, dass alle so weit geklappt hat. Ja, die NFC Antenne klebt da gut dran. Im separaten Akku-Guide ist darauf hingewiesen, dass sie schwer zu lösen ist. Vlt kommt hier auch noch eine Notiz dazu. In Schritt 6 wird die ZIF Verbindung getrennt. Ist es das, was du meinst mit “verklebt”?
Hat alles super geklappt, danke für diese Anleitung
gracias!!!!!!
