crwdns2915892:0crwdne2915892:0
If you need to replace or upgrade the RAM in your HP 15-f305dx laptop, use this guide.
RAM is temporary computer storage that stores and reads data almost instantly. When opening a program, it becomes temporarily stored in your computer’s RAM. Opening multiple browser tabs or too many applications at once may slow your computer significantly. Adding more RAM to a computer allows for larger quantities of applications to run at the same time without a loss in performance.
Before using this guide, ensure your laptop’s battery has been removed so there is no chance of electric shock.
crwdns2942213:0crwdne2942213:0
-
-
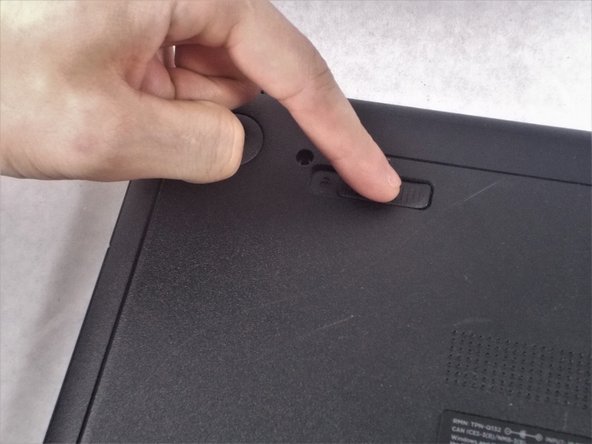
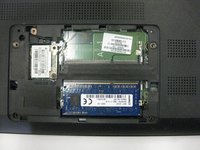
Turn the computer upside down on a flat surface.
-
-
-
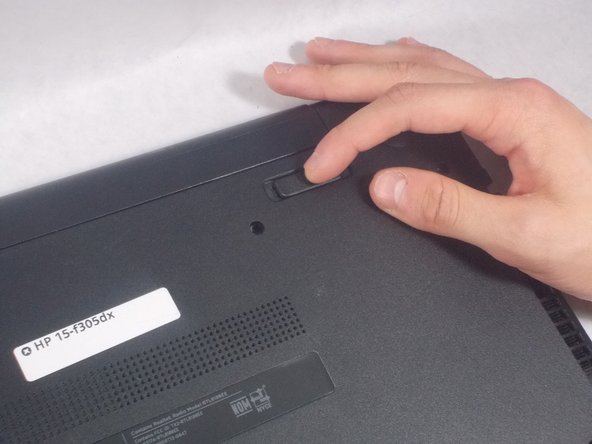
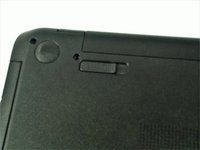
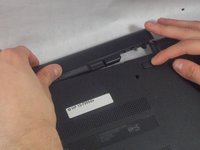
Firmly slide the release latch to unlock the battery and slide the battery release latch to release the battery.
-
-
-
-
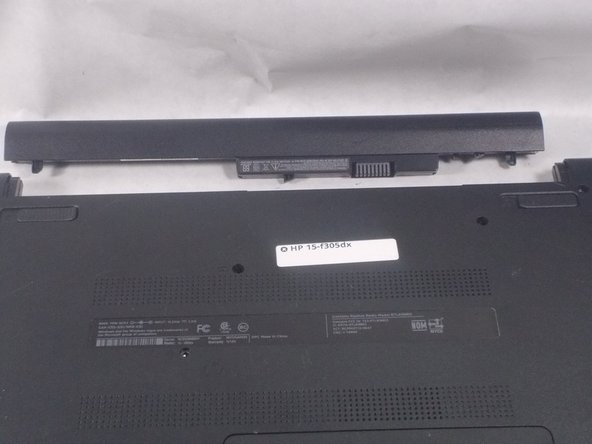
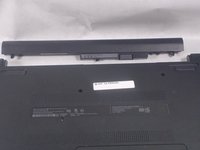
Lift the battery from the middle and then pivot it outward to remove it from the computer.
-
-
-
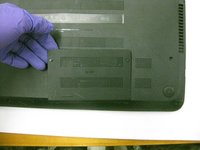
Remove the two 5mm Phillips #00 screws on the back service cover.
-
-
-
With the hinge of the laptop screen facing away, remove the panel from the laptop on the near side of you.
-
-
-
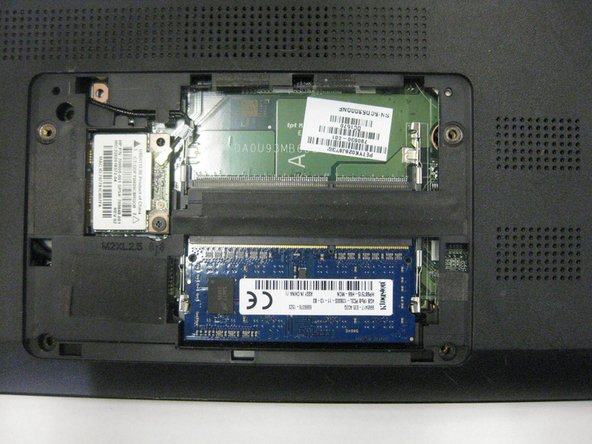
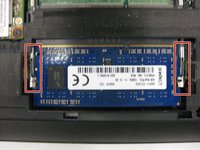
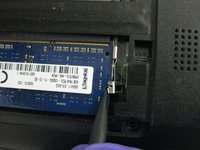
Press the two locking arms on either side of the RAM card away from each other.
-
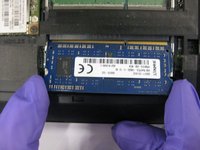
Remove the RAM card by sliding it out from its port at the same angle at which it rests.
-


To reassemble your device, follow these instructions in reverse order.
crwdns2935287:0crwdne2935287:0

The Citadel Military College of South Carolina, Team S1-G19, Eggleston Fall 2019 crwdns2935289:0The Citadel Military College of South Carolina, Team S1-G19, Eggleston Fall 2019crwdne2935289:0
CMCSC-EGGLESTON-F19S1G19
crwdns2931471:02crwdne2931471:0
crwdns2935297:02crwdne2935297:0