crwdns2915892:0crwdne2915892:0
After using your Sony WI-C200s for prolonged periods, you might notice that one earbud isn’t producing clear audio, or any sound at all. That malfunction is likely due to unseated connections, either on the motherboard or the speaker. This guide demonstrates how to repair the damaged speaker connection and bring your earbuds back to working condition.
Steps 5 and 6 require de-soldering the connections on the circuit board and the earbud and soldering it in place.
Before beginning, make sure to discharge and power off the headphones completely.
Caution: soldering/desoldering presents potential for device damage and burns. Always solder/desolder in a well-ventilated area.
crwdns2942213:0crwdne2942213:0
-
-
Wedge the edge of a spudger between the two cases holding the circuit board, then pry open the cases.
-
Wedge the edge of a spudger between the two cases, then pry the cases apart.
-
-
-
Remove the top casing with the volume controls.
-
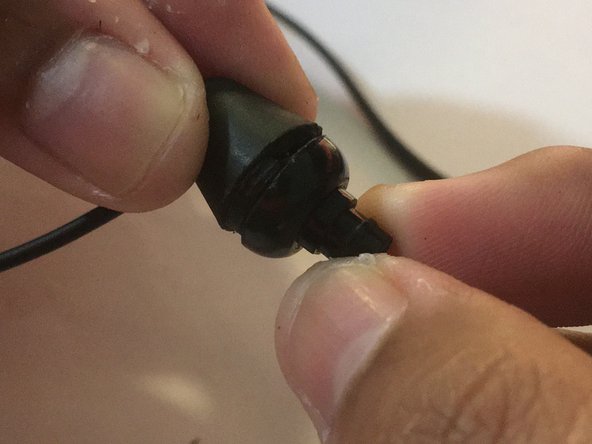
Remove the side tabs connecting the wires to the circuit board carefully.
-
-
crwdns2935267:0crwdne2935267:0Tweezers$4.99
-
Use ESD-safe tweezers to remove the board from the bottom case .
-
-
-
-
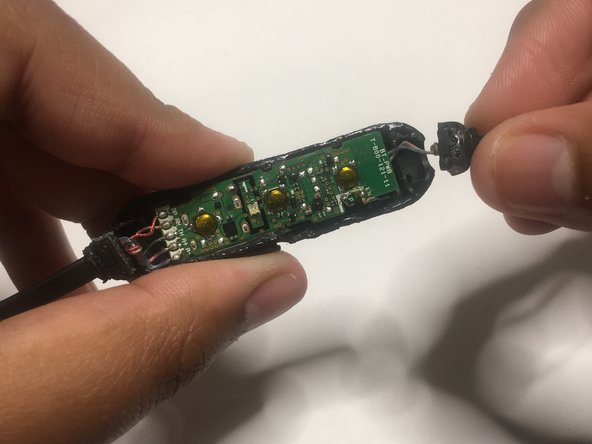
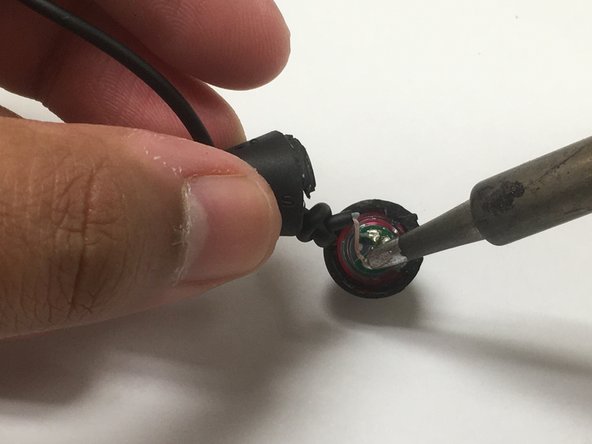
After prying open the earbud, push the wire outwards from the casing, extending the speaker.
-
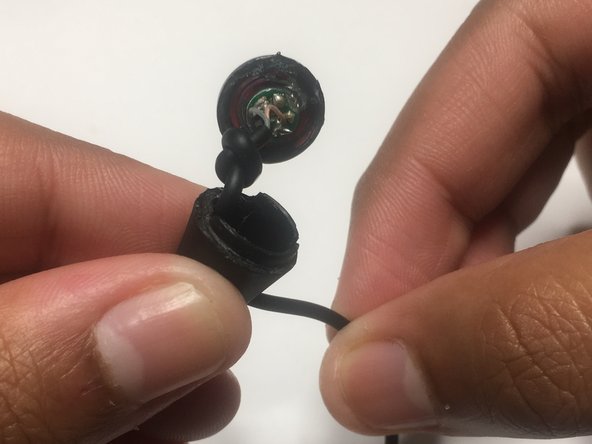
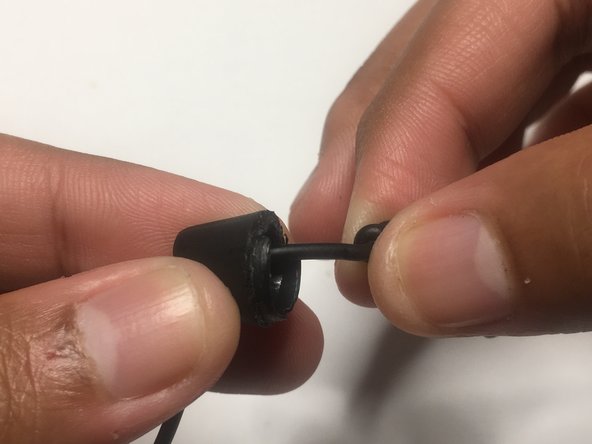
Slowly slide the casing away from the connections.
Se me desoldaron los cables de la parte de batería esquema de conexión
-
-
-
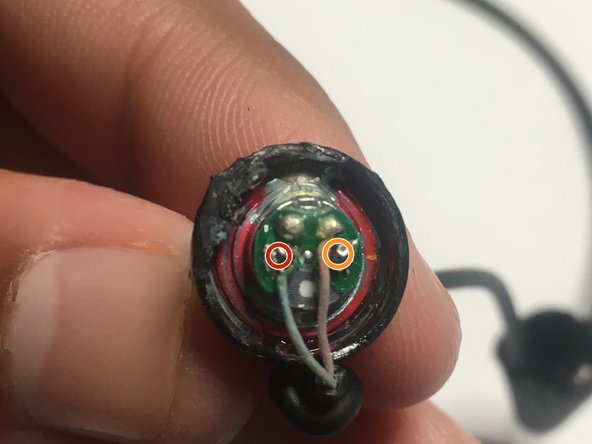
Place the positive probe of the multimeter on the pin of the red circuit board connection.
-
Place the negative probe on the pin of the red connection on the earbud.
-
Measure the voltage across the pins. If the connections yield 0 V, desolder the pins.
-
Apply the last three steps for the orange connection to measure the voltage across the pins. Desolder the pins if the connection yield 0 V.
-
-
-
Use lead-free solder to solder the connections.
-
-
-
Place the circuit board back into the bottom casing.
-
Press the side tabs of the connections back into the bottom casing.
-
-
-
Apply adhesive around the rims of the bottom casing holding the circuit board.
-
Firmly press the top and bottom case together, then wait a couple minutes for the adhesive to cure.
-
-
-
Apply adhesive around the rims of one of the earbud casings.
-
Press the two sides of the earbud casings together, and wait for a couple of minutes for the adhesive to cure.
-


Enjoy your refreshed earbuds!
Enjoy your refreshed earbuds!
crwdns2915084:0crwdne2915084:0

University of Memphis, Team 51-8, Willis Spring 2022 crwdns2935289:0University of Memphis, Team 51-8, Willis Spring 2022crwdne2935289:0
UM-WILLIS-S22S51G8
crwdns2934841:01crwdne2934841:0
crwdns2935297:02crwdne2935297:0
crwdns2947410:01crwdne2947410:0
Si el problema es el micrófono, cómo lo reemplazo?