crwdns2933423:0crwdne2933423:0

Hover-1 All Star Wheel Replacement

crwdns2942213:0crwdne2942213:0

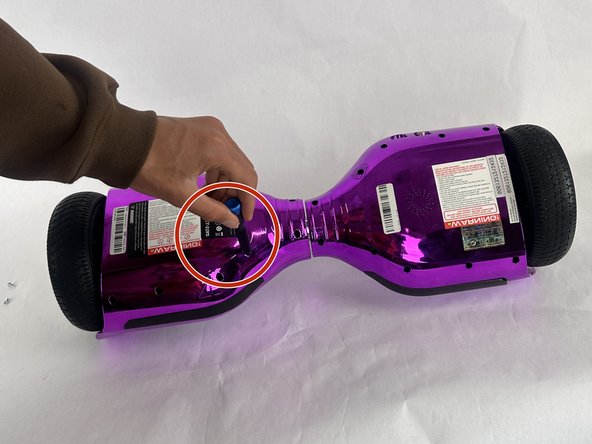
  1. Hover-1 All Star Wheel Replacement, Outer Casing: crwdns2935265:01crwdnd2935265:01crwdnd2935265:02crwdne2935265:0 Hover-1 All Star Wheel Replacement, Outer Casing: crwdns2935265:01crwdnd2935265:02crwdnd2935265:02crwdne2935265:0
    • Turn the hoverboard upside down and remove the twenty Phillips #1 screws that secure the casing.

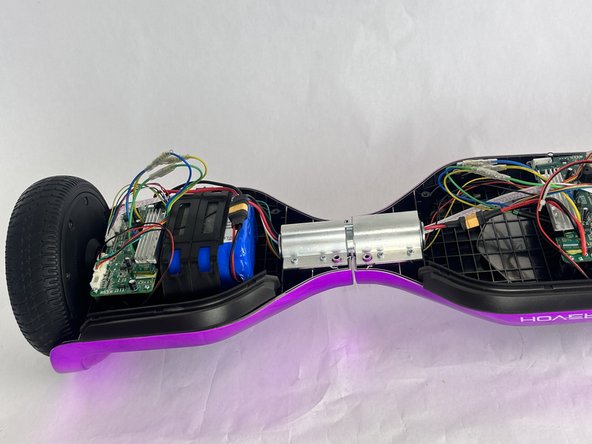
  2. Hover-1 All Star Wheel Replacement: crwdns2935265:02crwdnd2935265:01crwdnd2935265:02crwdne2935265:0 Hover-1 All Star Wheel Replacement: crwdns2935265:02crwdnd2935265:02crwdnd2935265:02crwdne2935265:0
    • After all the screws are removed simply pull off the bottom part of the casing in two pieces (Right and Left).

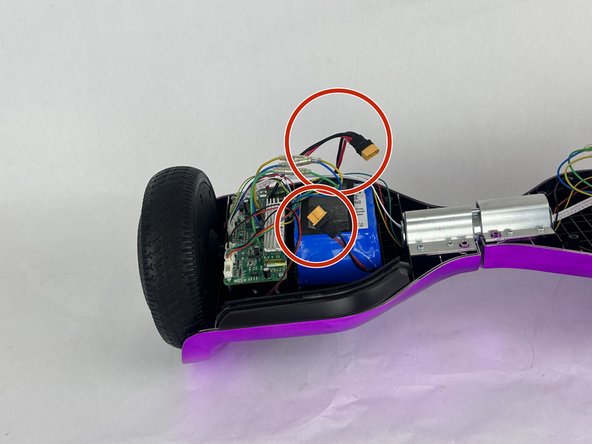
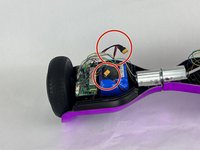
  3. Hover-1 All Star Wheel Replacement, Battery: crwdns2935265:03crwdnd2935265:01crwdnd2935265:02crwdne2935265:0 Hover-1 All Star Wheel Replacement, Battery: crwdns2935265:03crwdnd2935265:02crwdnd2935265:02crwdne2935265:0
    • Disconnect the battery from the circuit board via the orange connector.

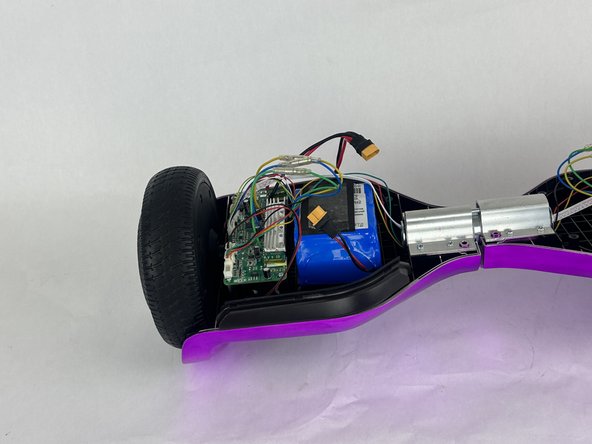
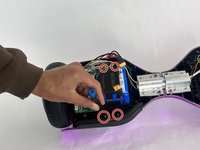
  4. Hover-1 All Star Wheel Replacement: crwdns2935265:04crwdnd2935265:01crwdnd2935265:02crwdne2935265:0 Hover-1 All Star Wheel Replacement: crwdns2935265:04crwdnd2935265:02crwdnd2935265:02crwdne2935265:0
    • Remove the four small screws that secures the plastic battery bracket with a Phillips #1 screwdriver.

    • Remove the plastic bracket.

    • Once the plastic restraint is removed the battery will have nothing else holding it in but a piece of double sided tape on the bottom.

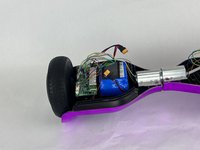
  5. Hover-1 All Star Wheel Replacement: crwdns2935265:05crwdnd2935265:01crwdnd2935265:01crwdne2935265:0
    • Remove the battery.

    • This step will likely require you to use the plastic prying tool because the tape is very strong.

  6. Hover-1 All Star Wheel Replacement, Mainboard: crwdns2935265:06crwdnd2935265:01crwdnd2935265:01crwdne2935265:0
    • Remove the four Phillips #1 screws that secure the mainboard.

  7. Hover-1 All Star Wheel Replacement: crwdns2935265:07crwdnd2935265:01crwdnd2935265:01crwdne2935265:0
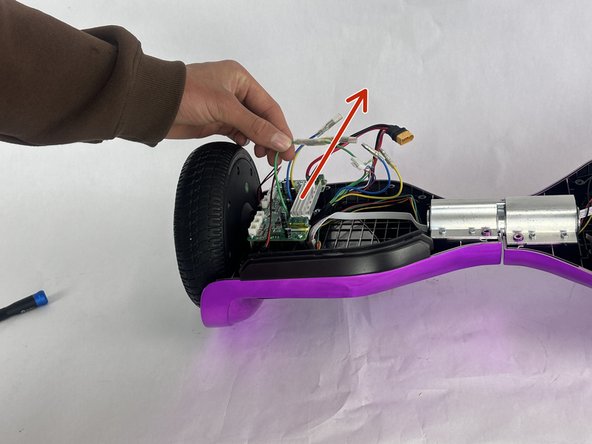
    • Disconnect all cables connected to the mainboard.

    • Also disconnect the three colored cables by pulling them apart.

  8. Hover-1 All Star Wheel Replacement: crwdns2935265:08crwdnd2935265:01crwdnd2935265:02crwdne2935265:0 Hover-1 All Star Wheel Replacement: crwdns2935265:08crwdnd2935265:02crwdnd2935265:02crwdne2935265:0
    • Lift the mainboard up and out.

  9. Hover-1 All Star Wheel Replacement, Wheel: crwdns2935265:09crwdnd2935265:01crwdnd2935265:02crwdne2935265:0 Hover-1 All Star Wheel Replacement, Wheel: crwdns2935265:09crwdnd2935265:02crwdnd2935265:02crwdne2935265:0
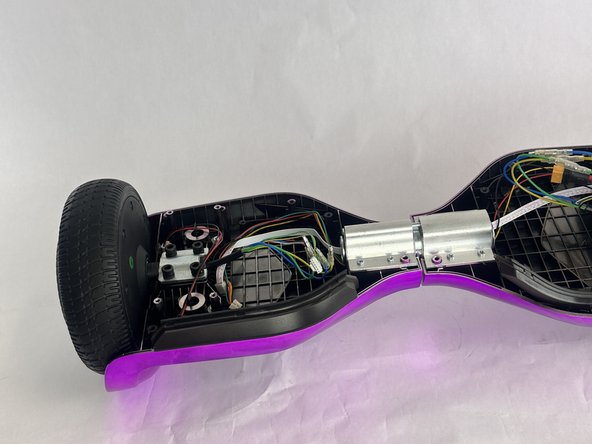
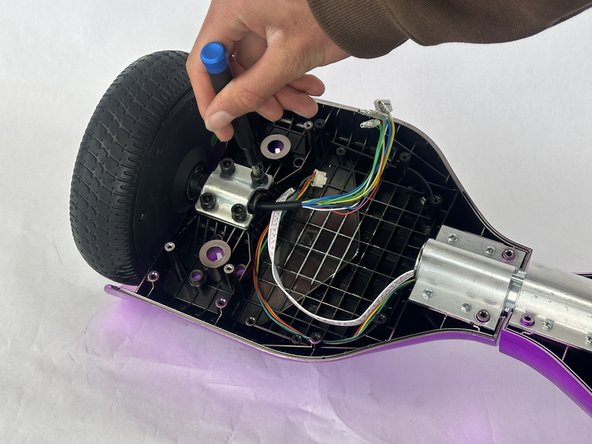
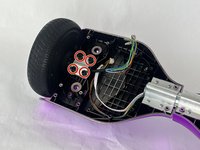
    • Remove the four 5 mm hex bolts that secure the wheel.

  10. Hover-1 All Star Wheel Replacement: crwdns2935265:010crwdnd2935265:01crwdnd2935265:01crwdne2935265:0
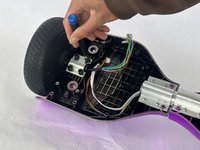
    • Remove the wheel assembly.

crwdns2915888:0crwdne2915888:0

To reassemble your device, follow the above steps in reverse order.
Take your e-waste to an R2 or e-Stewards certified recycler.
Repair didn’t go as planned? Try some basic troubleshooting or ask our Answers community for help.

Nathan Meyer

crwdns2935283:010/28/24crwdne2935283:0

629 crwdns2915208:0crwdne2915208:0

crwdns2935297:06crwdne2935297:0

crwdns2915084:0crwdne2915084:0

Cuesta, Team 10-2, Krynen Fall 2024 crwdns2935289:0Cuesta, Team 10-2, Krynen Fall 2024crwdne2935289:0

CUESTA-KRYNEN-F24S10G2

crwdns2931471:03crwdne2931471:0

crwdns2935297:06crwdne2935297:0

crwdns2947412:00crwdne2947412:0

crwdns2917038:0crwdne2917038:0

crwdns2936625:0crwdne2936625:0:

crwdns2936751:024crwdne2936751:0 0

crwdns2936753:07crwdne2936753:0 2

crwdns2936753:030crwdne2936753:0 16

crwdns2942667:0crwdne2942667:0 48