crwdns2915892:0crwdne2915892:0
Replacing the battery is a delicate process, and it’s essential to approach it with caution to ensure both your safety and the longevity of your hoverboard. In this guide, we will walk you through the necessary steps to safely remove and replace the battery inside the Hover-1 All Star with precautions and proper handling to make the process as straightforward as possible.
crwdns2942213:0crwdne2942213:0
-
-
Turn the hoverboard upside down and remove the twenty Phillips #1 screws that secure the casing.
-
-
-
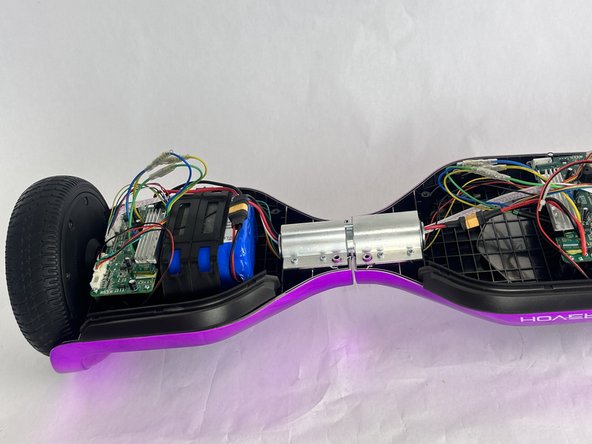
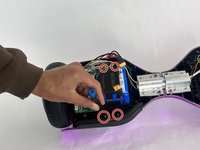
After all the screws are removed simply pull off the bottom part of the casing in two pieces (Right and Left).
-
-
-
-
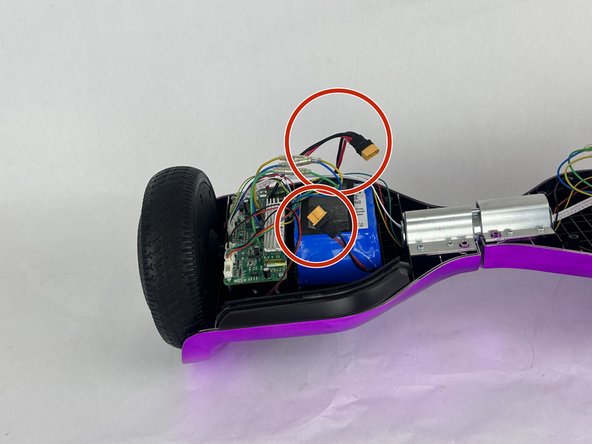
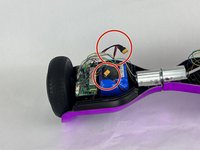
Disconnect the battery from the circuit board via the orange connector.
-
-
-
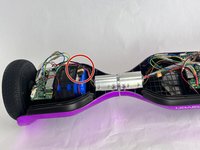
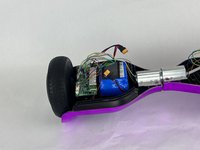
Remove the four small screws that secures the plastic battery bracket with a Phillips #1 screwdriver.
-
Remove the plastic bracket.
-


To reassemble your device, follow the above steps in reverse order.
For optimal performance, after completing this guide, calibrate your newly installed battery.
Take your e-waste to an R2 or e-Stewards certified recycler.
Repair didn’t go as planned? Try some basic troubleshooting or ask our Answers community for help.

crwdns2915084:0crwdne2915084:0

Cuesta, Team 10-2, Krynen Fall 2024 crwdns2935289:0Cuesta, Team 10-2, Krynen Fall 2024crwdne2935289:0
CUESTA-KRYNEN-F24S10G2
crwdns2931471:03crwdne2931471:0
crwdns2935297:06crwdne2935297:0