
Hot Tools HPK12 Control Assembly Replacement

crwdns2959932:0crwdnd2959932:0Aaron Whitlockcrwdnd2959932:0crwdnd2959932:0crwdnd2959932:03crwdnd2959932:0crwdne2959932:0
crwdns2959936:0N'w 23, 2016crwdne2959936:0
crwdns2869540:0crwdne2869540:0: 3,4 k
crwdns2959988:0crwdne2959988:0
- crwdns2959990:0crwdne2959990:0
- 1
- crwdns2959992:0crwdne2959992:0
- 13
- crwdns2959994:0crwdne2959994:0
- 107
- crwdns2959996:0crwdne2959996:0
- 3 411
crwdns2955950:0crwdne2955950:0: 0
crwdns2959998:0crwdne2959998:0
crwdns2960000:0crwdne2960000:0crwdns2959984:0crwdne2959984:0: 1 2
crwdns2959972:01crwdne2959972:0
crwdns2959970:02crwdne2959970:0
crwdns2959986:0crwdne2959986:0: 0 1
crwdns2959958:0crwdne2959958:0
crwdns2959976:01crwdne2959976:0
crwdns2890100:0crwdne2890100:0
crwdns2944378:0crwdne2944378:0
crwdns2915892:0crwdne2915892:0
crwdns2959928:0crwdne2959928:0 ↓This guide will show you how to replace the control assembly on your Hot Tools HPK12 flat iron. Make sure your flat iron is unplugged and completely cooled down before beginning.
crwdns2959930:0crwdne2959930:0
crwdns2943215:0crwdne2943215:0

-
-
-
Remove round plastic cover near cord base by prying under the side with the metal spudger.
-
Flip the device and remove the other round plastic cover near the base of the cord.
-
Use the Phillips #1 screwdriver to remove the 5.5mm PH1 screw and washer under the plastic cover and set both aside.
 crwdns2952109:0crwdne2952109:0
-
-
-
Use the metal spudger to push the center pin through to the other side.
-
-
-
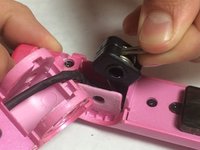
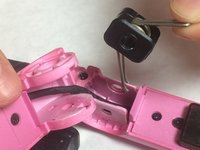
Lift back plastic cover to expose spring assembly.
-
Grip the exposed end of the spring assembly and remove it.
-
-
-
Use the JIS #0 screwdriver to remove the two 3.5mm “J0” screws that attach the control assembly cover to the flat iron base.
-
-
-
-
Lift upward on the control assembly cover to remove it from the flat iron base.
-
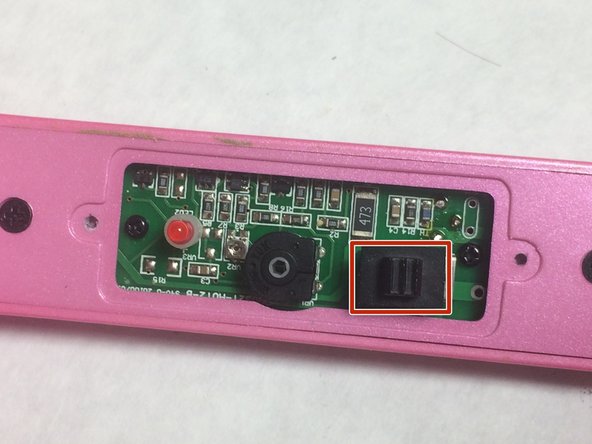
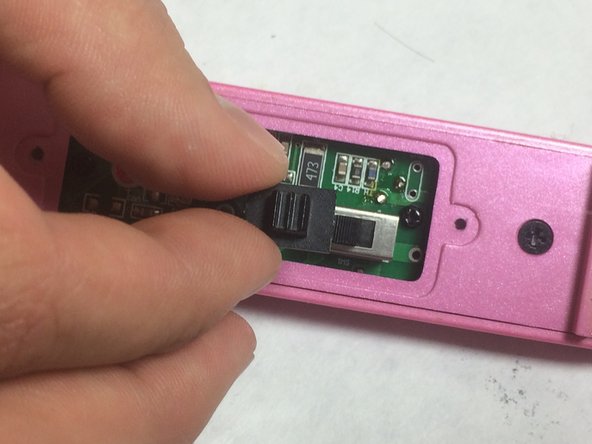
Remove dial and switch cover and set aside.
-
-
-
Use your JIS #0 screw driver to remove the two 6mm “J0” screws that are attached to the flat iron base and set them aside.
-
Lift the backing plate upwards to remove it from the flat iron.
-
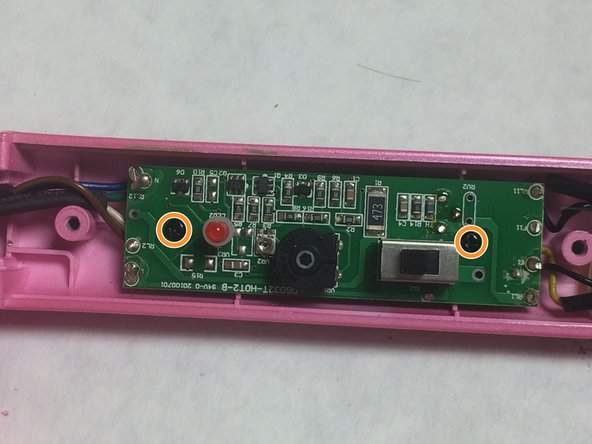
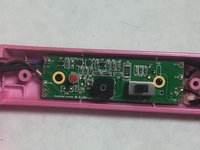
Use the Phillips #0 screwdriver to remove two 4mm “PH0” screws that attach the circuit assembly to the flat iron base.
-
-




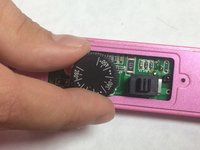
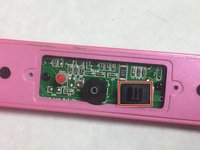
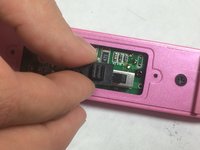

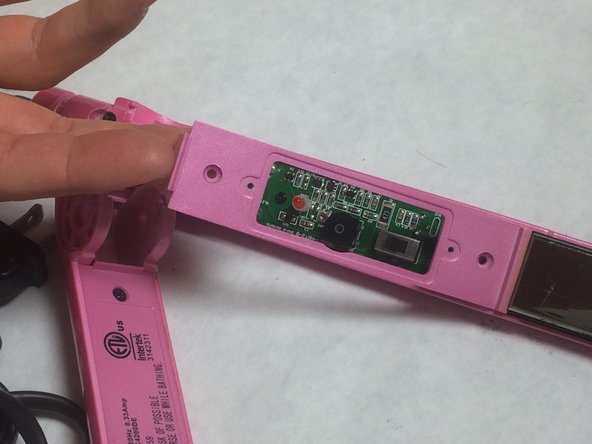
To reassemble your device, follow these instructions in reverse order.
crwdns2935221:0crwdne2935221:0
crwdns2935227:0crwdne2935227:0

crwdns2935287:0crwdne2935287:0

IUPUI, Team 3-4, Baechle Fall 2016 crwdns2935289:0IUPUI, Team 3-4, Baechle Fall 2016crwdne2935289:0
IUPUI-BAECHLE-F16S3G4
crwdns2931471:04crwdne2931471:0
crwdns2935297:060crwdne2935297:0
