crwdns2915892:0crwdne2915892:0
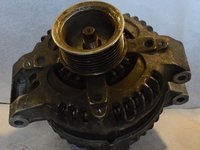
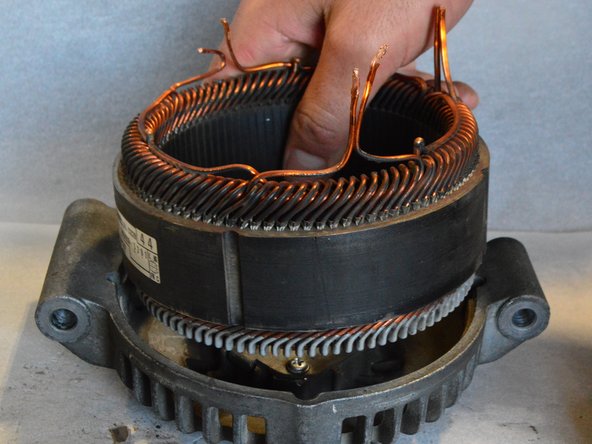
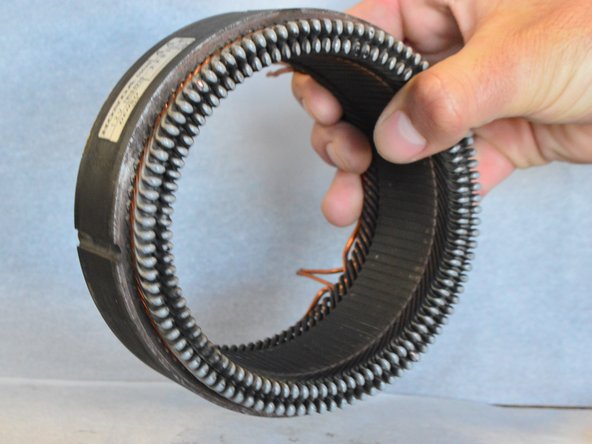
The objective of this repair guide is to instruct the reader how to remove and replace the stator in the CSC29 alternator. The stator is a series of copper windings that transfer current generated from the rapidly rotating rotor to the rectifier bridge assembly. This current eventually finds its way back into the car battery.
crwdns2942213:0crwdne2942213:0
-
-
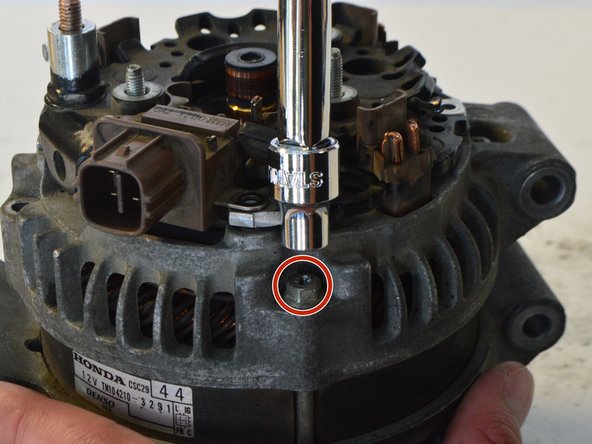
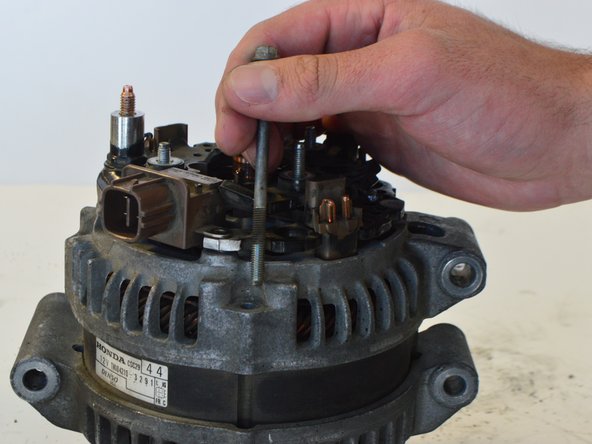
Remove 4, 7.9mm nuts using a 7.9mm socket driver head
-
-
-
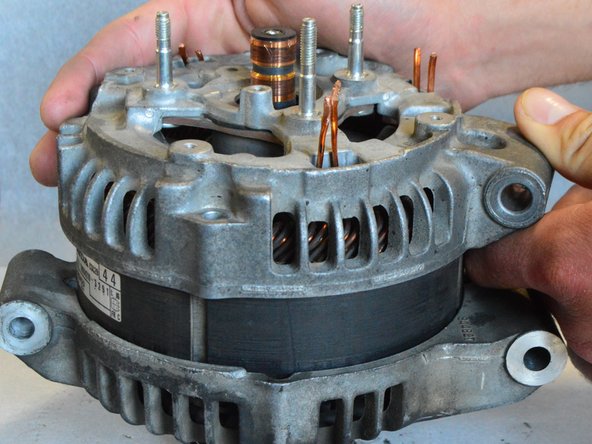
Pull cover off the body of the alternator
-
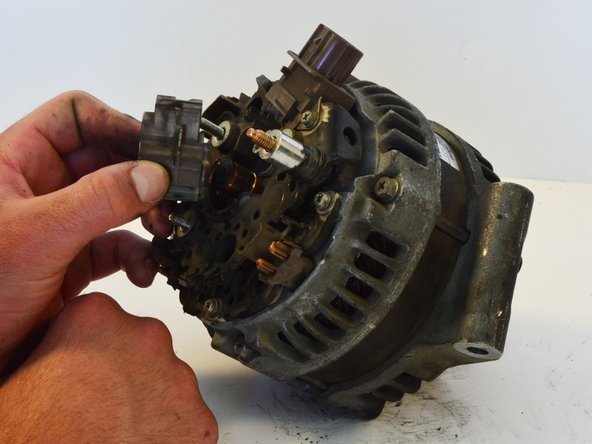
Once you have done this, you should be able to see the internal components of the alternator, particularly the bridge assembly that houses the rectifier, voltage regulator and brushes.
-
-
-
With the alternator cover removed, use a #2 Phillips screwdriver to remove the two, 6 mm screws that hold the brush cover in place.
-
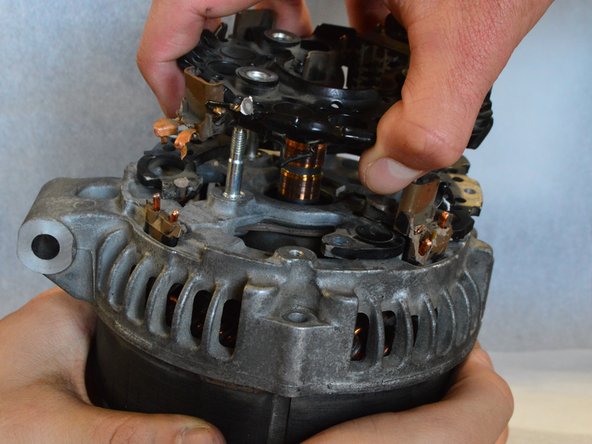
Remove the brush cover assembly from the alternator. You might need to insert a needle in the small hole to separate the brushes from the rotor. Pull it out without using much force to avoid damage.
It’s not always so simple to pull out the brush assembly. I was able to pull it out only after I did push and drove a needle thru the small hole on the cover with some wiggling around. This helps to separate the brushes from the rotor and then pulling is easy.
-
-
-
Use a #2 Phillips screwdriver to remove the two 6mm screws holding down the voltage regulator
-
-
-
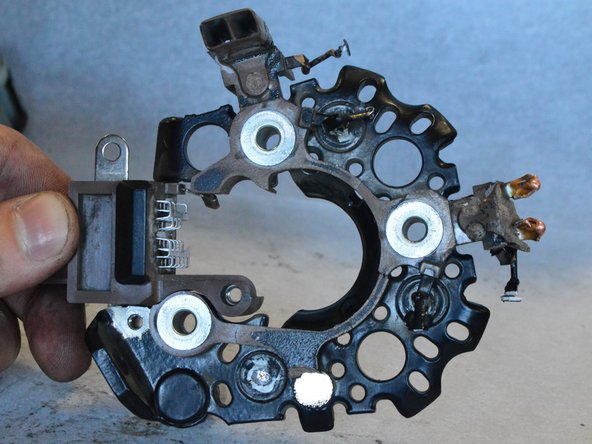
Locate and unscrew the 3, 6mm screws holding the bridge assembly in place
-
-
-
-
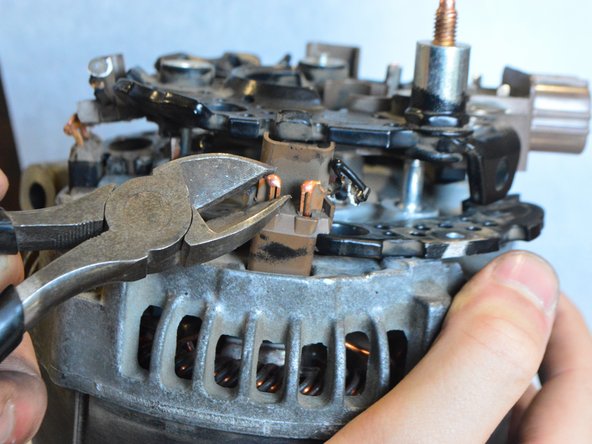
Locate the copper leads connecting the stator to the bridge assembly. There are 3 sets of 2 leads on the perimeter of the bridge, making 6 leads total.
-
Use wire cutters to cut all 6 of the leads on the perimeter of the bridge.
-
-
-
If necessary, use a pry bar to gently raise the top of the bridge assembly off the alternator
-
-
-
Remove the lower section of the bridge assembly
-
-
-
Use a Philips #2 Screwdriver or a 7.5mm socket driver to unscrew the 4, 7.5mm bolts running along the outer perimeter of the alternator
-
-
-
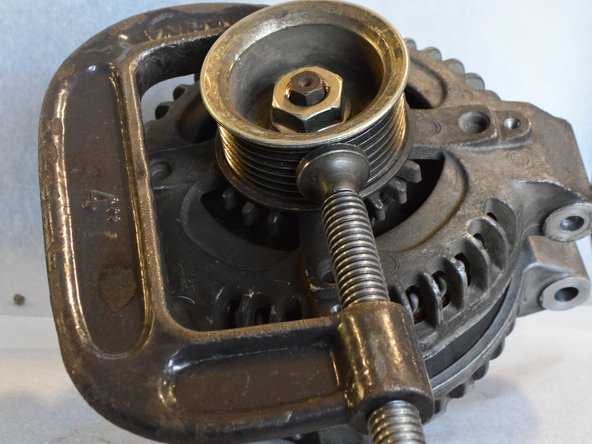
Use a c-clamp or another fixture to hold the pulley in place
-
-
-
Use a ratchet with a 25mm socket to remove the 25mm hex nut from the pulley
-
-
-
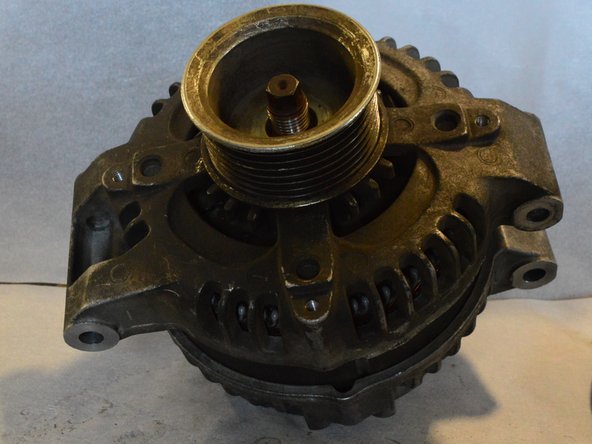
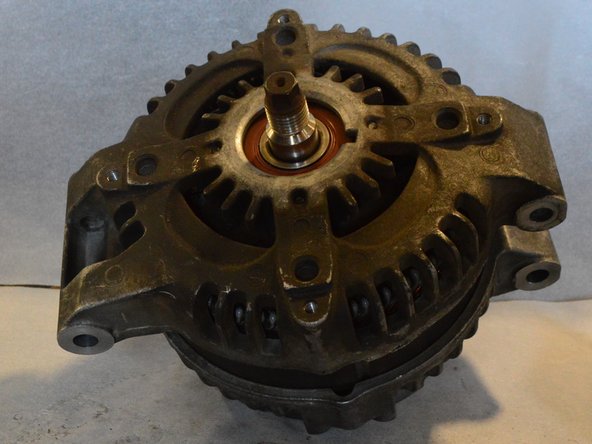
Once the nut is off, you can then remove the pulley.
-
-
-
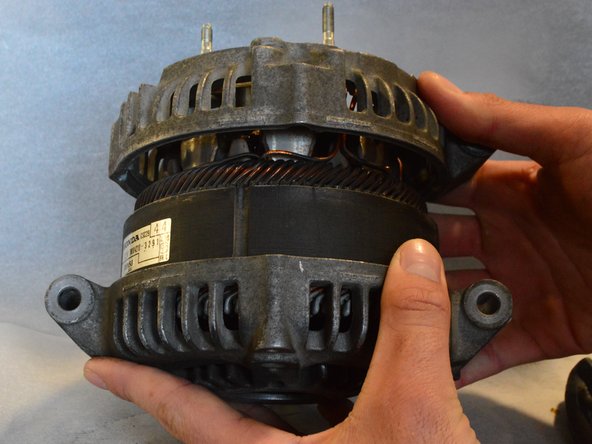
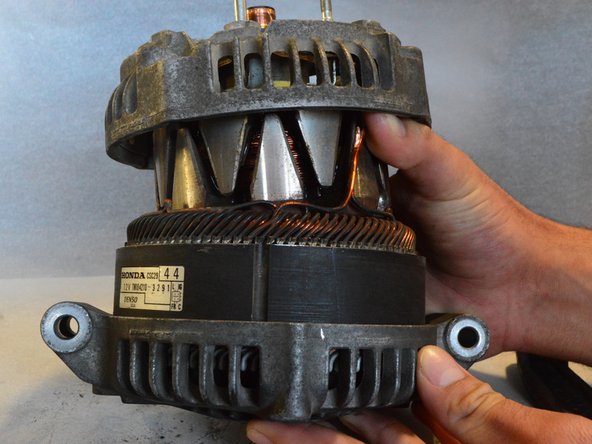
Once the pulley is removed, separate the rotor and stator. The stator is the piece with copper windings.
-
-
-
You can pull the stator out of the remaining cover and examine it.
-
To reassemble your device, follow these instructions in reverse order.
To reassemble your device, follow these instructions in reverse order.
crwdns2935221:0crwdne2935221:0
crwdns2935229:05crwdne2935229:0
crwdns2947410:01crwdne2947410:0
Thank you. Very good document, please keep up the excellent work.


