crwdns2915892:0crwdne2915892:0
We are replacing the speakers on the Hitachi CP-X2011N because the original speakers can sometimes get damaged when the volume is set too high. Additionally, if the built-in speakers are producing poor sound quality—such as distorted audio, low volume, or a lack of bass—they may need to be replaced.
crwdns2942213:0crwdne2942213:0
-
-
Orient the projector with the underside facing up and remove all nine 11.5 mm screws with a Phillips #00 screwdriver.
-
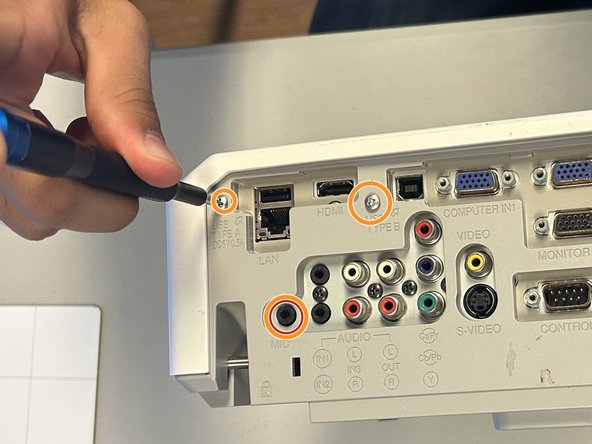
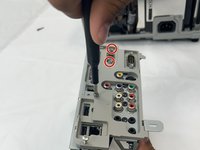
On the outlet area on the rear of the device, remove all three 11.5 mm screws with a Phillips #00 screwdriver.
-
Carefully remove the cover using your hands.
-
-
-
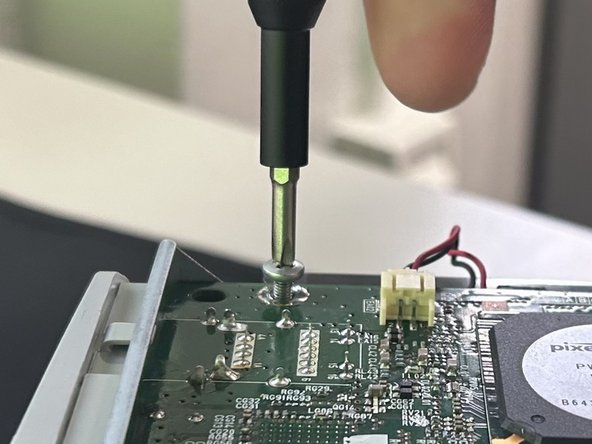
Remove all four 10.47 mm screws holding the motherboard in place with a Phillips #00 screwdriver.
-
-
-
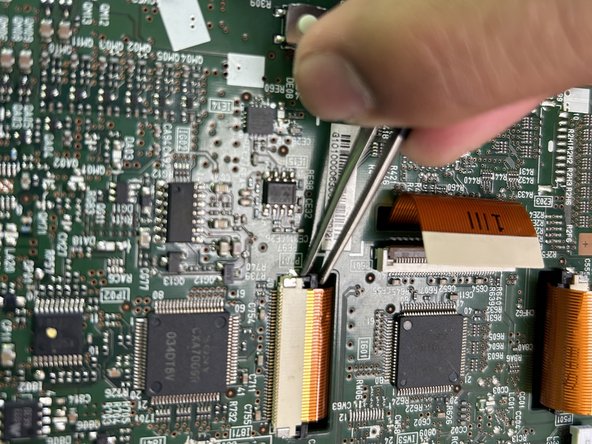
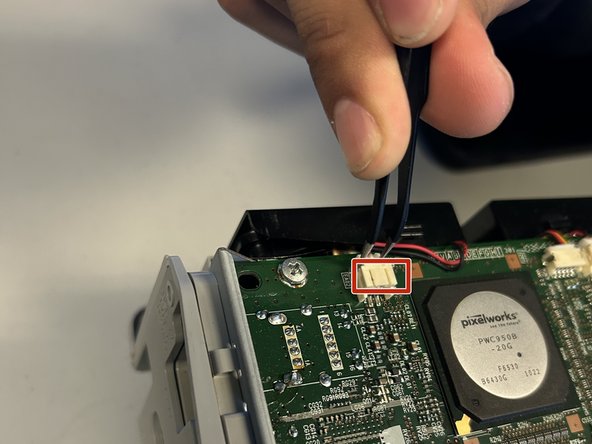
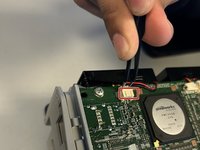
Carefully disconnect all seven ribbon cables and wire connections from the motherboard using tweezers.
-
-
-
-
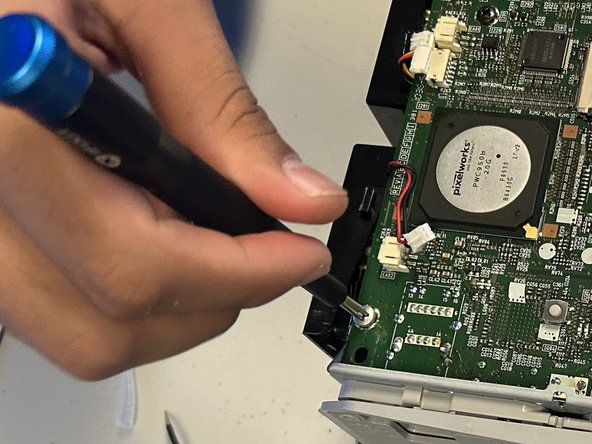
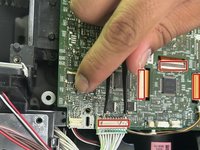
Carefully remove the motherboard from the projector.
-
-
-
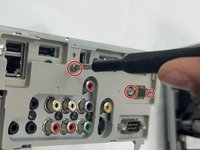
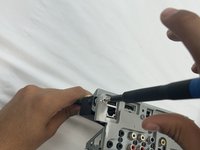
Remove all jack standoff screws to detach the ports from the cover using a Phillips #00 screwdriver.
-
-
-
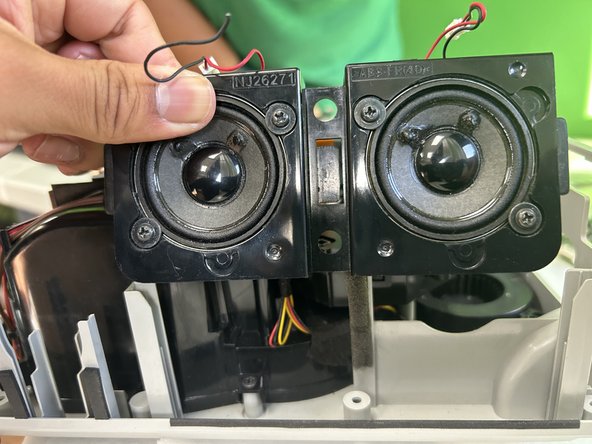
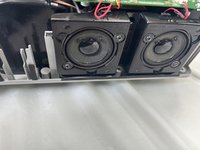
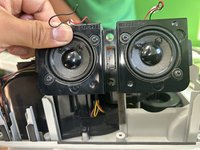
Lift the speakers up and out of their housing.
-


To reassemble your device, follow the above steps in reverse order.
Take your e-waste to an R2 or e-Stewards certified recycler.
Repair didn’t go as planned? Try some basic troubleshooting or ask our Answers community for help.
To reassemble your device, follow the above steps in reverse order.
Take your e-waste to an R2 or e-Stewards certified recycler.
Repair didn’t go as planned? Try some basic troubleshooting or ask our Answers community for help.

crwdns2915084:0crwdne2915084:0

University of North Texas, Team 2-4, Coppersmith Fall 2024 crwdns2935289:0University of North Texas, Team 2-4, Coppersmith Fall 2024crwdne2935289:0
UNT-COPPERSMITH-F24S2G4
crwdns2931471:04crwdne2931471:0
crwdns2935297:04crwdne2935297:0