crwdns2915892:0crwdne2915892:0
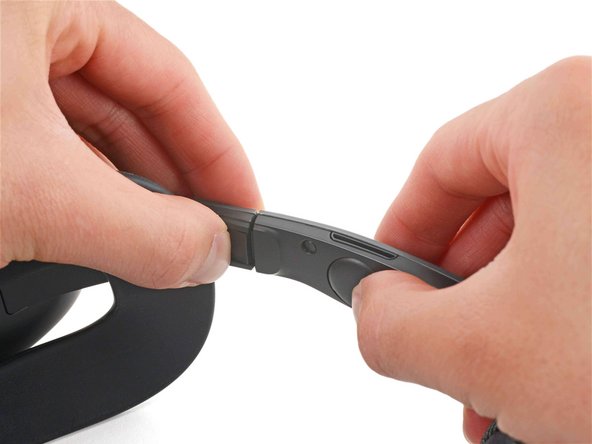
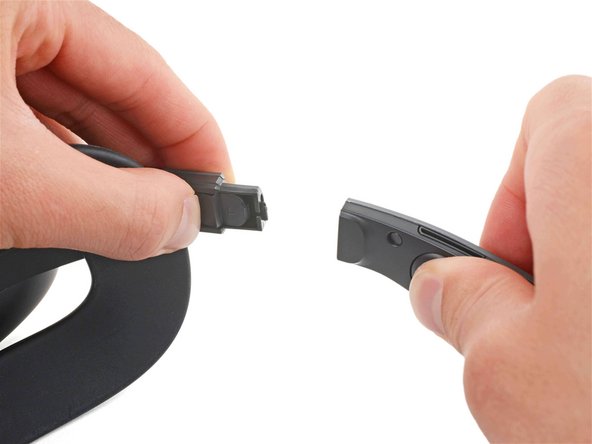
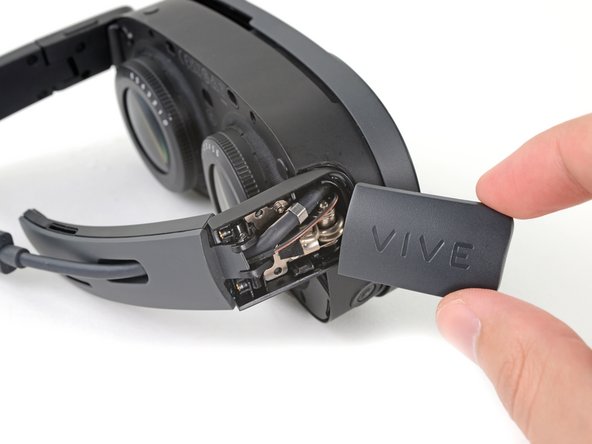
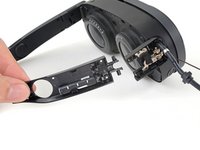
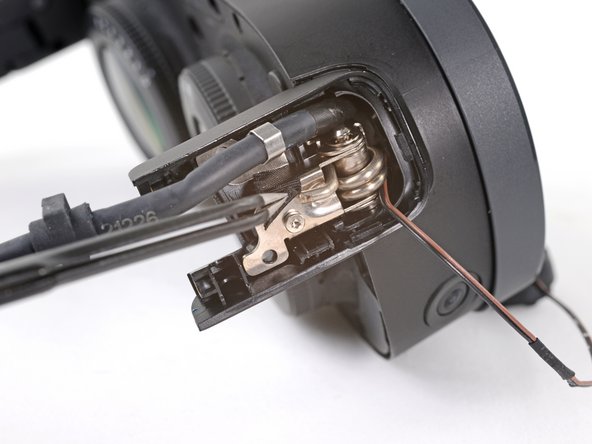
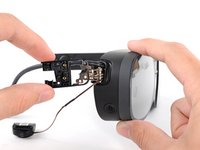
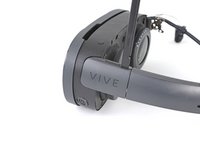
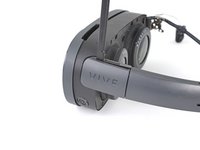
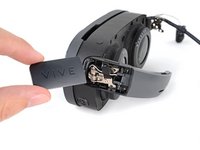
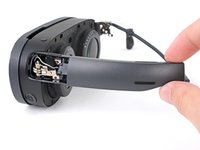
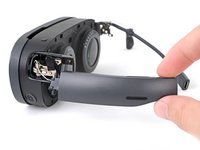
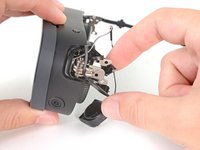
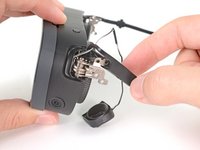
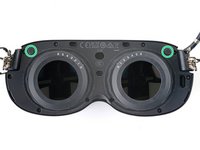
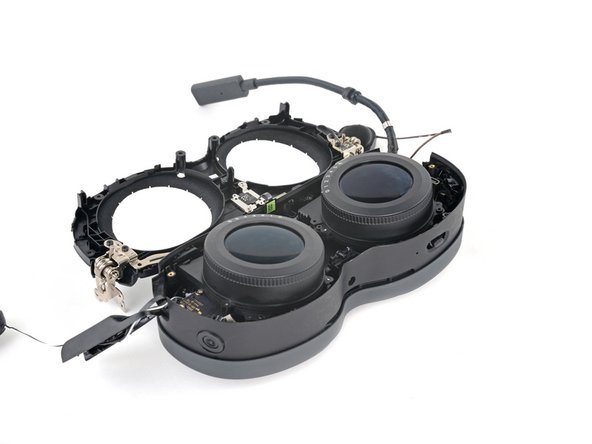
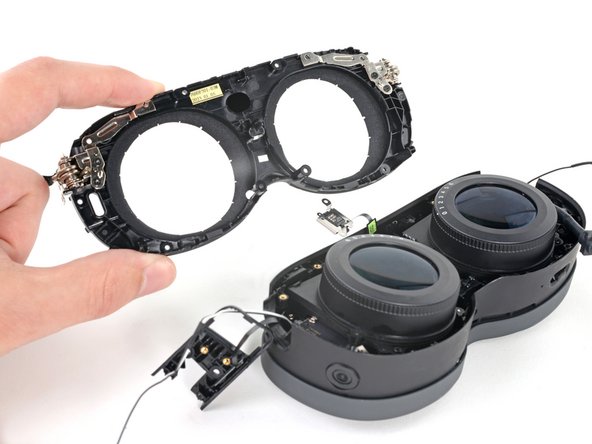
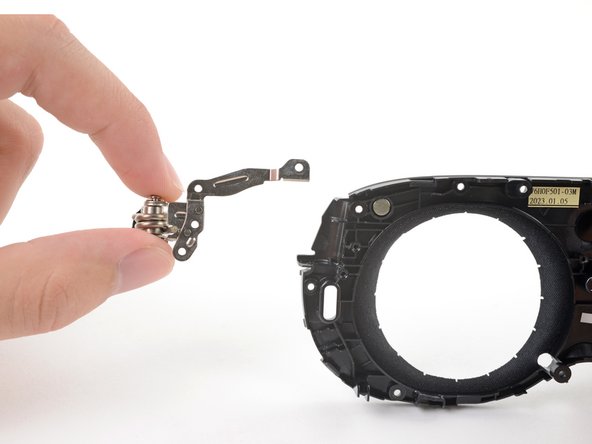
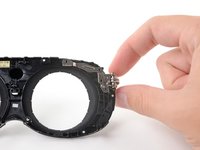
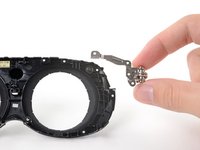
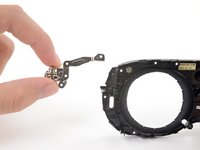
Use this guide to replace one or both hinges in your HTC Vive XR Elite.
crwdns2942213:0crwdne2942213:0
-
-
Disconnect the USB-C power cable.
-
-
-
Press the release button on the right battery cradle temple slot.
-
Pull the battery cradle away from the right temple slot to disconnect it.
-
-
-
Repeat the previous step for the left temple slot.
-
-
-
Separate the headset and battery cradle.
-
-
-
Grip the middle of the face cushion with your fingers and pull back to remove it.
-
-
crwdns2935267:0crwdne2935267:0Tweezers$4.99
-
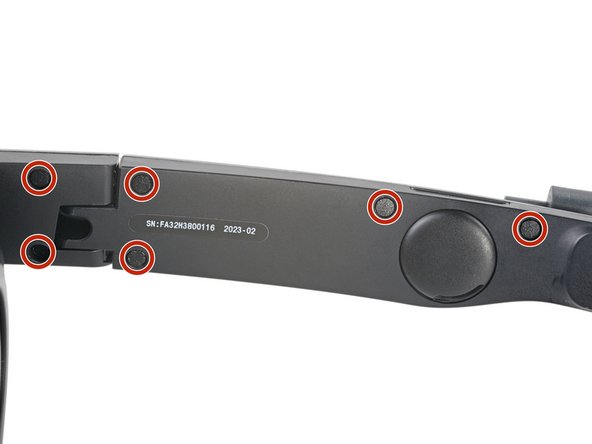
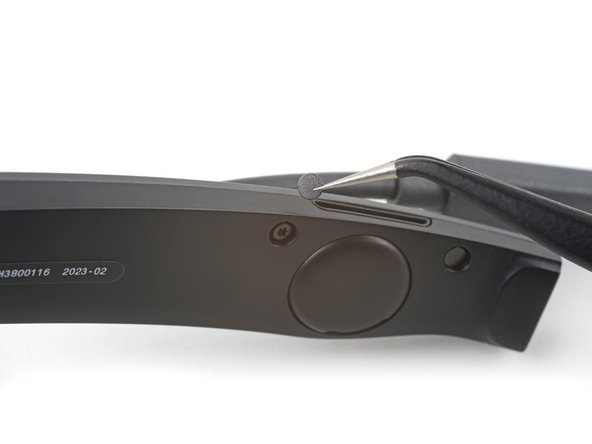
Use tweezers to remove the six screw covers from the right temple.
-
-
-
Use a T5 Torx screwdriver to remove the six 4.9 mm‑long screws securing the two right temple halves.
-
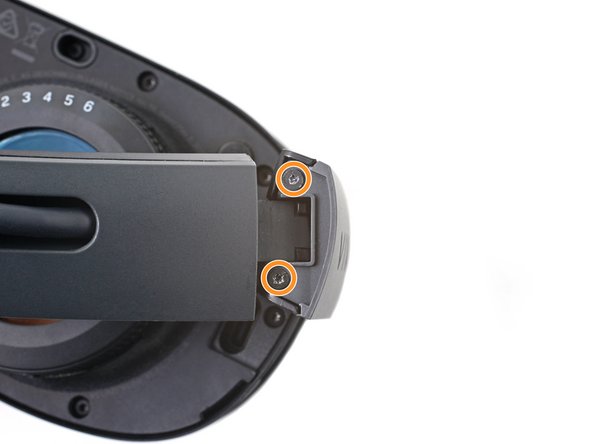
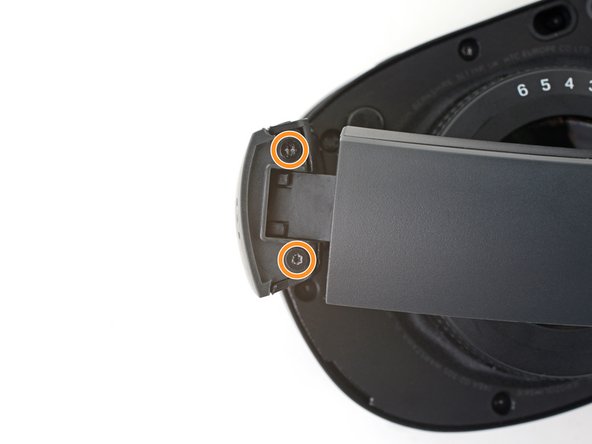
Use a T5 Torx screwdriver to remove the two 3.5 mm‑long screws securing the right hinge cover.
One of these fasteners may have a tamper sticker covering the access to the torx head. I used a small strip of gaff tape to wipe it off. You can use your fingernail to press the gaff tape into the tamper sticker to break it up. I found it easier than using a tool to scrape it off. It took me about 5 minutes to remove 10 sets of these tamper stickers. This may or may not work for the fastener covers in the arms. I used a tool for those.
-
-
-
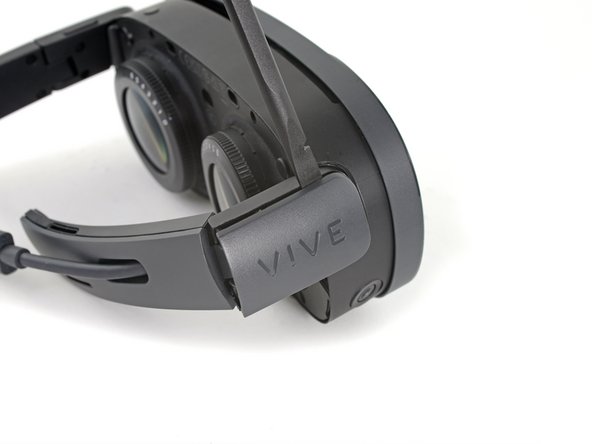
Insert the flat end of a spudger in the gap between the right outer and inner hinge covers.
-
Slide the spudger along the gap to separate the clips securing the outer hinge cover.
-
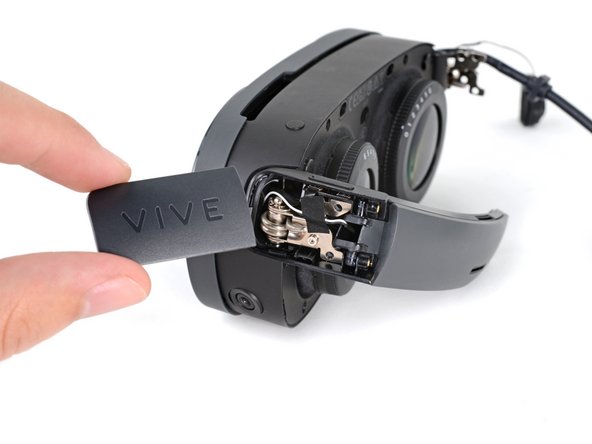
Remove the outer hinge cover.
-
-
-
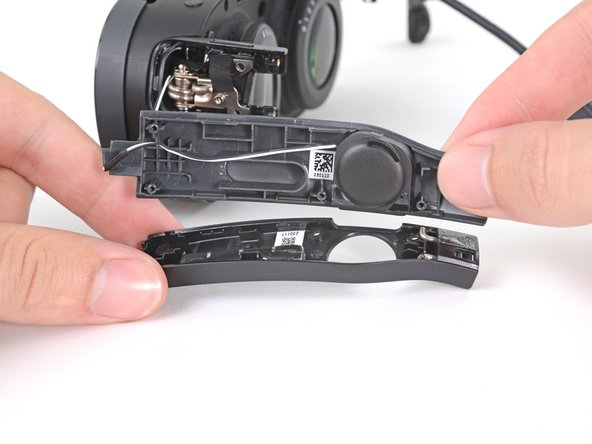
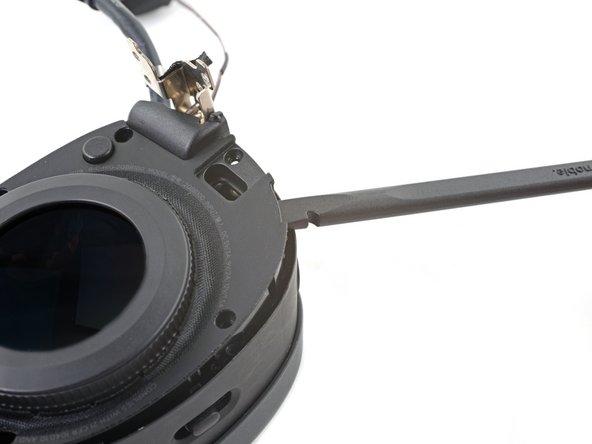
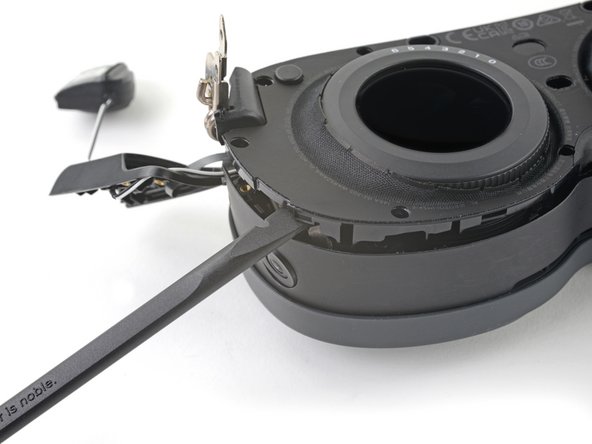
Insert the flat end of a spudger in the gap between the outer and inner temple.
-
Slide the spudger along the gap to separate the clips securing the outer temple.
-
-
-
Slide the top of the outer temple out of its slot in the hinge.
-
-
crwdns2935267:0crwdne2935267:0Tesa 61395 Tape$6.99
-
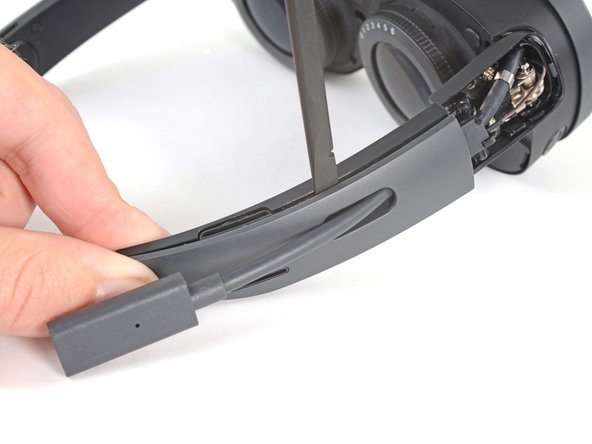
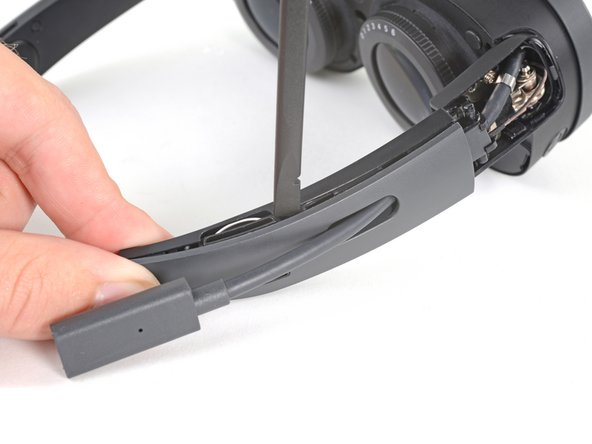
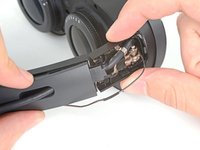
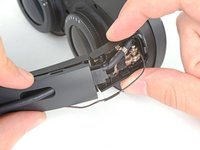
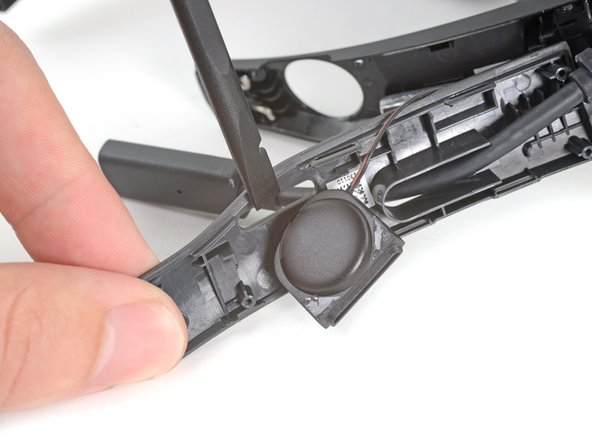
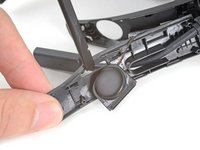
Rotate the outer temple towards you to access the speaker.
-
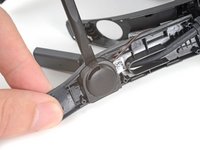
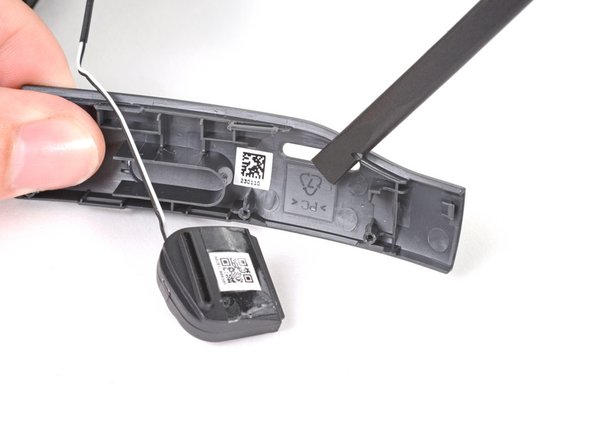
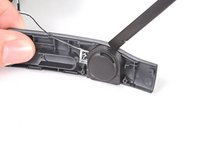
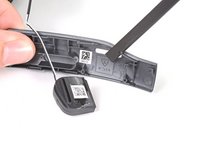
Slide the flat end of a spudger under the speaker to separate its adhesive.
-
-
-
-
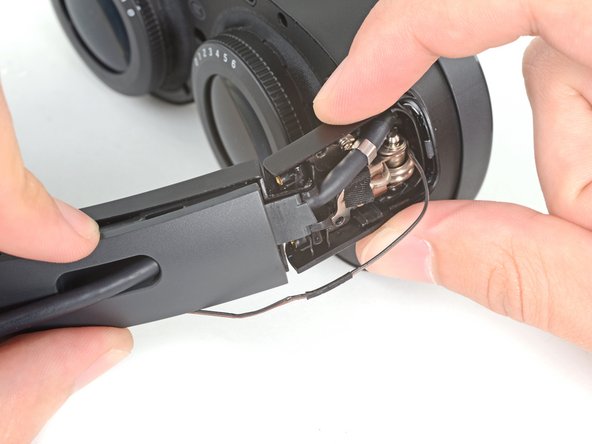
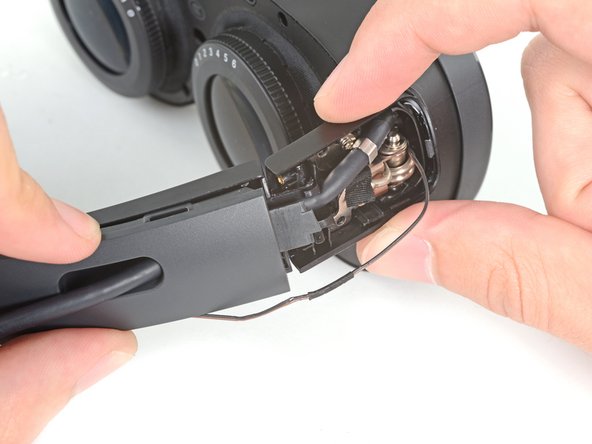
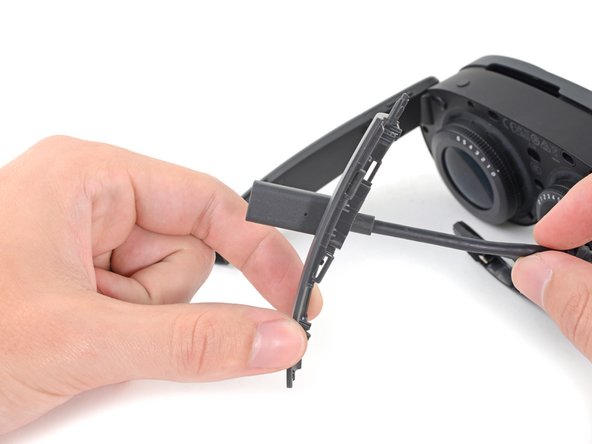
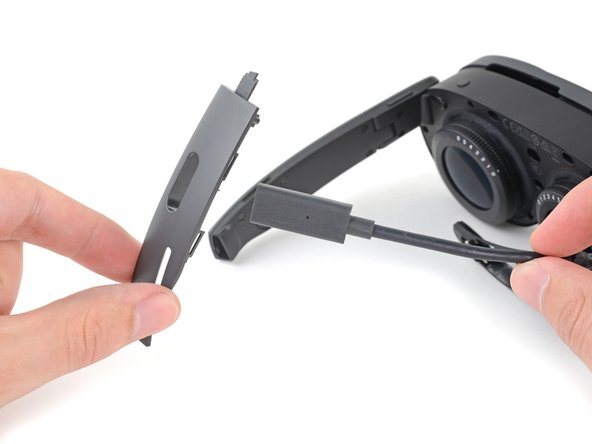
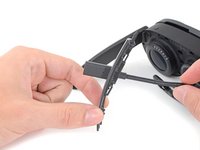
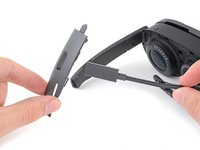
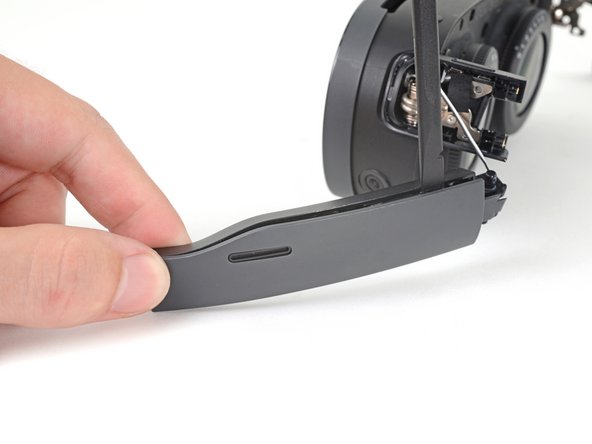
Thread the outer temple off of the USB‑C cable and remove it.
-
-
-
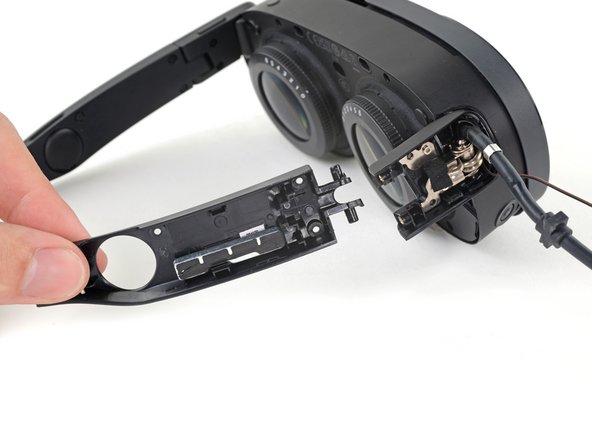
Pull the inner temple out of its slot in the hinge and remove it.
-
-
-
Use tweezers to peel back the black tape covering one of the inner hinge cover screws.
-
-
-
Use a T5 Torx screwdriver to remove the two screws securing the inner hinge cover:
-
One 3.1 mm‑long screw
-
One 4.9 mm‑long screw
-
-
-
Rotate the inner hinge cover off its groove in the frame.
-
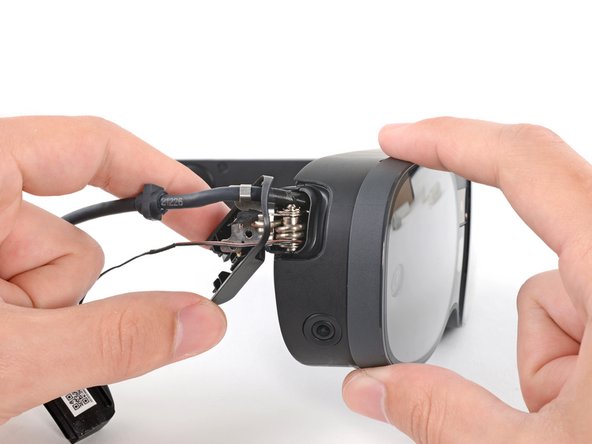
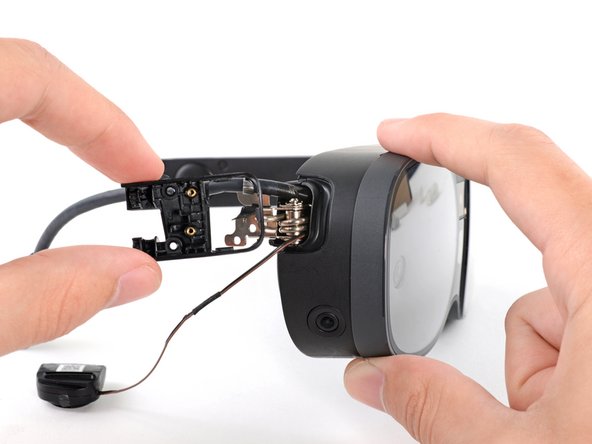
Thread the inner hinge cover off of the USB-C and speaker cables and remove it.
-
-
crwdns2935267:0crwdne2935267:0Tweezers$4.99
-
Use tweezers to remove the six screw covers from the left temple.
-
-
-
Use a T5 Torx screwdriver to remove the six 4.9 mm‑long screws securing the two left temple halves.
-
Use a T5 Torx screwdriver to remove the two 3.5 mm‑long screws securing the left hinge cover.
-
-
-
Insert the flat end of a spudger in the gap between the left outer and inner hinge covers.
-
Slide the spudger along the gap to separate the clips securing the outer hinge cover.
-
Remove the outer hinge cover.
-
-
-
Pull the left temple out of its slot in the hinge.
-
-
-
Insert the flat end of a spudger in the gap between the outer and inner temple.
-
Slide the spudger along the gap to separate the plastic clips securing the outer temple.
-
-
-
Pull the outer temple off of its inner half to completely release its plastic clips.
-
-
crwdns2935267:0crwdne2935267:0Tesa 61395 Tape$6.99
-
Slide the flat end of a spudger under the speaker to separate its adhesive.
-
Let the speaker rest next to the headset before continuing.
-
-
-
Use tweezers to peel back the black tape covering one of the inner hinge cover screws.
-
-
-
Use a T5 Torx screwdriver to remove the two screws securing the inner hinge cover:
-
One 3.5 mm‑long screw
-
One 4.9 mm‑long screw
-
-
-
Rotate the inner hinge cover off its groove in the frame.
-
Let the cover hang off its volume button cable for now.
-
-
-
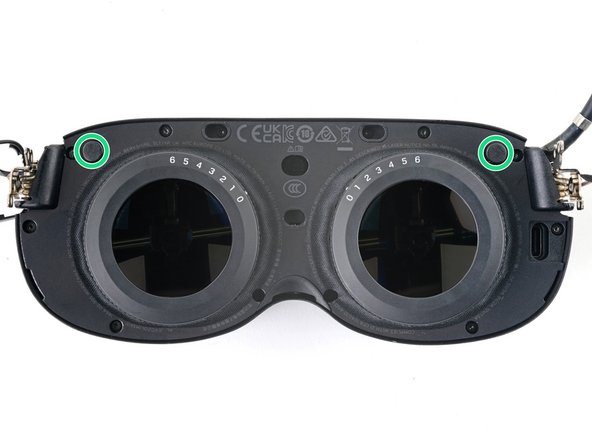
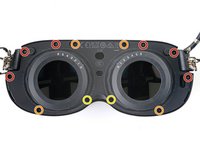
Use a T5 Torx screwdriver to remove the 12 screws securing the face plate:
-
Six 3.5 mm‑long screws
-
Four 4.9 mm‑long screws
-
Two 6.5 mm‑long screws
-
There are two magnets at the top corners of the face plate. As you remove nearby screws, they might stick to them.
-
-
-
Insert the flat end of the spudger in the gap between the frame and the bottom right corner of the face cover.
-
Pry up with the spudger to release the clips securing the face cover.
-
-
-
Repeat the prying process for the middle and bottom left portions of the face cover.
-
-
-
Lift the face cover and rotate it over the top of the frame.
-
Lay the face cover face up before continuing.
-
-
-
Use a T5 Torx screwdriver to remove the two 3.3 mm‑long screws securing the proximity sensor cable.
-
-
-
Remove the face cover.
-
-
-
Use a T5 Torx screwdriver to remove the four 4.7 mm‑long screws securing the hinges.
-
-
-
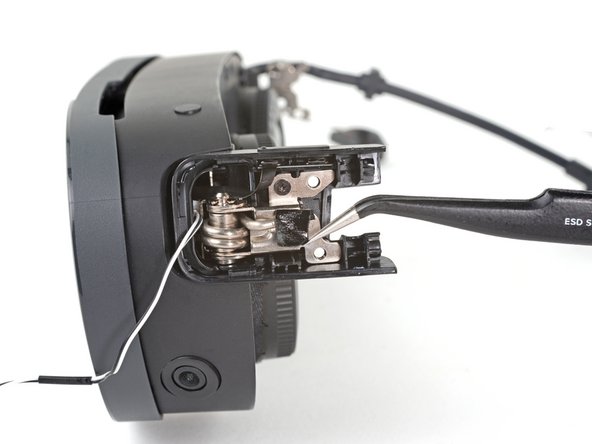
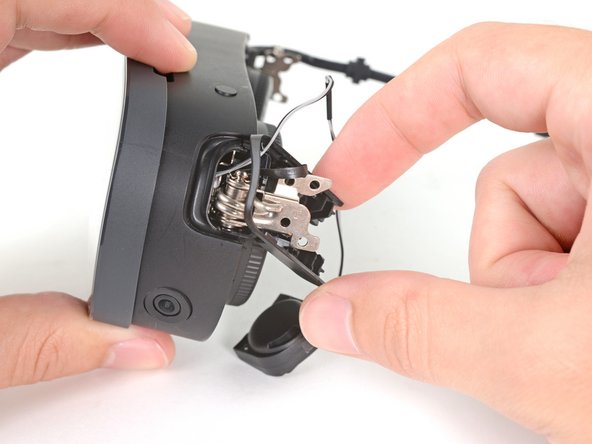
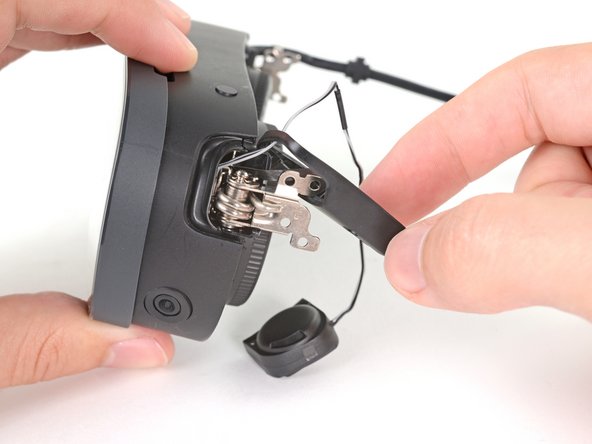
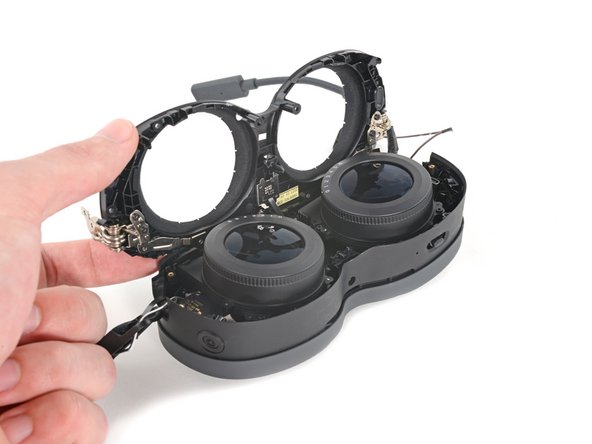
Pull the hinges of their slots in the frame.
-
Compare your new replacement part to the original part—you may need to transfer remaining components or remove adhesive backings from the new part before installing.
To reassemble your device, follow these instructions in reverse order.
Take your e-waste to an R2 or e-Stewards certified recycler.
Repair didn’t go as planned? Try some basic troubleshooting, or ask our Answers Community for help.
crwdns2947412:02crwdne2947412:0
I like how you give us pretty great detailed instructions on how to replace it but dont really give us a place on how to get them....
Success with replacement using these instructions! Thank you!!


