crwdns2915892:0crwdne2915892:0
You should use this guide if the battery in your HP ZBook STUDIO X360 G5 is defective. This usually occurs after you’ve had the laptop for an extended period of time and it no longer holds a charge for very long. This guide will help you bring your device back to life and extend its charge drastically.
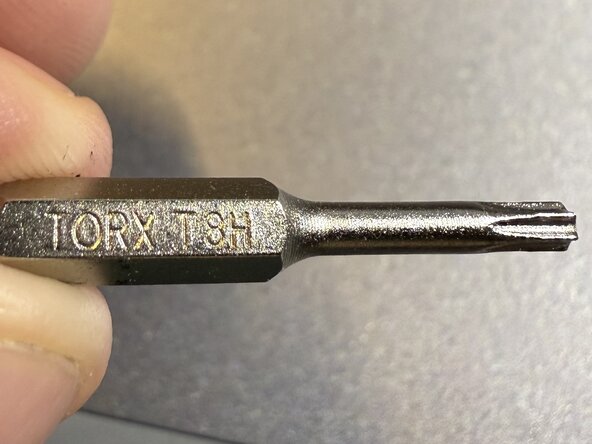
For this guide, you will need a Phillips head screwdriver, TR8 Torx Security bit, an iFixit opening tool, and a spudger. This guide is also a helpful prerequisite if you need to replace other components inside the body of your device.
If your battery is swollen, take appropriate precautions.
crwdns2942213:0crwdne2942213:0
crwdns2936621:0crwdne2936621:0
-
-
Close your laptop and turn it over so that the side without the HP logo is facing you.
-
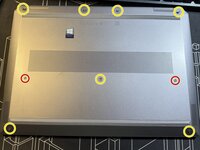
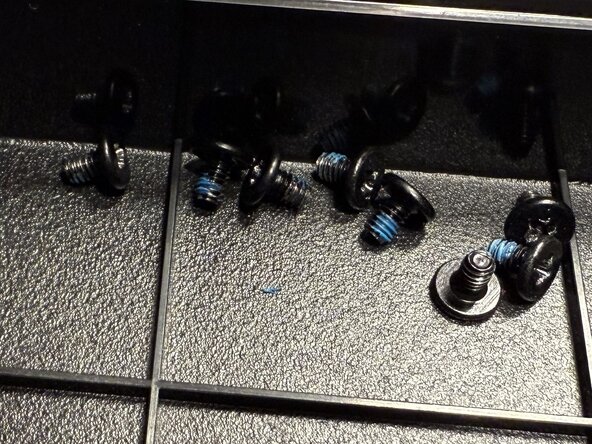
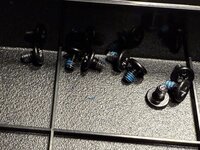
Using the TR8 bit, loosen the quantity nine screws from the base of the device.
-
Carefully separate the rear edge (near hinges) and sides of the base enclosure from the top cover using plastic prying tool [see linked HP instructional video].
-
-
-
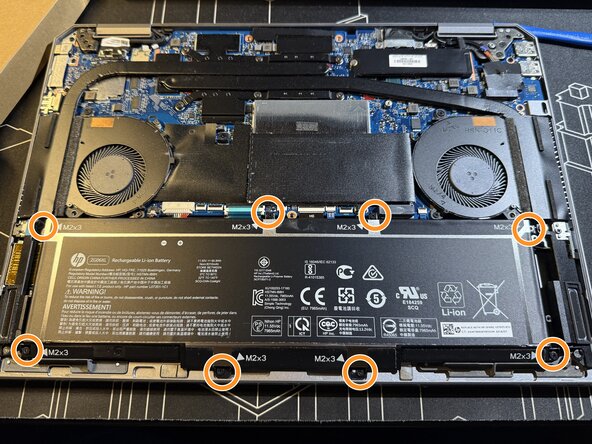
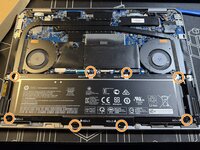
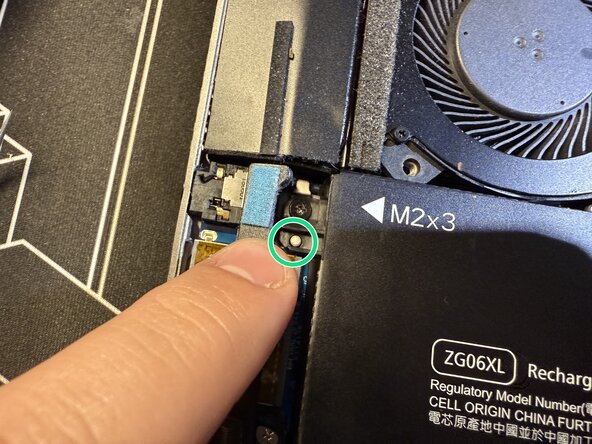
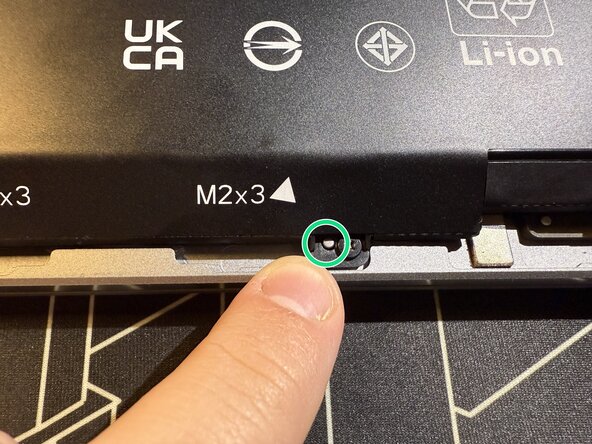
Remove the quantity eight "M2x3" screws using a PH1 screwdriver.
-
-
-
-
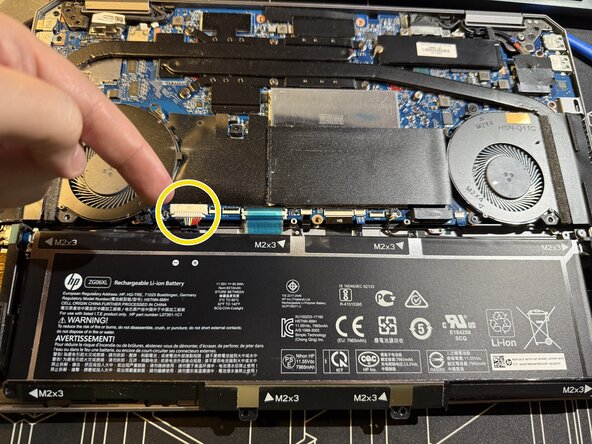
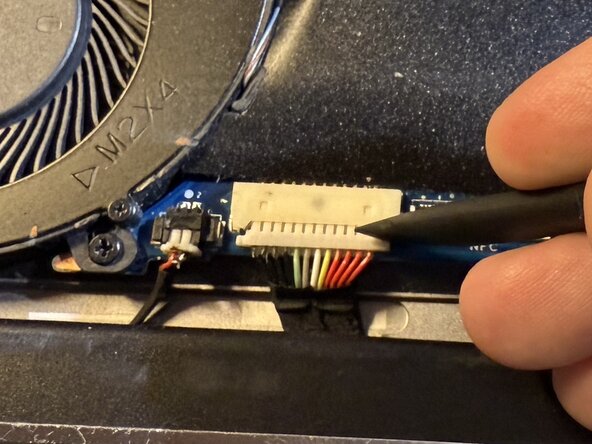
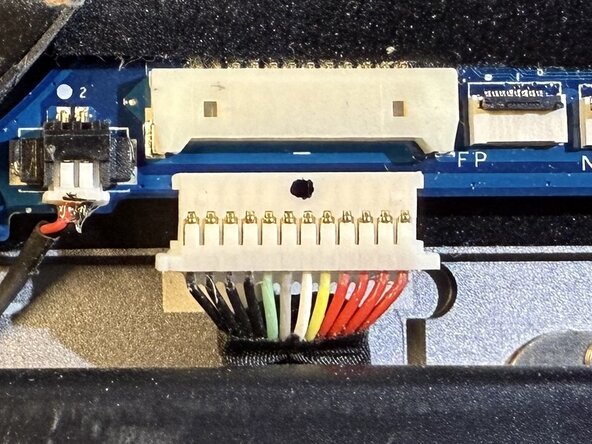
The 12-pin battery connector can be found just above the + and - symbols on the battery.
-
Use a spudger to gently pull the corners of the connector away from the white connector housing.
-
-
-
Gently place replacement battery into laptop, ensuring that the quantity two gray alignment pegs are properly seated in their respective mounting holes on the battery.
-
Carefully re-connect battery connector by gently pushing the corners of the connector into the white connector housing on the motherboard.
-
Re-install quantity 8 screws (removed in Step 2) to mount the battery to the inside of the laptop. Tighten screws until snug, being cautious not to strip the screw heads.
-
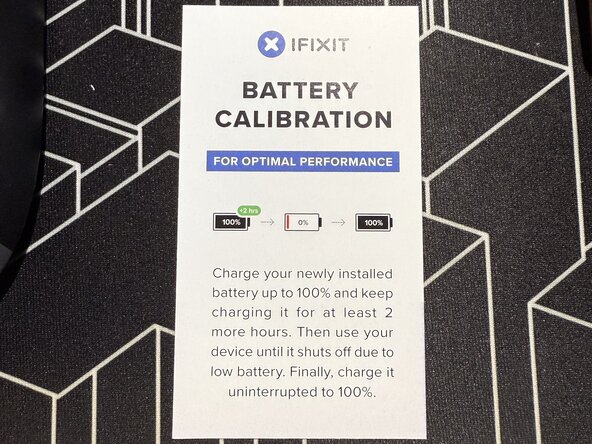
Follow "Battery Calibration Steps" below [see embedded picture] to ensure optimal performance of your new battery.
-


To re-install the base enclosure, follow Step 1 in reverse order.
Take your e-waste to an R2 or e-Stewards certified recycler.
Repair didn’t go as planned? Try some basic troubleshooting, or ask our Answers community for help.
crwdns2935221:0crwdne2935221:0
crwdns2935227:0crwdne2935227:0