crwdns2915892:0crwdne2915892:0
Use this guide to replace the hinge connector of your device.
crwdns2942213:0crwdne2942213:0
-
-
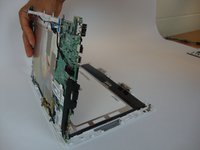
Using the blue plastic opening tool or a flat bladed tool, carefully slide the blade in between the display panel and gently slide to prop open the assembly.
-
-
-
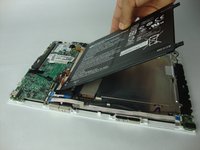
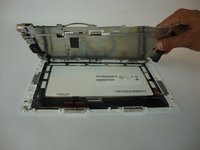
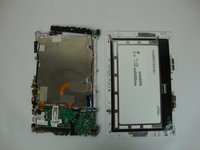
Gently lift and remove the display panel from the assembly.
-
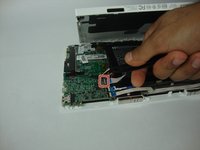
Remove the translucent yellow tape that covers the battery connector on the mainboard.
-
-
-
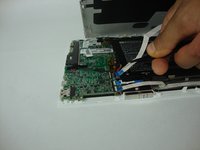
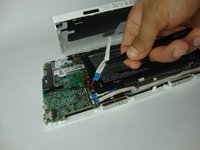
Flip up the small white colored locking flap using the tip of a spudger or your fingernail. Then the ribbon cable can be removed easily without much effort.
-
Carefully disconnect the white ribbon cable from the mainboard.
-
-
-
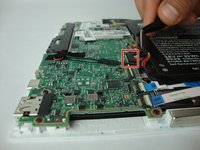
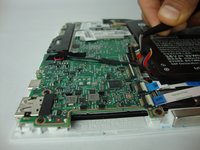
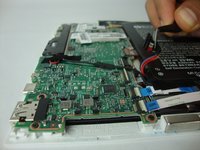
Carefully disconnect the battery cable from its connector on the mainboard.
-
-
-
-
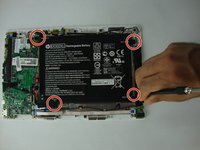
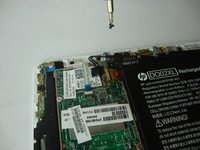
Using the Phillips #0 screwdriver, carefully remove the 4 corner screws that hold the battery to the display panel.
-
Remove the battery from the device.
How do you replace those magnets that help snap the laptop's into place?
-
-
-
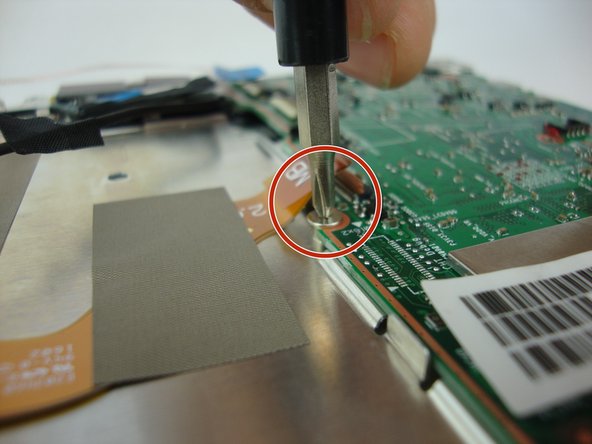
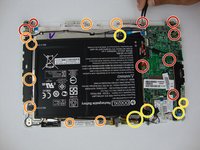
Using the Phillips #0 screwdriver, carefully remove the 21 screws that hold the screen to the display panel. 3.32 mm head, 3.99 mm length (RED) , 2.82 head 3.5 mm length (YELLOW), and 4.15 mm head, 2.35 mm length (BLUE).
-
3.32 mm head, 3.99 mm length.
-
2.82 head 3.5 mm length.
-
4.15 mm head, 2.35 mm length.
You have taken the battery screws out twice, there is still more screws after you have taken out them 21.
-
-
-
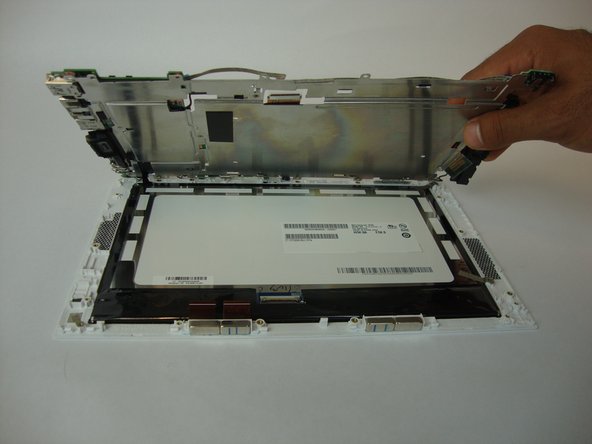
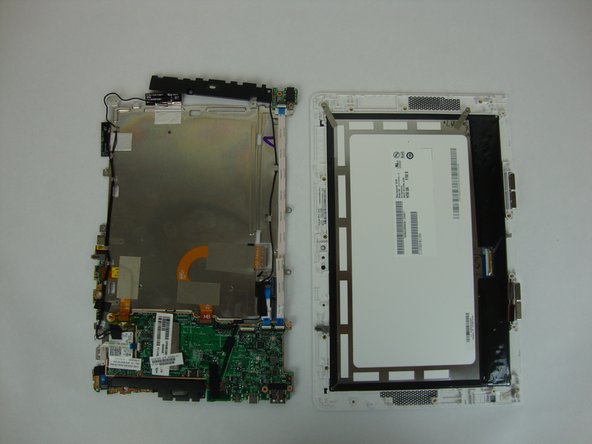
Very carefully lift the circuit board in order to keep everything attached. Be careful with any cables that may still be connected.
-
-
-
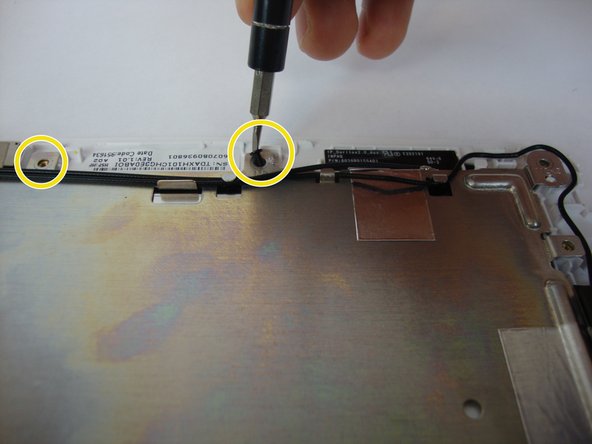
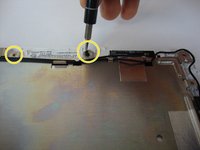
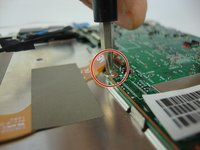
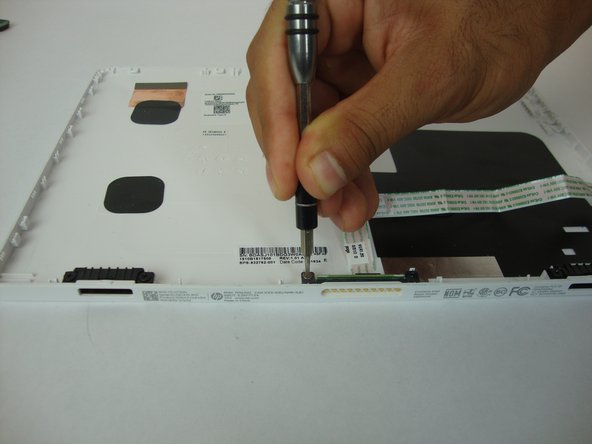
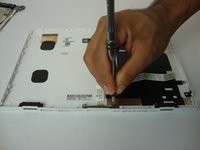
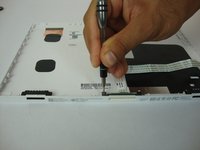
Use the Phillips #0 screwdriver to unscrew 2 screws 2.82 mm head 3.5 mm length from the hinge connector
-
-
crwdns2935267:0crwdne2935267:0Tweezers$4.99
-
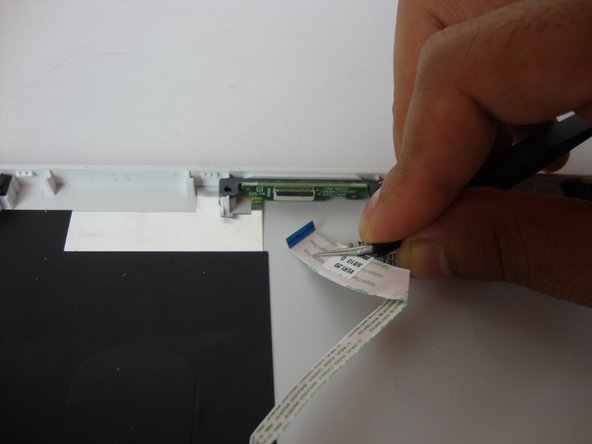
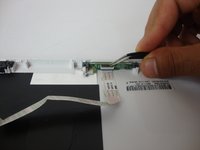
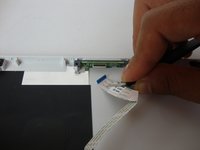
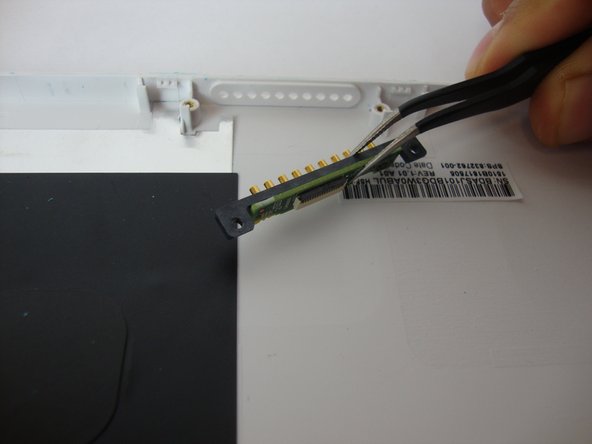
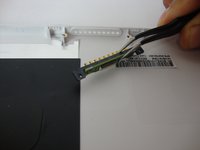
Use the tweezers to gently remove the white pogo board ribbon from the hinge connector.
-
-
-
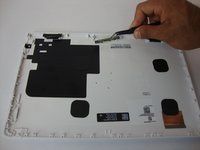
Gently remove the hinge connector from the display panel.
-
To reassemble your device, follow these instructions in reverse order.
To reassemble your device, follow these instructions in reverse order.
crwdns2935221:0crwdne2935221:0
crwdns2935227:0crwdne2935227:0
crwdns2947410:01crwdne2947410:0
THANK YOU SO MUTCH !!! My keyboard was broken but this is just that the cable wasn’t connected ! but i have only make step 1,2,3 and 4


