crwdns2915892:0crwdne2915892:0
If your HP Pavilion G60-120US laptop is overheating, failing to power on, or crashing frequently, it might be time to replace the motherboard. The motherboard, also known as the main circuit board, is the core of your laptop. It connects all the internal components, including the CPU, memory, and storage, and ensures they communicate and function properly.
This guide provides straightforward, step-by-step instructions to help you replace the motherboard and restore your laptop’s functionality. Replacing a motherboard can seem challenging, but with clear instructions and some patience, you can get the job done, even if you’re not an expert.
Before you begin, ensure that the issue is indeed with the motherboard. Problems like overheating or power failures can sometimes be resolved by cleaning dust and debris from the laptop’s cooling system. Use short bursts of compressed air to clear the vents or gently clean the fan with a soft brush if necessary. Once you've confirmed the motherboard is faulty, proceed with this guide.
Preparation is essential for a successful repair. Start by powering off the laptop, unplugging it from any power source, and disconnecting all peripherals. Gather the necessary tools and set up a clean, organized workspace.
By following this guide carefully, you’ll be able to safely remove the damaged motherboard.
crwdns2942213:0crwdne2942213:0
-
-
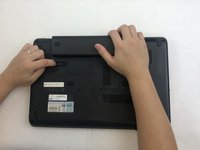
Turn the laptop over to reveal the battery.
-
-
-
Slide and hold the battery release switch to the left to release the battery from the device.
-
-
-
While holding the battery release switch, grab the battery and pull it upward gently.
-
-
-
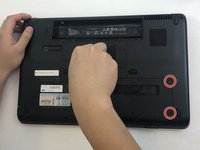
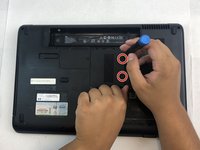
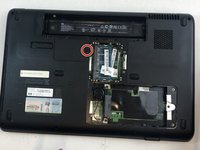
Using the Phillips #0 screwdriver, remove the seven 4.0mm screws on the battery compartment of the laptop.
-
-
-
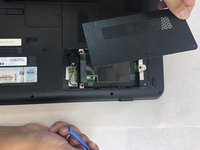
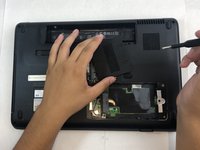
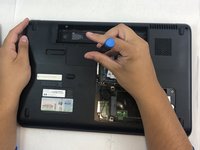
Using the Phillips #0 screwdriver, remove two 4.0mm screws from the hard disk cover.
-
Remove the hard disk cover.
-
-
-
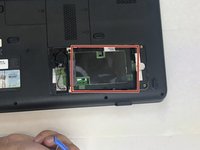
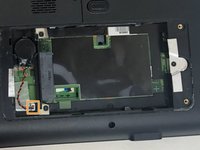
Remove the hard drive by pulling gently and disconnecting the hard drive from the laptop.
-
Gently pull on the black and red wiring on the bottom left to separate the wire from the component.
-
-
-
Remove the two 4.0 mm Phillips #0 screws from the hard disk compartment.
-
-
-
Using the Phillips #0 screwdriver, remove the two 4.0 mm screws from the memory card cover.
-
Remove the memory disk cover.
-
-
-
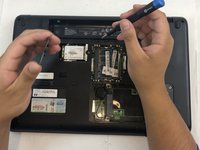
Using the Phillips #0 screwdriver, remove the 4.0 mm screw from the Wi-Fi chip cover.
-
Remove the Wi-Fi chip cover.
-
-
-
-
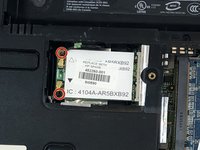
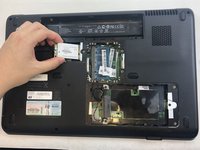
Using the Phillips #0 screwdriver, remove the two 3.0 mm screws securing the Wi-Fi chip in place.
-
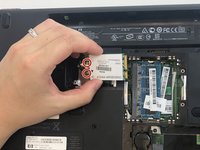
Grab the Wi-Fi chip and pull up gently to the left to disconnect it from the laptop.
-
-
-
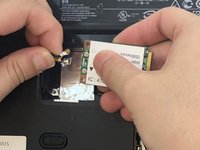
Disconnect the two wires connecting the chip's base.
-
Remove the Wi-Fi chip.
-
-
-
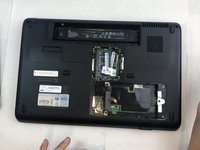
Using the Phillips #0 screwdriver, remove the seven 4.0 mm screws on the bottom of the laptop.
-
-
-
Turn the laptop back to its upright state.
-
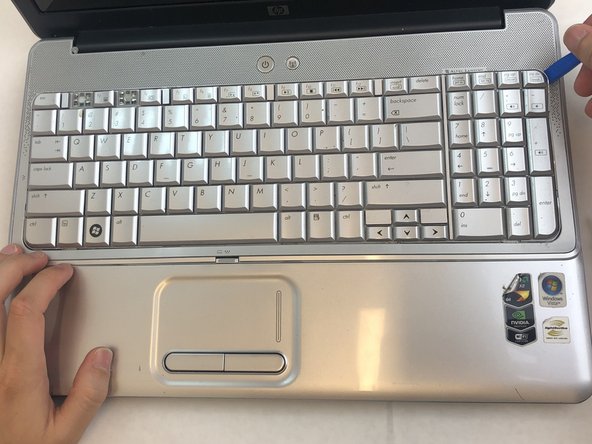
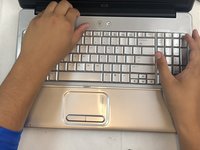
Insert an opening tool into the upper right corner of the keyboard and gently lift it to separate it from the laptop.
-
-
-
Grab the wiring and gently pull it out to disconnect it from the laptop.
-
Remove the keyboard.
-
-
-
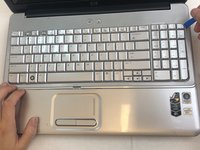
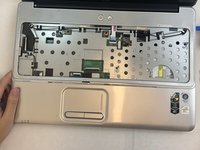
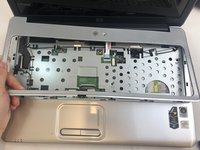
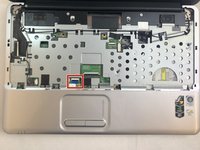
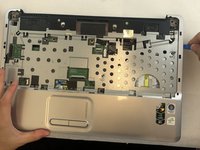
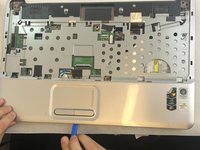
Insert an opening tool into the top right side of the corner, and gently lift the rest of the cover to separate if from the laptop.
-
-
-
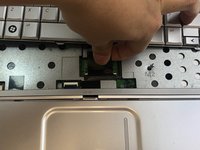
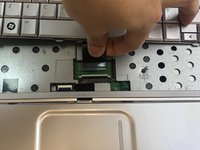
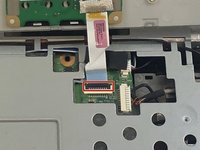
Using your fingertips, detach the ribbon cable by gently lifting up the black tab located on the bottom end of the cable.
-
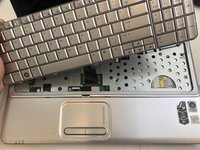
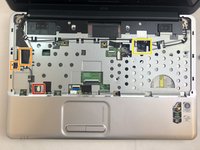
Separate the cable and remove the cover.
-
-
-
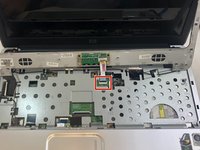
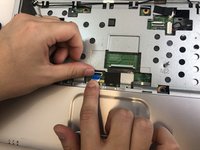
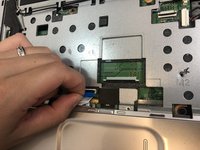
Remove the mouse and touchpad cable by lifting the black tab and gently pulling the cable out.
-
-
-
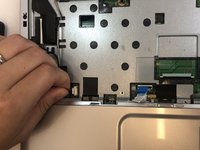
Detach the white screen wiring on the bottom left side by gently pulling out.
-
Detach two black screen cables on the middle left side by gently pulling out the cables.
-
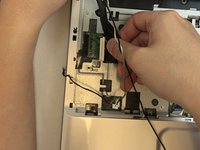
Pull out the black cable on the upper right side of the laptop.
-
-
-
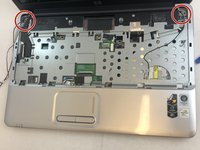
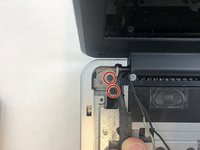
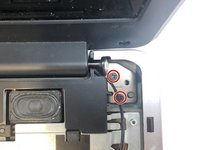
Using the Phillips #0 screwdriver, remove the four 4.0 mm screws on both hinges of the laptop's screen.
-
-
-
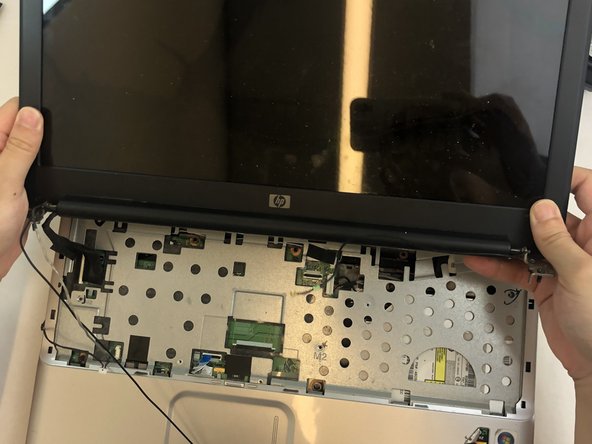
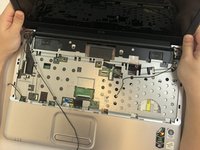
Gently lift and detach the display assembly from the laptop’s base.
-
-
-
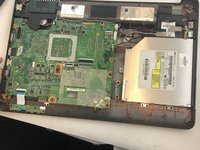
Using the Phillips #0 screwdriver, remove the four 4mm screws from the midframe.
-
-
-
Using an opening tool, gently lift each corner of the midframe.
-
Detach and remove the midframe from the main body of the laptop.
-
-
-
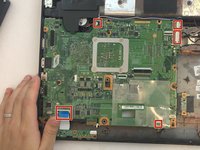
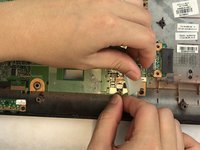
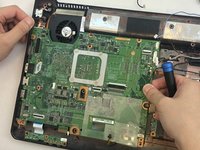
Gently detach the five wires that are connected to the motherboard.
-
-
-
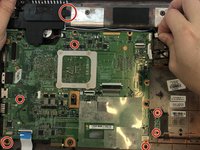
Remove seven 4mm Phillips #0 screws from the motherboard.
-
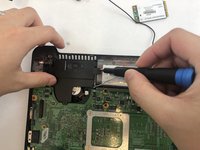
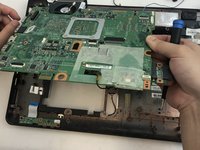
Remove the speaker from above the fan.
-
-
-
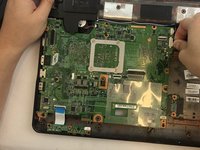
Gently lift the motherboard out of the laptop.
-


To reassemble your device, follow these instructions in reverse order.
To reassemble your device, follow these instructions in reverse order.

