crwdns2915892:0crwdne2915892:0
If your HP Envy X2-15-C001Dx laptop sound begins to become distorted, staticky, Bluetooth audio not connecting, and overall faulty, you may need to replace the audio board replacement. Use this guide to help replace your audio board from the comfort of your home.
An audio board, also known as a sound card is responsible for the output audio signals. It handles converting digital audio signals into analog signals that can be played through speakers or headphones, alongside managing input from audio from sources such as the microphone.
Before beginning the process, try clearing out the audio speakers ensuring nothing is covering them with a brush or a small air blower.
Please remember to turn off the device before starting the guide!
crwdns2942213:0crwdne2942213:0
-
-
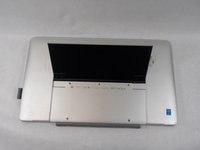
Place the laptop face down on a table.
-
-
-
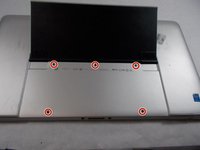
Remove the five screws from the bottom of the back plate using a Phillips #1 screwdriver.
-
-
-
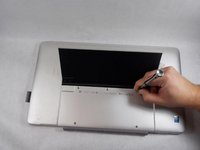
Remove four screws from the back stand hinges using a Phillips #1 screwdriver.
-
-
-
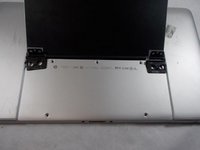
Remove the hinges and the back stand from the laptop.
-
-
-
-
Use a spudger to remove the thin panel where the back stand was.
-
-
-
Remove the screws from the back panel using a Phillips #1 screwdriver.
-
-
-
Remove two side screws using a Phillips #1 screwdriver.
-
-
-
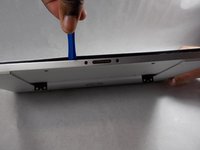
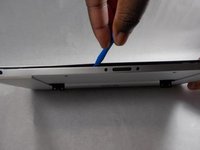
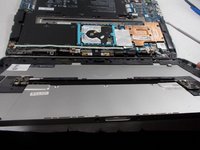
Pry apart the base from the screen by going around the entire perimeter with an opening tool.
-
-
-
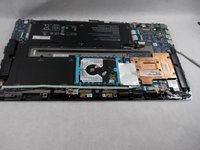
Remove the back panel from the laptop.
-
-
-
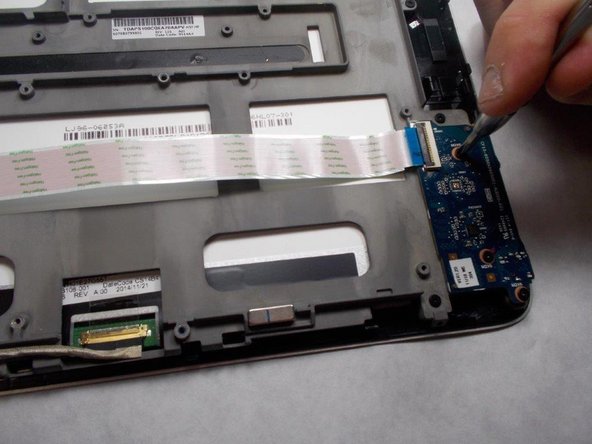
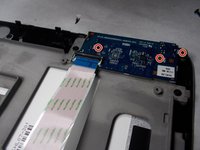
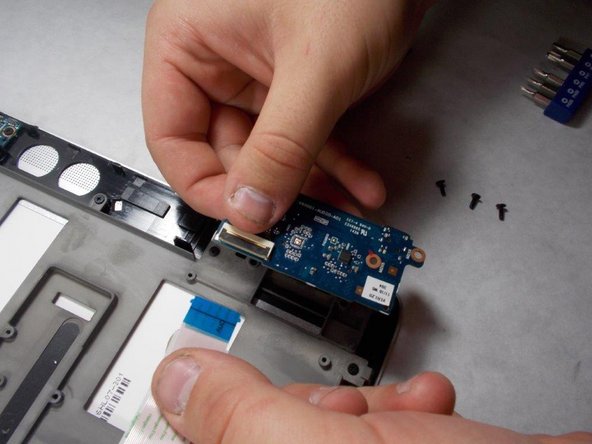
Remove the three 6 mm screws from the audio board using a Phillips #1 screwdriver.
-
-
-
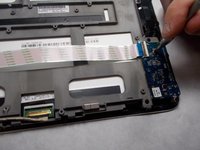
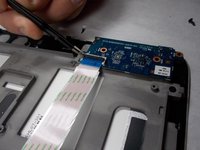
Flip up the black retaining flap securing the audio board's ribbon cable.
-
Slide the ribbon cable out of its connector on the audio board.
-
-
-
Remove the audio board from the laptop.
-


To reassemble your device, follow these instructions in reverse order. Take your e-waste to an R2 or e-Stewards certified recycler.
To reassemble your device, follow these instructions in reverse order. Take your e-waste to an R2 or e-Stewards certified recycler.
crwdns2935221:0crwdne2935221:0
crwdns2935227:0crwdne2935227:0
crwdns2915084:0crwdne2915084:0

UMass Dartmouth, Team 2-6, Sinclaire Fall 2021 crwdns2935289:0UMass Dartmouth, Team 2-6, Sinclaire Fall 2021crwdne2935289:0
UMASSD-SINCLAIRE-F21S2G6
crwdns2931471:03crwdne2931471:0
crwdns2935297:06crwdne2935297:0