crwdns2915892:0crwdne2915892:0
Use this guide to replace the RTC battery (aka CMOS battery or clock battery) in your HP EliteBook 845 G7 laptop.
The RTC battery is responsible for powering the system’s clock and retains BIOS settings when the computer is turned off. If your computer loses track of time or resets BIOS settings, the RTC battery may need to be replaced.
When handling batteries, don’t use sharp or metal tools, and don’t bend them or use excessive force. If your battery is swollen, take appropriate precautions.
Still under warranty? Contact HP to learn your warranty status, receive a repair under warranty if eligible, or for further warranty information.
crwdns2942213:0crwdne2942213:0
-
-
Save your work, fully shut down your laptop, and unplug all cables.
-
-
-
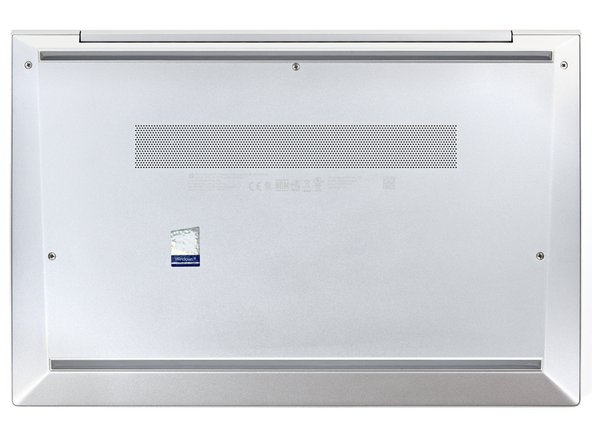
Use a Phillips screwdriver to fully loosen (but not remove) the five captive screws securing the bottom cover.
-
-
-
Position your laptop so the rear edge (with the screen hinge) is closest to you.
-
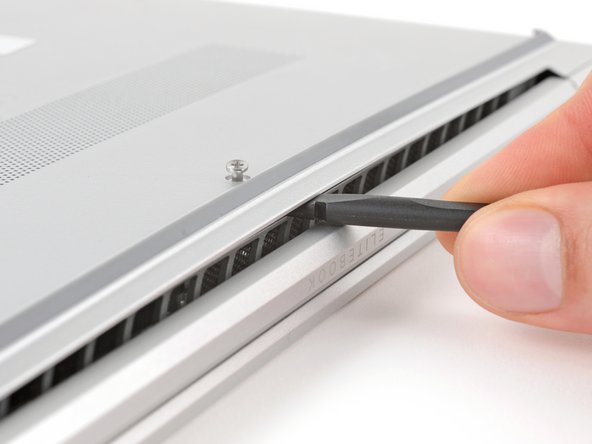
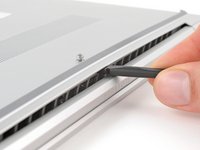
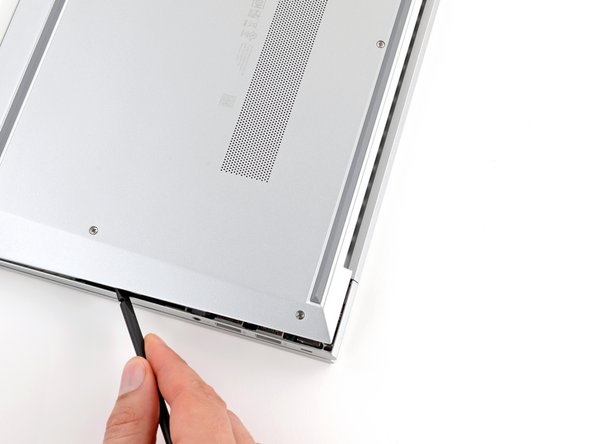
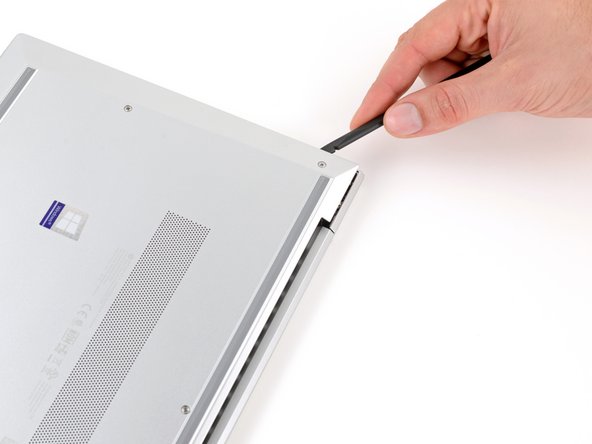
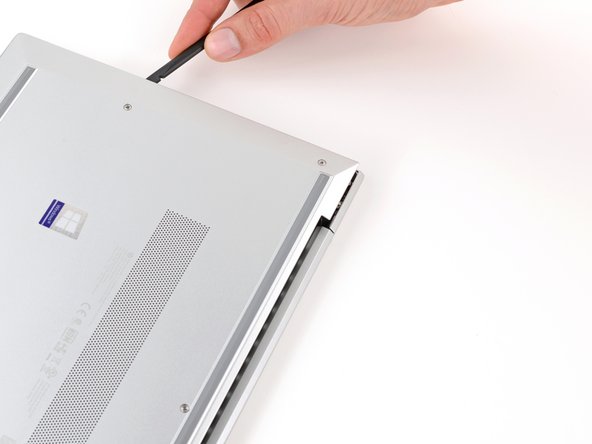
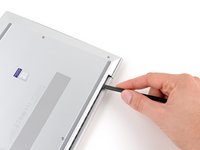
Insert the flat end of a spudger between the rear edge of the bottom cover and the frame, near the middle screw and ELITEBOOK text.
-
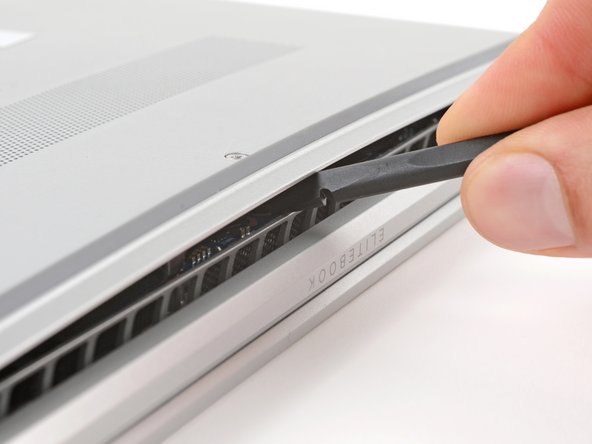
Use your spudger to pry up the cover to release the clip securing it.
-
Leave the spudger inserted under the bottom cover for the next step.
-
-
-
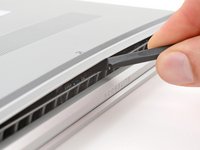
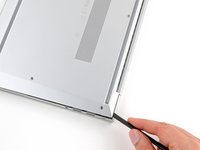
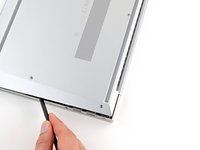
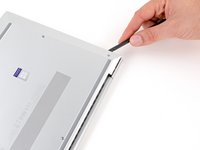
Slide your spudger along the rear edge toward one of the corners to release the rear edge clips.
-
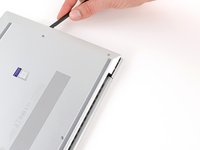
Rotate your spudger around the corner and up the edge to release the clips securing the short edge of the cover.
-
-
-
-
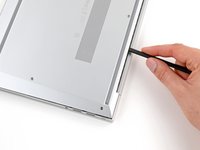
Reinsert the flat end of a spudger near the ELITEBOOK text.
-
Repeat the previous step for the other side of the cover to release the remaining clips.
-
-
-
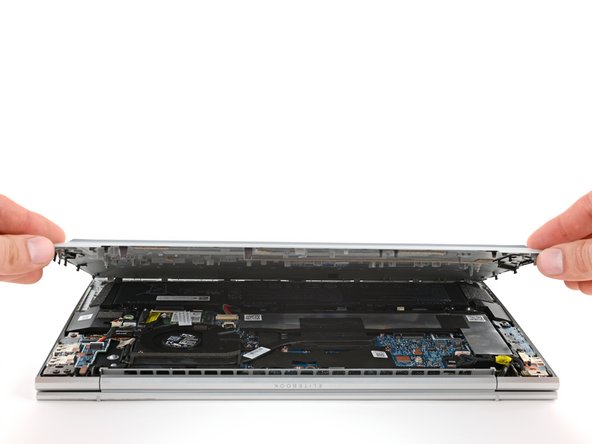
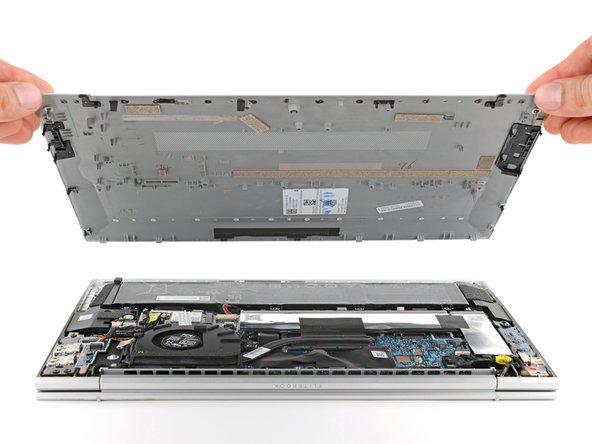
Lift and remove the bottom cover.
-
-
-
Position your laptop so the front edge (opposite the screen hinges) is closest to you.
-
Use the point of a spudger or your fingernail to push on alternating sides of the battery's sliding connector to walk it completely out of its socket.
-
-
-
Use a Phillips screwdriver to remove the four 4.5 mm‑long screws securing the battery.
-
-
-
Lift the top edge of the battery and slide the tabs on the bottom edge out of their slots.
-
Remove the battery.
-
-
-
Use the point of a spudger to push on alternating sides of the RTC battery's sliding connector to walk it completely out of its socket.
-
-
crwdns2935267:0crwdne2935267:0Tesa 61395 Tape$2.99
-
Use the flat end of a spudger to gently pry up the RTC battery, separating the adhesive securing it to the frame.
-
Remove the RTC battery.
-
If your replacement battery comes with adhesive pre‑installed, remove the old adhesive from the frame before installing the new battery.
-
If it doesn't, you can reuse the adhesive if it's still sticky. If not, use thin, double‑sided tape to secure your new battery.
-
Compare your new replacement part to the original part—you may need to transfer remaining components or remove adhesive backings from the new part before you install it.
To reassemble your device, follow these instructions in reverse order.
Take your e-waste to an R2 or e-Stewards certified recycler. Depending on your region, used HP devices and parts can be returned for reuse or recycling through the HP Planet Partners program.
Repair didn’t go as planned? Try some basic troubleshooting, or ask our Answers community for help.


