crwdns2942213:0crwdne2942213:0
-
-
Lay the laptop down with the lower case facing up.
-
Remove eleven screws using a Phillips screwdriver.
-
Remove the two rubber stoppers, then remove the two Phillips screws.
-
-
-
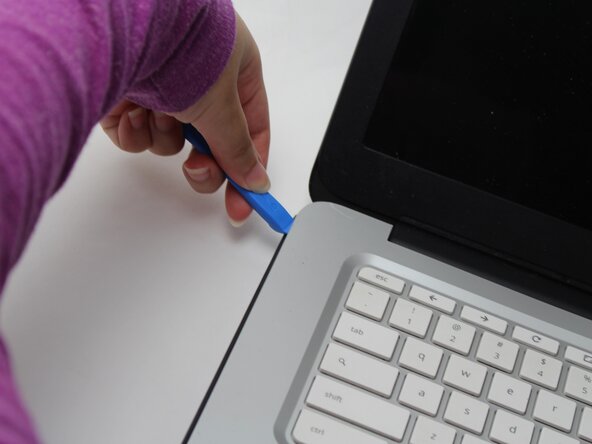
Flip the laptop over and open the lid.
-
Insert an opening pick into the seam between the keyboard and chassis.
-
Slide the opening pick a few centimeters along the seam to begin to release the clips.
-
Once there's enough space in the seam, insert an opening tool into the seam.
-
Pry around the entire perimeter of the keyboard until it fully releases.
-
-
-
Lift the keyboard perpendicular to the laptop.
-
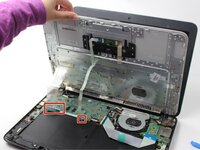
Flip up each of the the two black ZIF locking flaps that secure the keyboard and trackpad ribbon cables to their motherboard sockets.
-
Disconnect the keyboard and trackpad ribbon cables.
-
Remove the keyboard.
-
-
-
-
Use your fingernail or the flat end of a spudger to gently disconnect the battery connector from its motherboard connector.
-
-
-
Use a Phillips #0 screwdriver to remove the three screws that secure the battery.
-
-
-
Lift the battery up and out of the chassis.
-
-
-
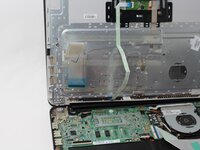
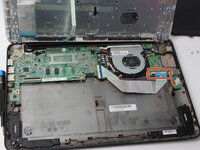
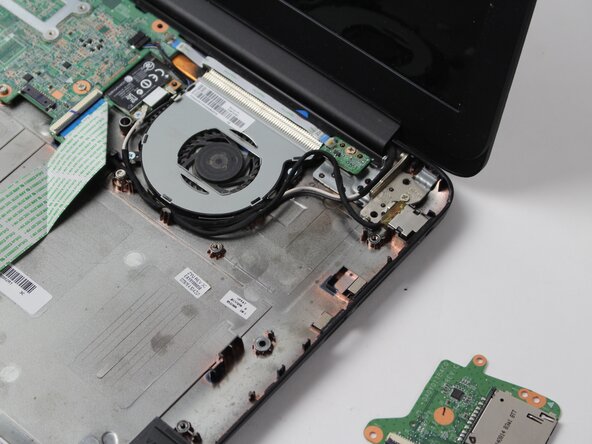
Lift the black ZIF locking flap on the daughterboard.
-
Disconnect the ribbon cable.
-
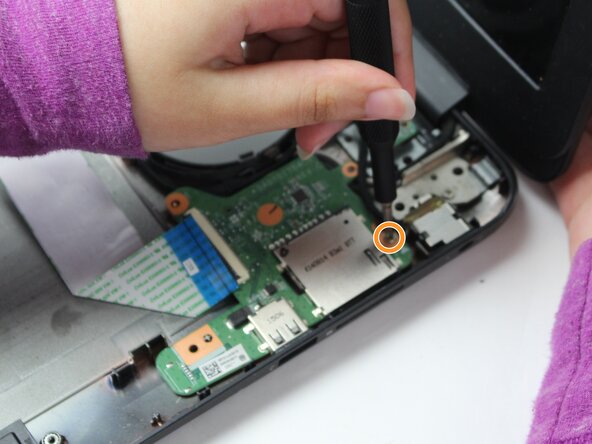
Remove the single screw near the SD card with a Phillips #0 screwdriver.
-
-
-
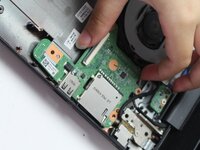
Grip the sides of the daughterboard and lift it up and out of the chassis.
-


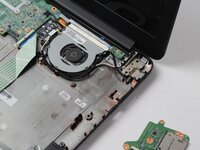
To reassemble your device, follow the above steps in reverse order.
Take your e-waste to an R2 or e-Stewards certified recycler.
Repair didn’t go as planned? Try some basic troubleshooting or ask our Answers community for help.
To reassemble your device, follow the above steps in reverse order.
Take your e-waste to an R2 or e-Stewards certified recycler.
Repair didn’t go as planned? Try some basic troubleshooting or ask our Answers community for help.
crwdns2915084:0crwdne2915084:0

Sam Houston State, Team 17-3, Thornton Spring 2025 crwdns2935289:0Sam Houston State, Team 17-3, Thornton Spring 2025crwdne2935289:0
SHSU-THORNTON-S25S17G3
crwdns2931471:03crwdne2931471:0
crwdns2935297:05crwdne2935297:0