crwdns2915892:0crwdne2915892:0
The battery is one of the easiest parts to replace in a laptop. If you need to replace or remove your HP 14-SMB Chromebook's battery, then this guide will take you through opening the laptop and getting the bad battery out. Before doing anything to an electronic device you should remove the battery/power connection and that remains true for laptops.
This guide will require the opening tools and picks, as well as a Phillips #0 Screwdriver to remove a total of 14 screws from the laptop. This replacement is easy, but there are several ZIF Connectors and the Battery itself that are all easily damaged.
crwdns2942213:0crwdne2942213:0
-
-
Lay the laptop down with the lower case facing up.
-
Remove eleven screws using a Phillips screwdriver.
-
Remove the two rubber stoppers, then remove the two Phillips screws.
-
-
-
Flip the laptop over and open the lid.
-
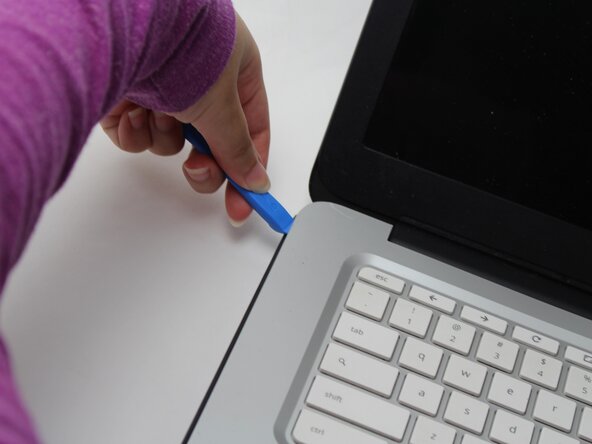
Insert an opening pick into the seam between the keyboard and chassis.
-
Slide the opening pick a few centimeters along the seam to begin to release the clips.
-
Once there's enough space in the seam, insert an opening tool into the seam.
-
Pry around the entire perimeter of the keyboard until it fully releases.
-
-
-
-
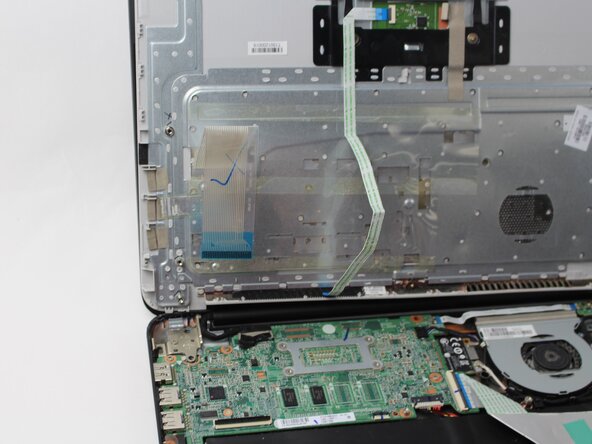
Lift the keyboard perpendicular to the laptop.
-
Flip up each of the the two black ZIF locking flaps that secure the keyboard and trackpad ribbon cables to their motherboard sockets.
-
Disconnect the keyboard and trackpad ribbon cables.
-
Remove the keyboard.
-
-
-
Use your fingernail or the flat end of a spudger to gently disconnect the battery connector from its motherboard connector.
-
-
-
Use a Phillips #0 screwdriver to remove the three screws that secure the battery.
-
-
-
Lift the battery up and out of the chassis.
-
To reassemble your device, follow the above steps in reverse order.
For optimal performance, after completing this guide, calibrate your newly installed battery.
Take your e-waste to an R2 or e-Stewards certified recycler.
Repair didn’t go as planned? Try some basic troubleshooting or ask our Answers community for help.


