crwdns2915892:0crwdne2915892:0
Use this guide to replace the display assembly in your HP 15-fc0000 series laptop. The display assembly includes the display panel, webcam, Wi-Fi antenna, and hinges.
Note: This procedure was written using a model 15-fc0093dx HP 15 Laptop PC but is compatible with any HP 15 Laptop PC whose model number starts with 15-fc.
This procedure requires removing the battery to disconnect it. Use care to avoid bending, twisting, or puncturing it—a charged lithium-ion battery can be very dangerous if accidentally punctured. If your battery looks puffy or swollen, take extra precautions.
crwdns2942213:0crwdne2942213:0
-
-
Shut down the laptop.
-
Unplug the charger and any other cables from the laptop.
-
-
-
Close the laptop and flip it over so the rubber feet are facing up. Place the laptop on a soft surface to avoid damaging the top cover.
-
Use a Phillips screwdriver to remove the four screws securing the bottom cover.
-
Two 6.8 mm‑long screws near the rear of the laptop.
-
Two 4.8 mm‑long screws near the front of the laptop.
-
-
-
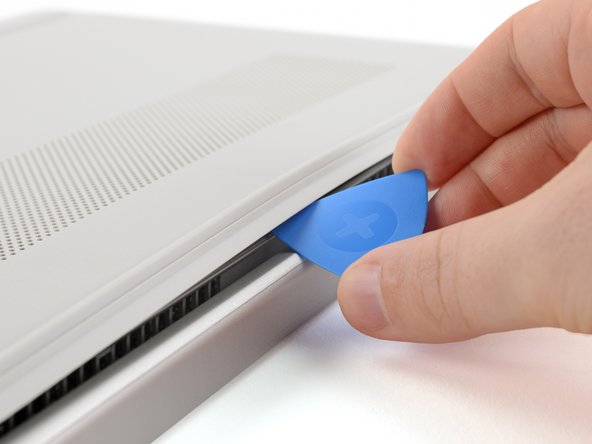
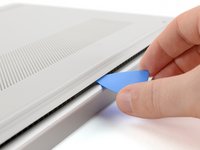
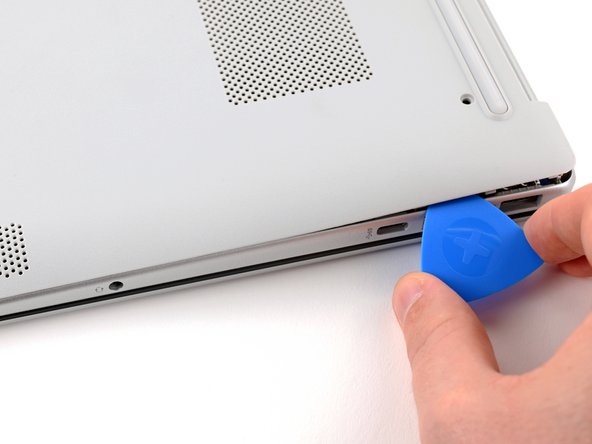
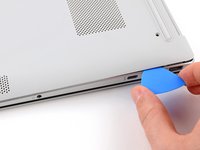
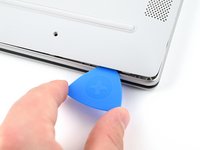
Insert an opening pick under the bottom cover at the rear of the laptop.
-
Twist the pick until one or more clips release.
-
Repeat this procedure along the rear edge until you release all the clips.
-
-
-
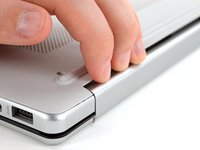
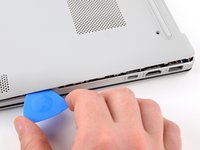
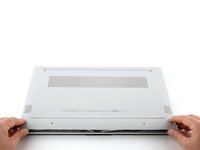
Place your fingers under the part of the bottom cover you've raised, near a corner.
-
Use your fingers to gently pry up the corner of the bottom cover.
-
-
-
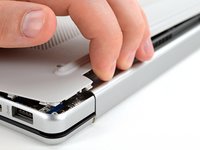
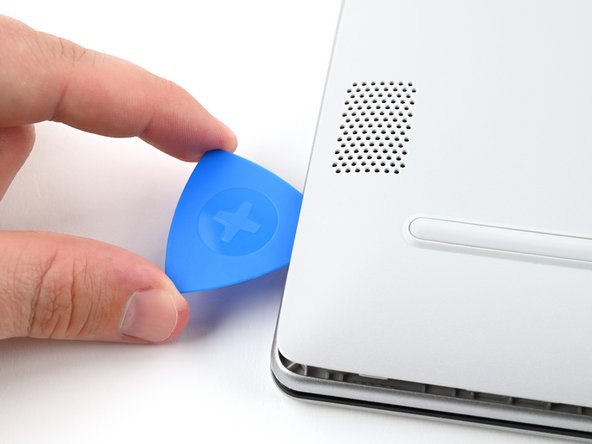
Insert an opening pick under the edge of the bottom cover next to the corner you've raised.
-
Pry up the back cover clips along the edge.
-
-
-
Use an opening pick to repeat the procedure from the previous step to pry up the remaining sides of the bottom cover.
-
-
-
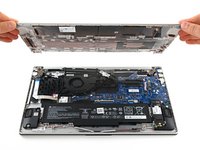
Remove the bottom cover.
-
-
-
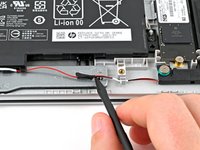
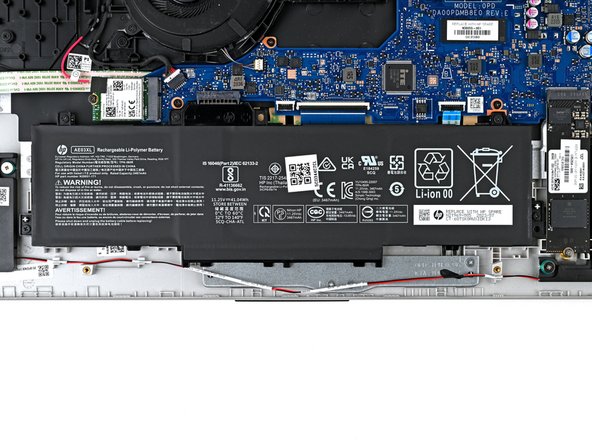
Use a spudger or your fingers to lift the tape that adheres the speaker wires to the metal trackpad bracket.
-
-
-
-
Use a spudger or your fingers to remove the speaker wires from the routing clips along the edge of the battery.
-
-
-
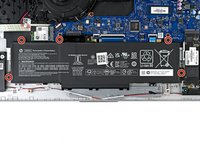
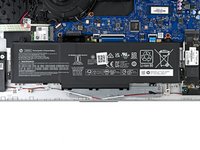
Use a Phillips screwdriver to remove the five 4.3 mm‑long screws securing the battery.
-
-
-
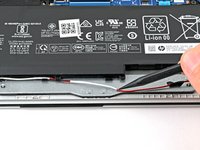
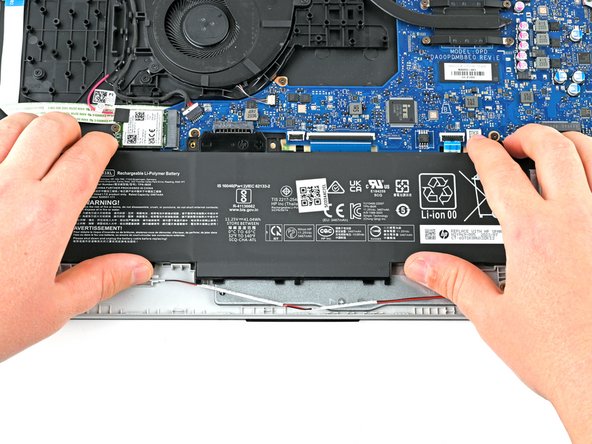
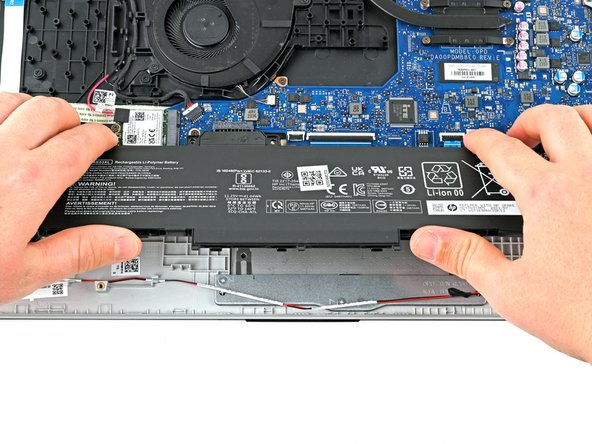
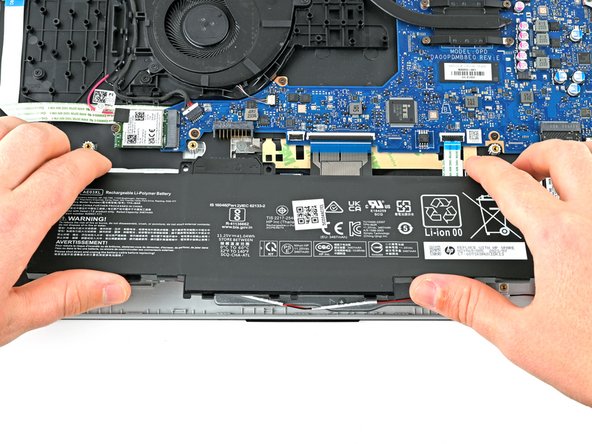
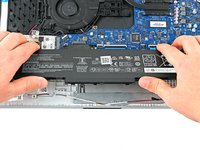
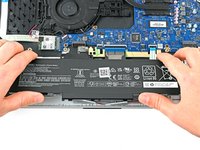
Use two hands to grip the battery about one inch from each end.
-
Lift the front of the battery (the side closest to you) until the battery is free of its alignment pegs.
-
Pull the battery towards you to release it from its connector.
-
-
-
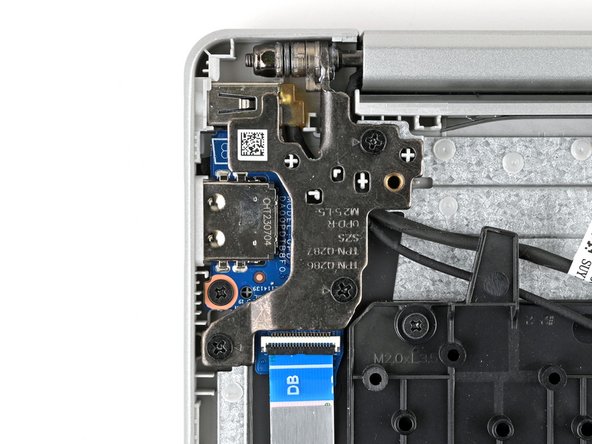
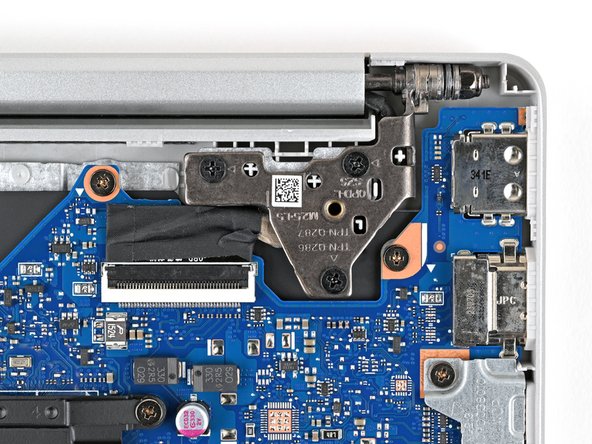
Use a Phillips screwdriver to remove the three 5.6 mm‑long screws securing the right hinge.
-
-
-
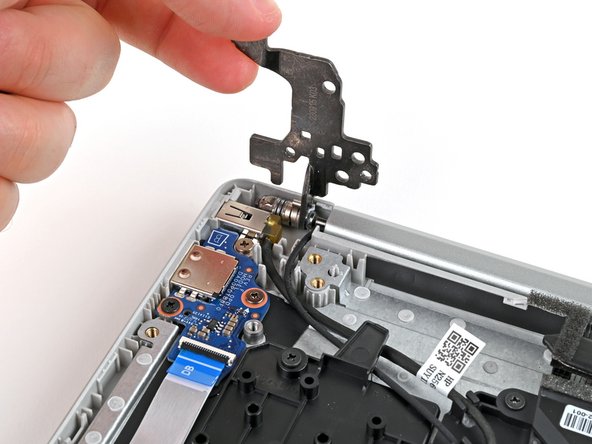
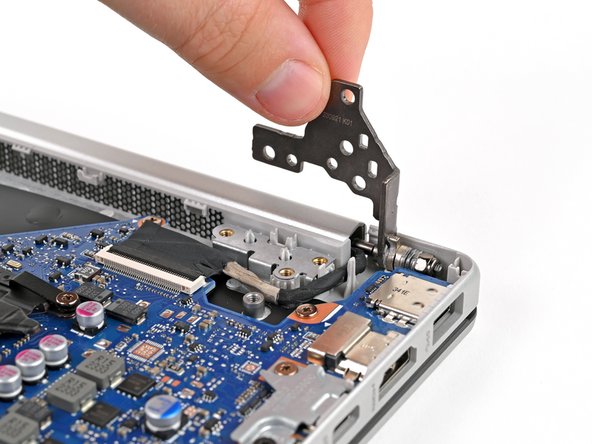
Lift the left hinge to 90º so it's pointing upward.
-
-
-
Use a Phillips screwdriver to remove the three 5.6 mm‑long screws that securing the left hinge.
-
-
-
Lift the left hinge to 90º so it's pointing upward.
-
-
-
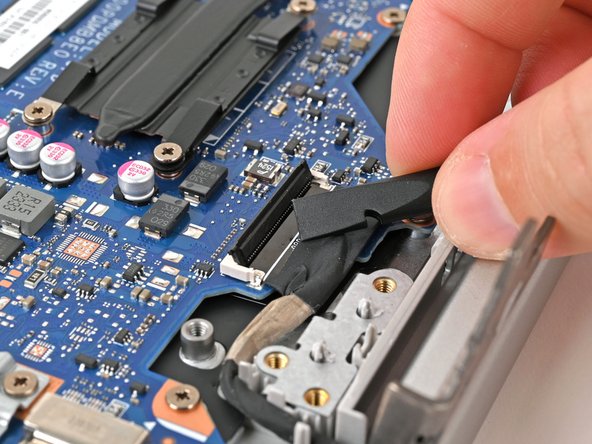
Use the flat end of a spudger to pry up the locking tab on the display cable ZIF connector.
-
-
-
Use tweezers or your fingers to grip the black taped portion of the display cable.
-
Pull the ribbon cable away from its connector to disconnect it.
-
-
-
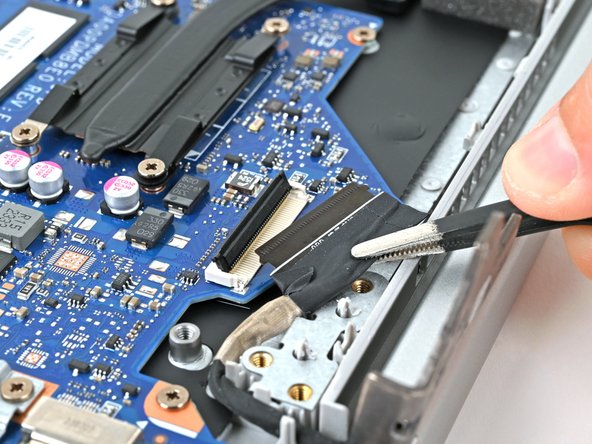
Use tweezers to lift the display cable up and out of its routing channel.
-
-
-
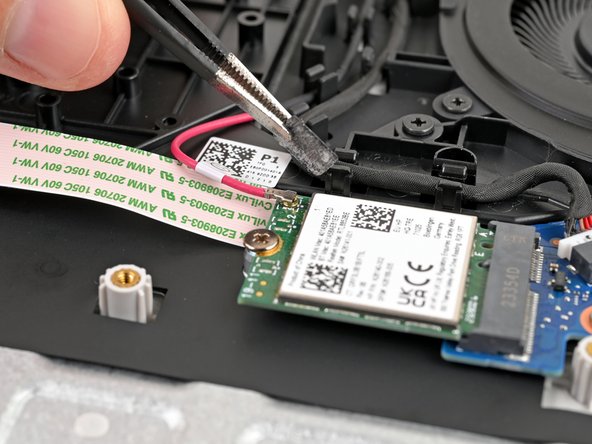
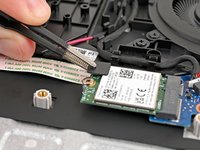
Use tweezers to remove the plastic cover on the wireless LAN card antenna cable.
-
Set the plastic cover aside with the sticky side up.
-
-
-
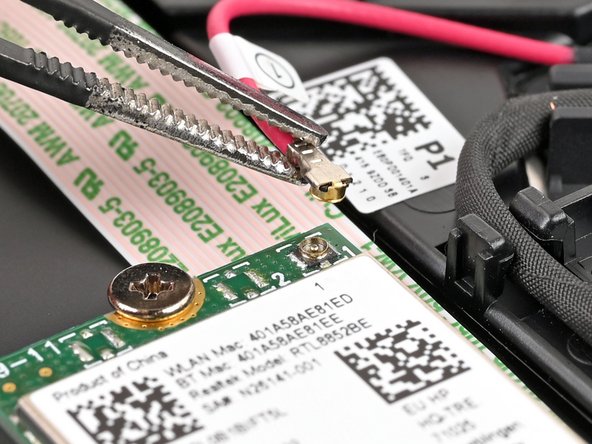
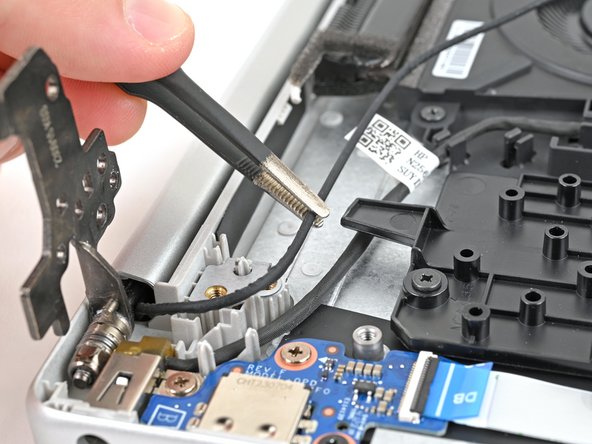
Place one arm of a pair of tweezers under the metal head of the antenna cable. Lightly grip the head.
-
Lift straight up to disconnect the antenna.
-
-
-
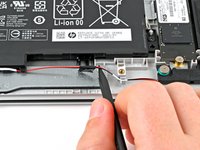
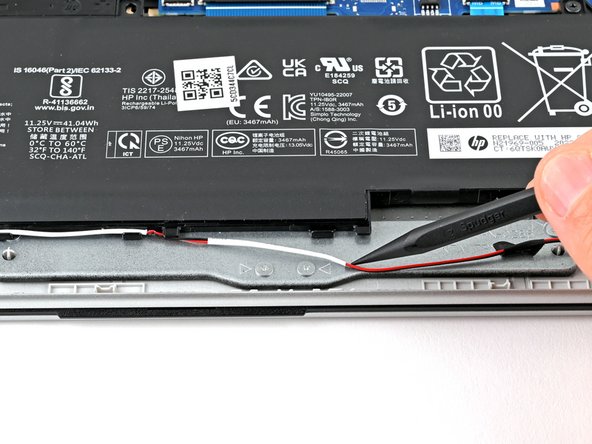
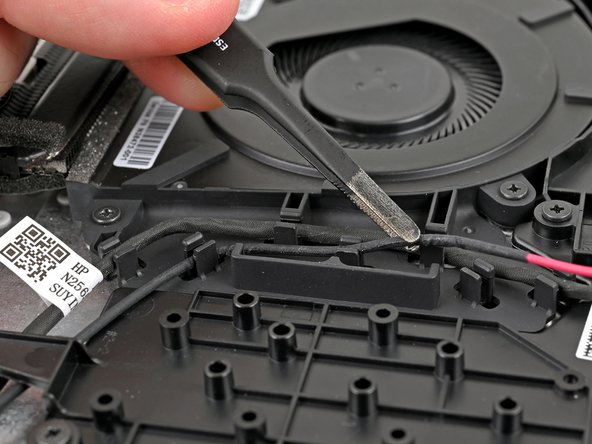
Use tweezers, a spudger, or fingers to lift the wireless LAN antenna out of the routing clips beside the fan.
-
-
-
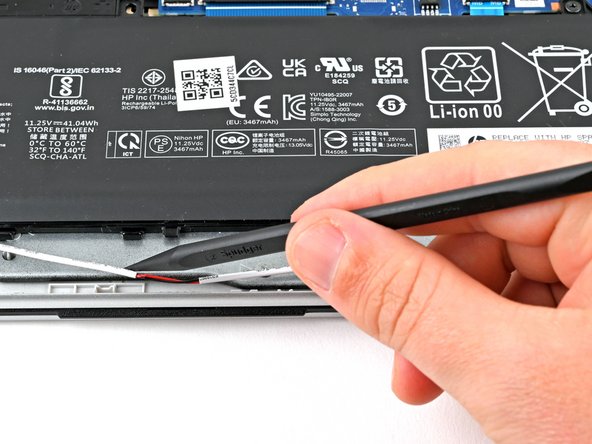
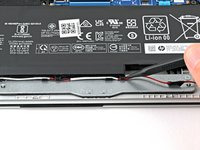
Use a pair of tweezers to move the wireless LAN antenna from underneath the plastic arm that holds it down.
-
If your DC‑in cable is on top of your wireless LAN antenna cable, gently pull it out from underneath the DC-in cable before proceeding.
-
-
-
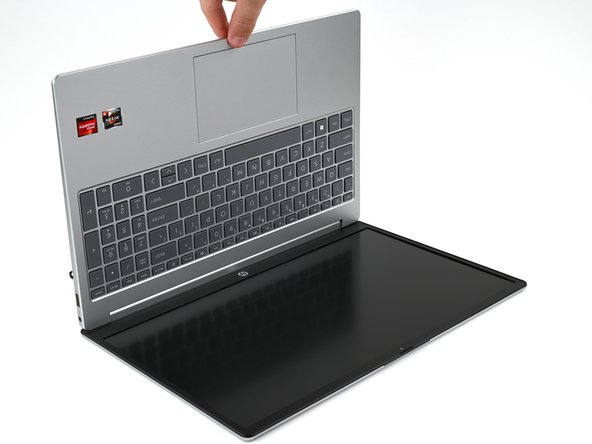
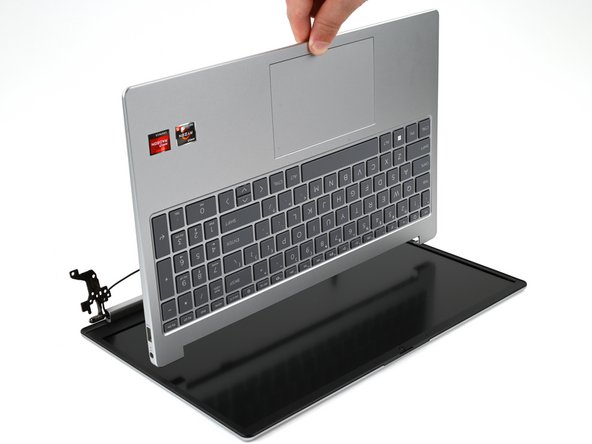
Lift the frame of the laptop so it is at 90º to the display assembly.
-
Slide the frame towards the webcam until it's free from the hinges.
-


To reassemble your device, follow these instructions in reverse order.
Take your e-waste to an R2 or e-Stewards certified recycler. Depending on your region, used HP devices and parts can be returned for reuse or recycling through the HP Planet Partners program.
Repair didn’t go as planned? Try some basic troubleshooting, or ask our Answers community for help.
crwdns2935221:0crwdne2935221:0
crwdns2935229:02crwdne2935229:0

