crwdns2915892:0crwdne2915892:0
Use this guide for the removal and replacement of the HP 14-dq5009nr Wi-Fi Card. If your HP 14-dq5009nr is experiencing connectivity issues, use this step-by-step guide to ensure a smooth and safe experience.
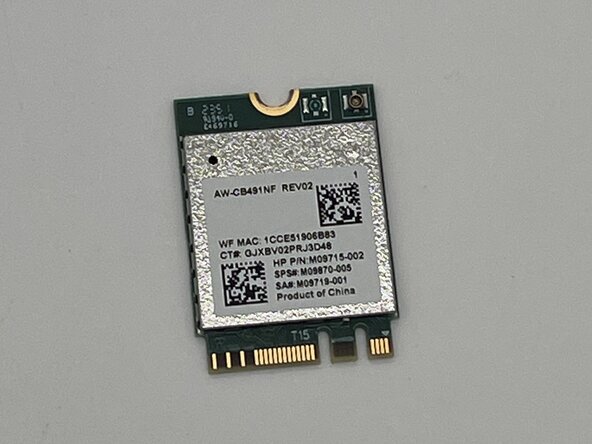
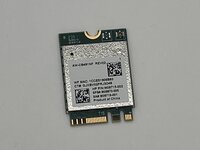
A Wi-Fi card is a small internal component responsible for providing wireless connectivity to the internet via Wi-Fi networks. In this model, the card supports Wi-Fi 6 and Bluetooth 5.2. A faulty Wi-Fi card can cause dropped connections, inability to detect networks, or poor signal quality.
Before replacing the Wi-Fi card, confirm whether it's the source of your issue. Common symptoms include:
- No Wi-Fi networks showing up
- Frequent disconnections
- Wi-Fi card not appearing in Device Manager
Safety Information
- Power Off and Disconnect Battery: Always power off the laptop completely and disconnect the battery before attempting repairs to avoid electric shock or shorting internal components.
- Electrostatic Discharge: Use an ESD-safe work surface and wrist strap to avoid damaging sensitive internal electronics.
crwdns2942213:0crwdne2942213:0
-
-
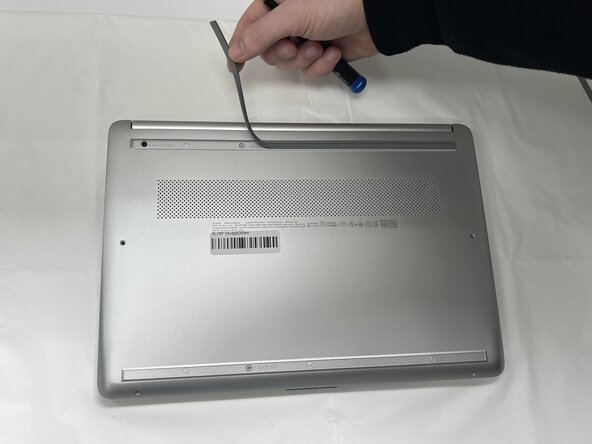
Peel the rubber feet off the bottom casing to reveal hidden screws.
-
-
-
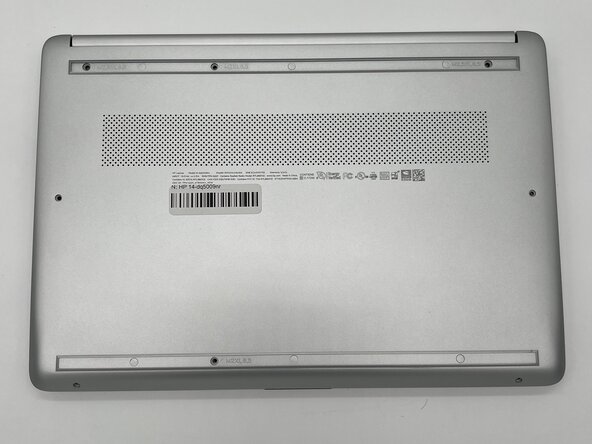
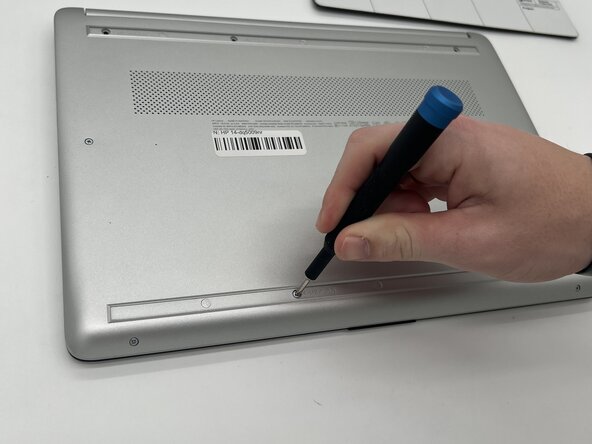
Use a Philips #0 screwdriver to remove the eight screws from the back case.
-
Six 7 mm-long screws.
-
Two 4.8 mm-long screws
-
-
-
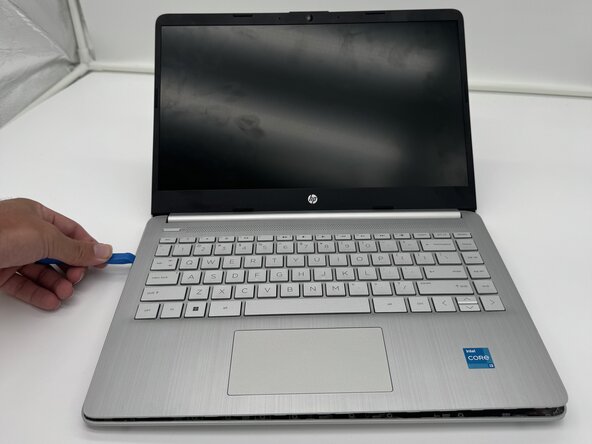
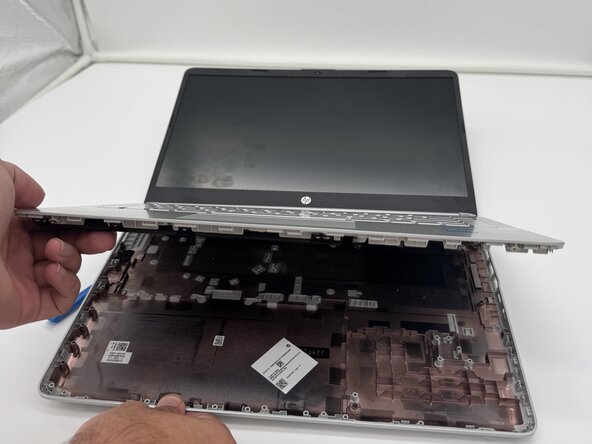
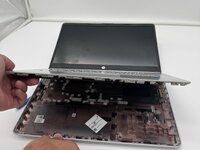
Use a plastic opening tool to separate the back case from the palmrest keyboard assembly. Gently pry the back cover from the device.
-
-
-
-
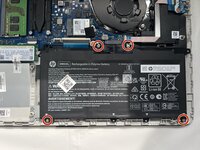
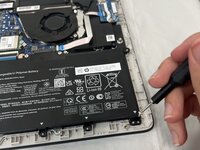
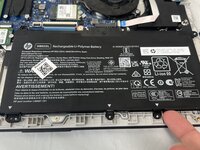
Use a Phillips #0 screwdriver to remove the four 3 mm screws that secure the battery to the chassis.
-
-
-
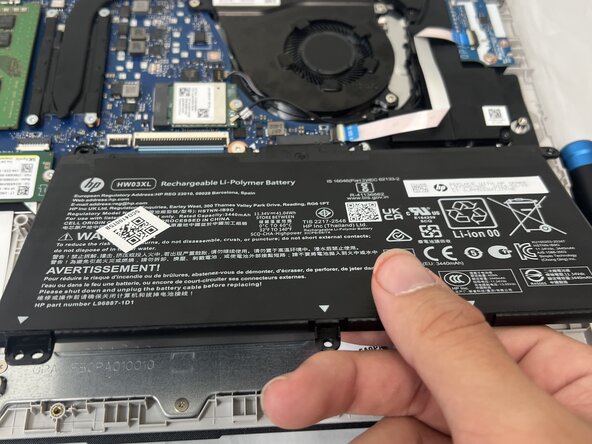
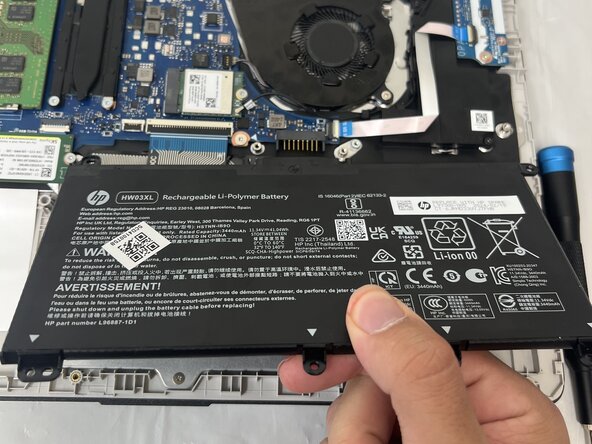
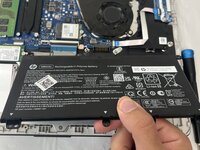
Angle the battery up slightly and gently pull it from the socket on the motherboard.
-
-
-
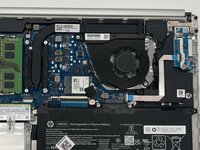
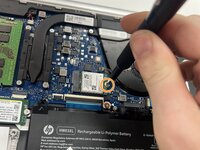
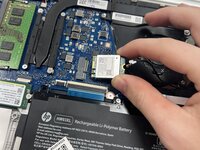
Slide a thin, ESD-safe pry tool or angled tweezers under the metal neck of the Wi-Fi connector (as close to the head as possible) and lift straight up from the board.
-
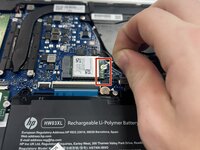
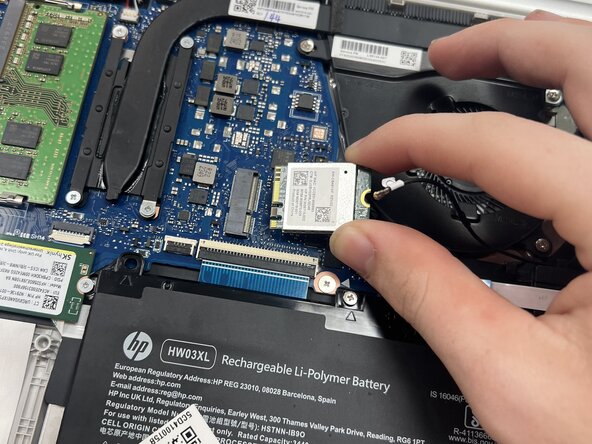
Use the Phillips #0 screwdriver to remove the single 3 mm screw from securing the Wi-Fi card to the motherboard.
-
-
-
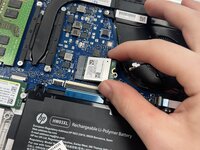
Grip the end of the Wi-Fi card and pull it away from the connector to remove it.
-


To reassemble your device, follow these instructions in reverse order. Take your e-waste to an R2 or e-Stewards certified recycler.
To reassemble your device, follow these instructions in reverse order. Take your e-waste to an R2 or e-Stewards certified recycler.

crwdns2915084:0crwdne2915084:0

University of North Texas, Team 1-7, Kilpatrick Spring 2025 crwdns2935289:0University of North Texas, Team 1-7, Kilpatrick Spring 2025crwdne2935289:0
UNT-KILPATRICK-S25S1G7
crwdns2931471:04crwdne2931471:0
crwdns2935297:05crwdne2935297:0