crwdns2915892:0crwdne2915892:0
Laptop speakers are an essential component of modern portable computing devices, providing built-in audio output for various applications, from video conferencing and multimedia entertainment to alerts and system notifications.
Unlike external speakers, laptop speakers are compact and integrated directly into the laptop's chassis, offering users a convenient and space-saving solution for everyday sound needs. While they may not deliver the high-fidelity audio of dedicated speaker systems, advancements in design and technology have significantly improved their performance, allowing for richer tones and a more immersive experience in an increasingly portable form factor.
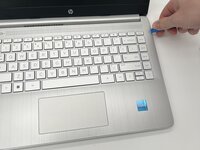
Before you begin this repair, be sure to power off and unplug your laptop from the charger.
crwdns2942213:0crwdne2942213:0
-
-
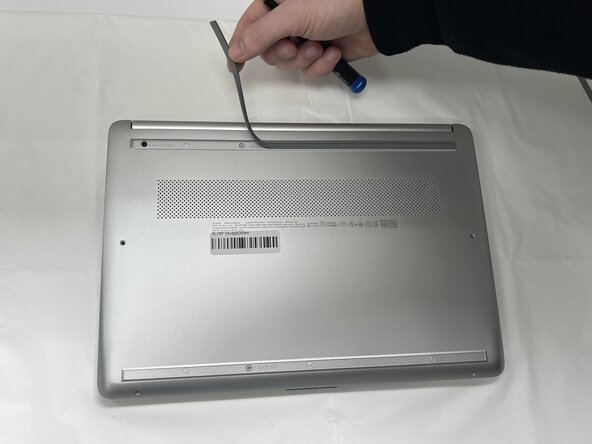
Peel the rubber feet off the bottom casing to reveal hidden screws.
-
-
-
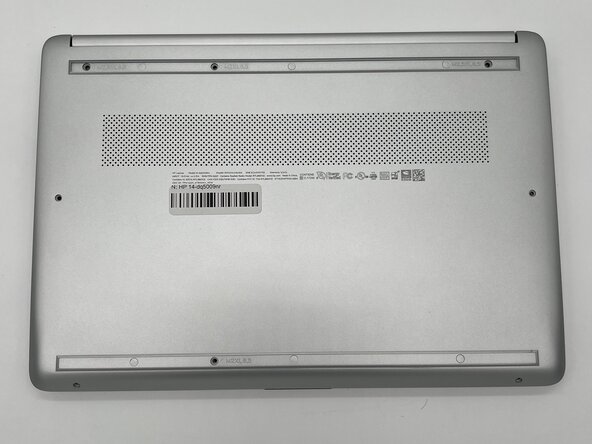
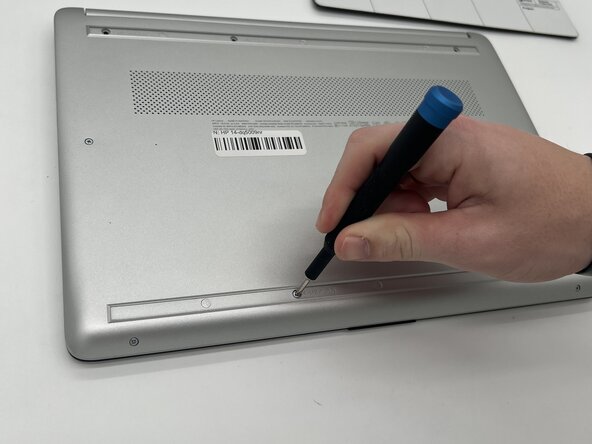
Use a Philips #0 screwdriver to remove the eight screws from the back case.
-
Six 7 mm-long screws.
-
Two 4.8 mm-long screws
-
-
-
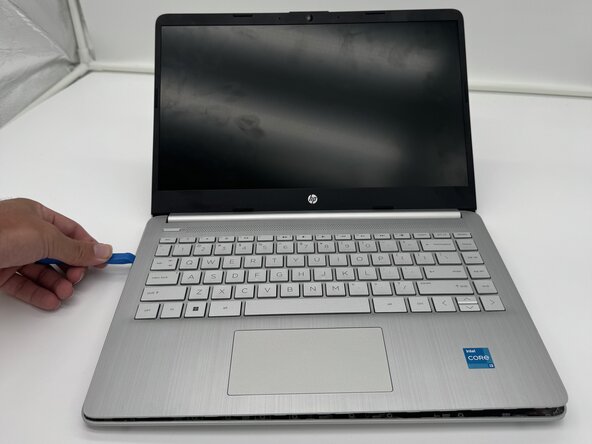
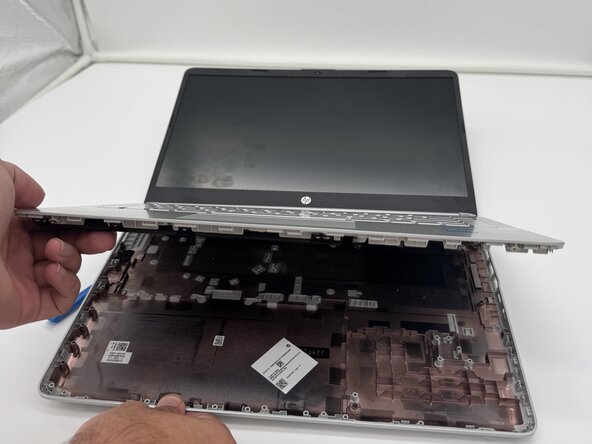
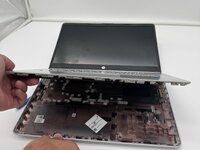
Use a plastic opening tool to separate the back case from the palmrest keyboard assembly. Gently pry the back cover from the device.
-
-
-
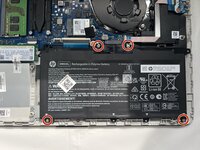
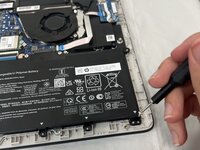
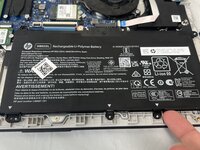
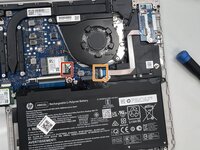
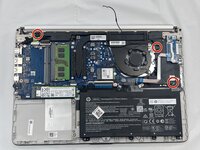
Use a Phillips #0 screwdriver to remove the four 3 mm screws that secure the battery to the chassis.
-
-
-
-
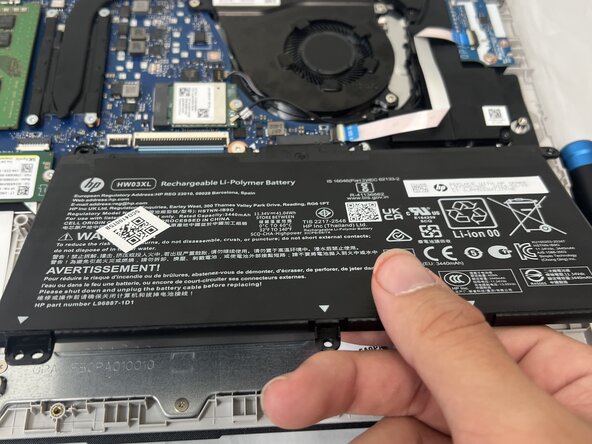
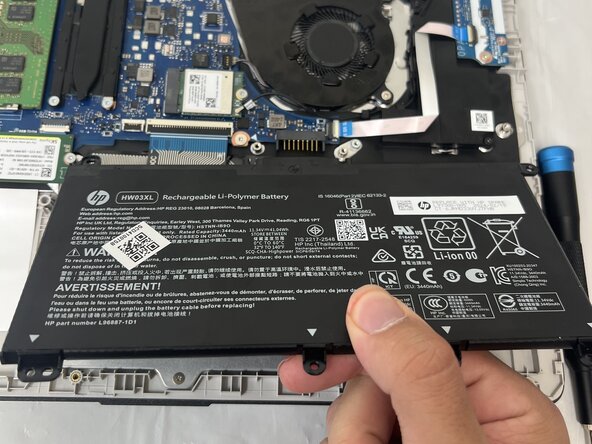
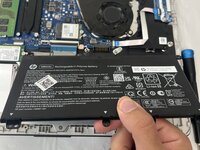
Angle the battery up slightly and gently pull it from the socket on the motherboard.
-
-
-
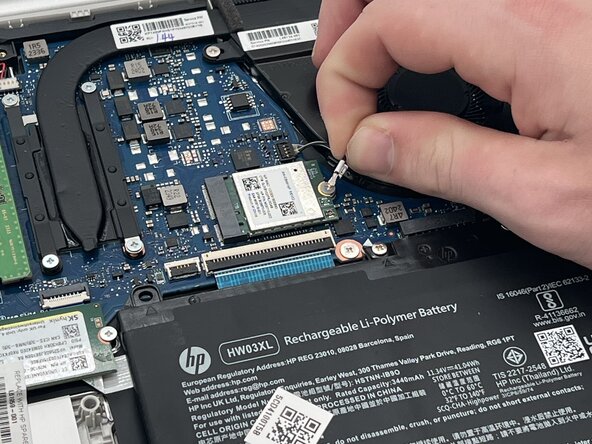
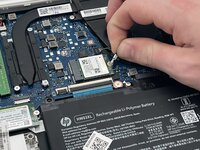
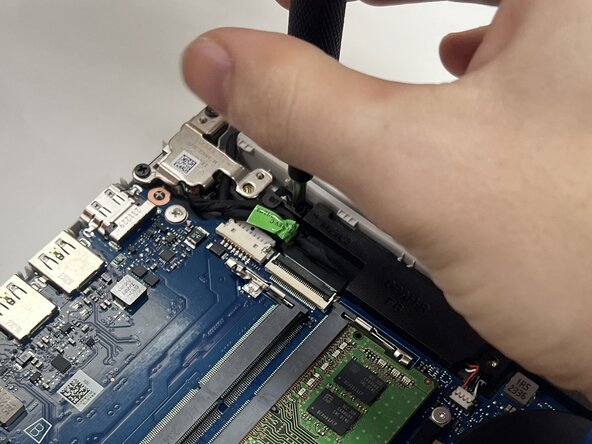
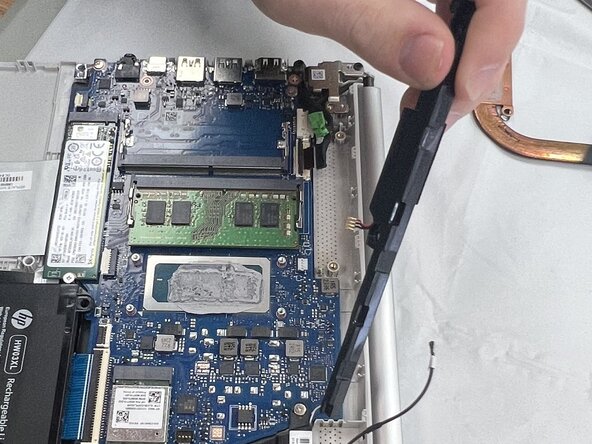
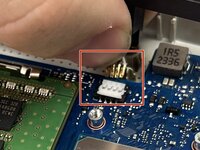
Slide a thin, ESD-safe pry tool or angled tweezers under the metal neck of the Wi-Fi connectors (as close to the head as possible) and lift straight up from the board.
-
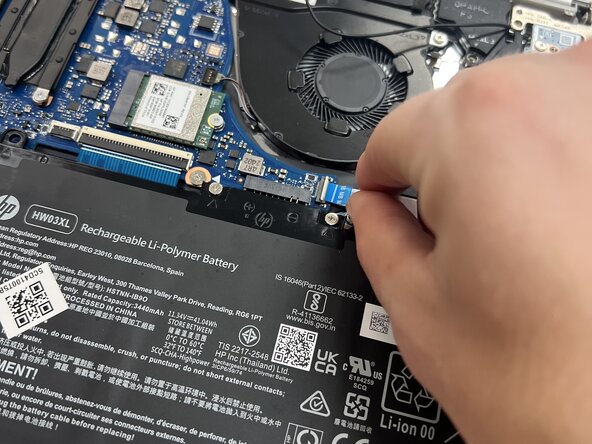
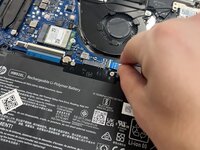
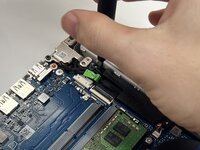
Use a spudger or a clean fingernail to flip up white the locking flap—this is the unlocked position.
-
Use tweezers or your fingers to gently pull the cable out of its socket.
-
-
-
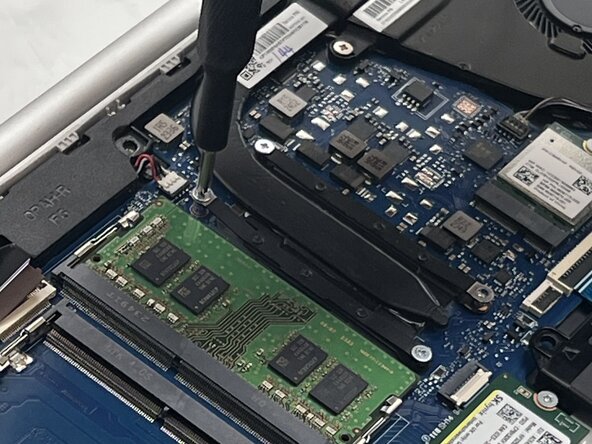
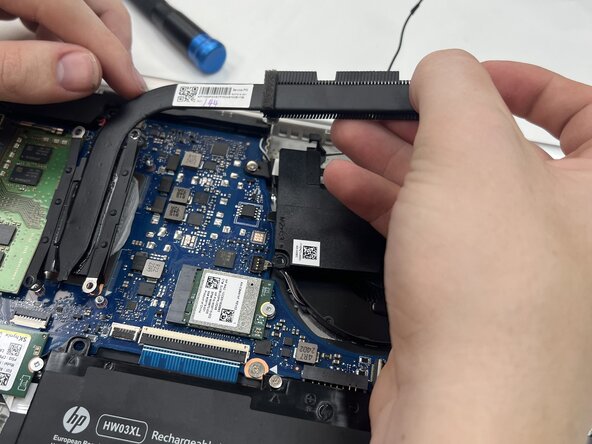
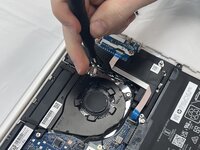
Use a Phillips #0 screwdriver to remove the four 2.9 mm heat sink screws in a x-pattern.
-
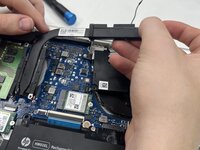
Carefully lift the heat sink off the motherboard.
-
-
-
Use a Phillips #0 screwdriver to remove the three 3.9 mm speaker screws.
-
-
-
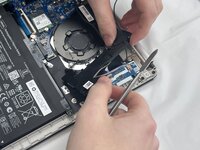
Disconnect the speaker cables from the motherboard.
-
Carefully remove the speakers and the wires that connect the two from your laptop.
-


To reassemble your device, follow these instructions in reverse order. Take your e-waste to an R2 or e-Stewards certified recycler.
To reassemble your device, follow these instructions in reverse order. Take your e-waste to an R2 or e-Stewards certified recycler.

crwdns2915084:0crwdne2915084:0

University of North Texas, Team 1-7, Kilpatrick Spring 2025 crwdns2935289:0University of North Texas, Team 1-7, Kilpatrick Spring 2025crwdne2935289:0
UNT-KILPATRICK-S25S1G7
crwdns2931471:04crwdne2931471:0
crwdns2935297:05crwdne2935297:0