crwdns2915892:0crwdne2915892:0
Use this guide to replace a broken, cracked, or non-responsive screen in your HMD Fusion phone.
crwdns2942213:0crwdne2942213:0
-
-
Unplug all cables from your phone and completely power it down.
-
-
-
Firmly press a SIM eject tool, bit, or straightened paper clip into the SIM card tray hole on the left edge of your phone until the tray ejects.
-
Remove the SIM card tray.
-
-
-
Use a T3 Torx screwdriver to remove the sixteen 5.0 mm‑long screws securing the back cover.
-
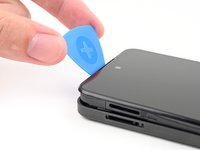
Use your fingernails, or angled tweezers, to remove any stuck screws.
-
-
crwdns2935267:0crwdne2935267:0Magnetic Project Mat$19.95
-
-
Flip your phone over so the screen is facing up.
-
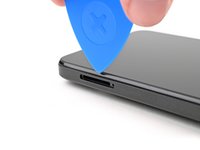
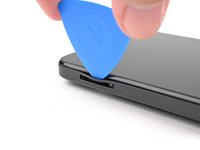
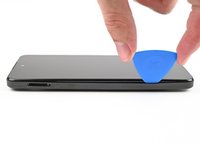
Insert the tip of an opening pick between the back cover and frame at the SIM card tray cutout.
-
-
-
-
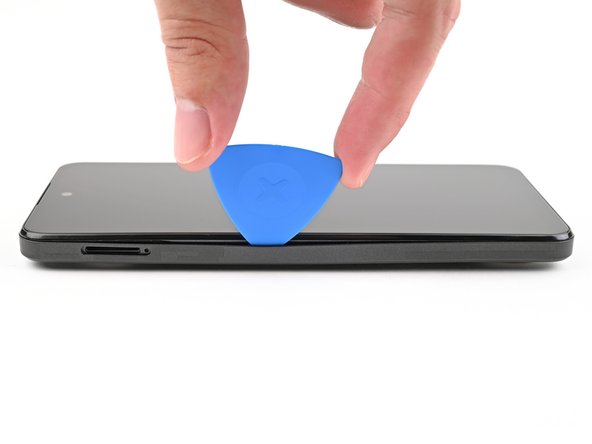
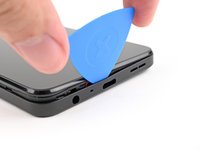
Slide the opening pick along the left edge to begin unclipping the back cover.
-
-
-
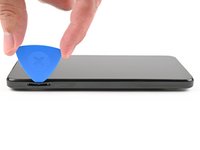
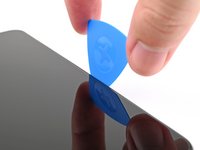
Continue sliding the pick around the perimeter of your phone until the back cover is fully unclipped.
-
-
-
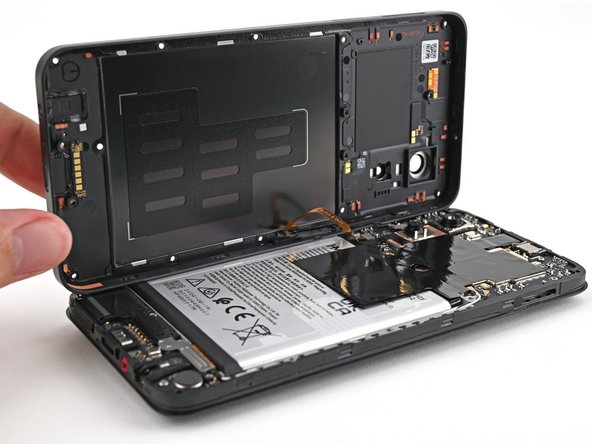
Carefully flip your phone over so the back cover is facing up.
-
Lift the back cover off the frame and flip it over the left edge of your phone, laying the cover flat on your work surface.
-
-
-
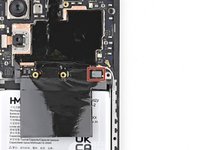
Use a spudger to pry up and disconnect the battery press connector.
-
-
-
Use a spudger to pry up and disconnect the power button press connector.
-
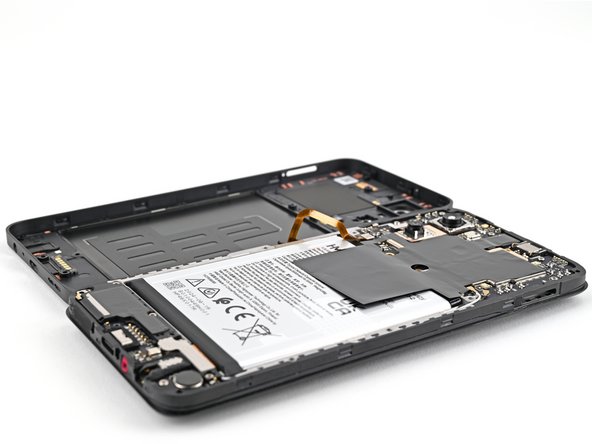
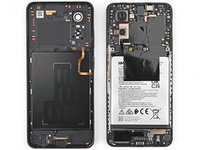
Remove the back cover.
-
-
-
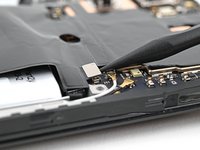
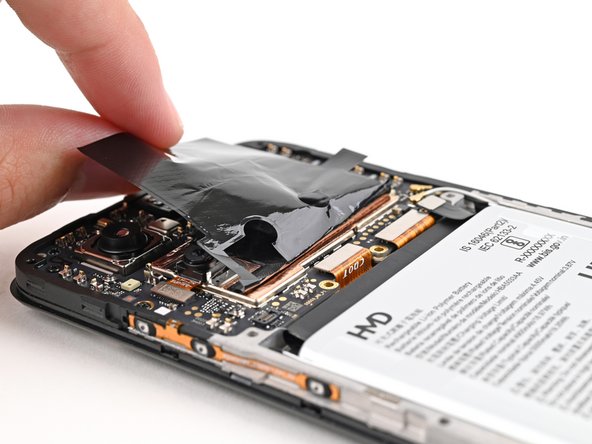
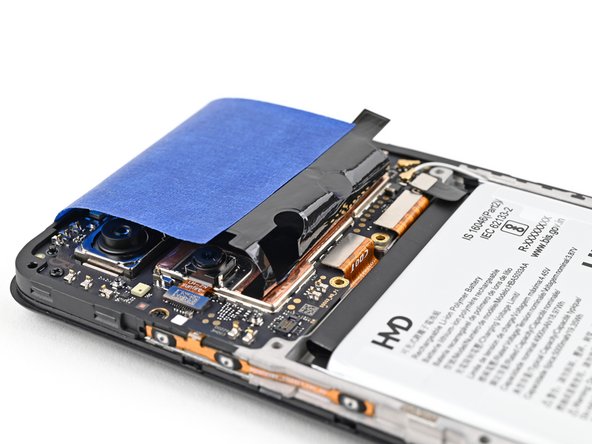
For the next step, you'll need to hold the graphite sheet out of the way of the display connector along the bottom of the motherboard.
-
-
-
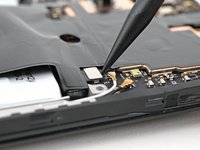
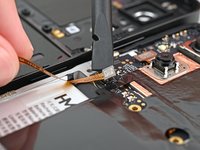
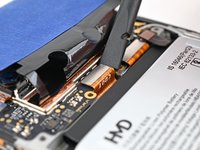
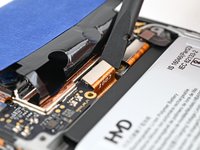
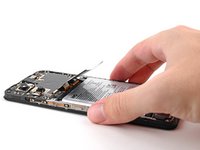
Use a spudger to pry up and disconnect the display press connector.
-
-
-
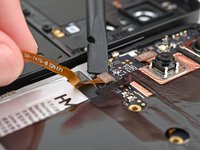
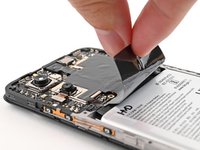
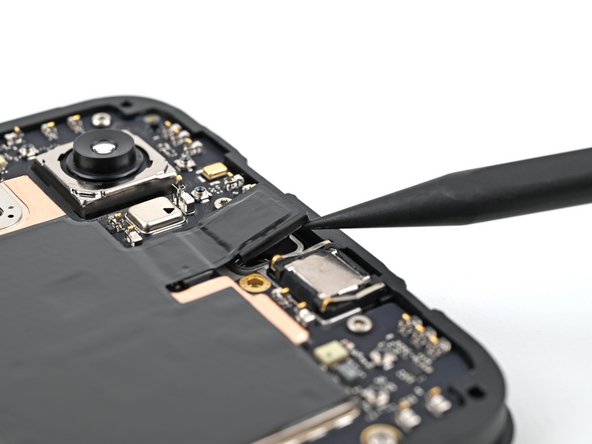
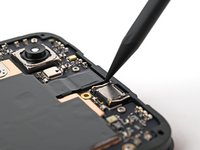
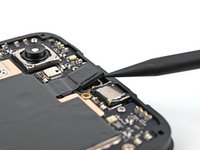
Use the tip of a spudger to pry up the front camera from the frame and separate its adhesive.
-
-
-
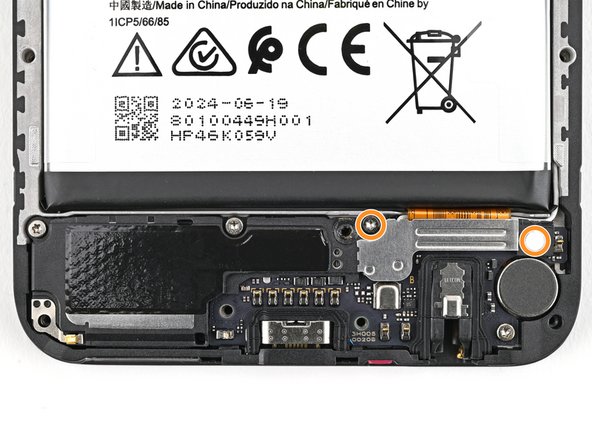
Use a T3 Torx screwdriver to remove the seven 3.3 mm‑long screws securing the screen:
-
Five screws on the motherboard
-
Two screws on the loudspeaker
-
-
-
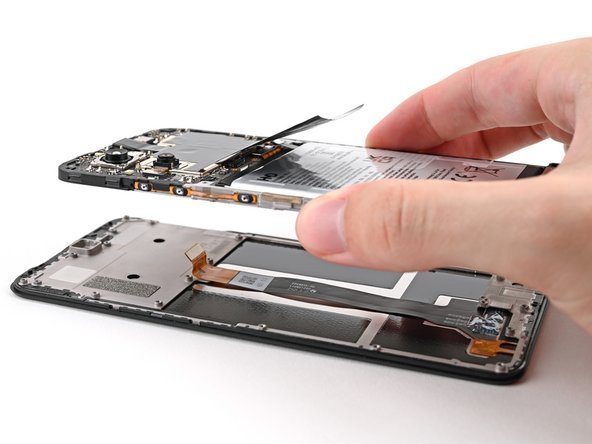
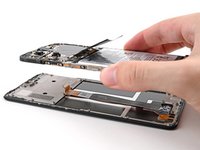
Lift the screen off the frame, making sure to thread the display cable through its slot.
-
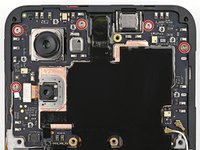
Remove the screen.
-


To reassemble your device, follow these instructions in reverse order.
Take your e-waste to an R2 or e-Stewards certified recycler.
Repair didn’t go as planned? Try some basic troubleshooting, or ask our Answers community for help.
To reassemble your device, follow these instructions in reverse order.
Take your e-waste to an R2 or e-Stewards certified recycler.
Repair didn’t go as planned? Try some basic troubleshooting, or ask our Answers community for help.
crwdns2935221:0crwdne2935221:0
crwdns2935229:04crwdne2935229:0


crwdns2947412:02crwdne2947412:0
Wo kann ich ein Ersatzdisplay bestellen? (Bin aus der Schweiz)
Will the parts ever be in stock in Europe? Pointless to buy a repairable phone when you can't buy the parts