crwdns2933423:0crwdne2933423:0
crwdns2947577:0crwdnd2947577:0crwdne2947577:0

HMD Fusion Screen Replacement

crwdns2942213:0crwdne2942213:0

    1. HMD Fusion Screen Replacement, Prepare your phone for disassembly: crwdns2935265:01crwdnd2935265:01crwdnd2935265:01crwdne2935265:0
      • Let your phone's battery drain below 25% before starting this repair. A charged lithium‑ion battery may catch fire if damaged.

      • Unplug all cables from your phone and completely power it down.

      crwdns2952109:0crwdne2952109:0

      crwdns2917038:0crwdne2917038:0

    1. HMD Fusion Screen Replacement, Remove the SIM card tray: crwdns2935265:02crwdnd2935265:01crwdnd2935265:03crwdne2935265:0 HMD Fusion Screen Replacement, Remove the SIM card tray: crwdns2935265:02crwdnd2935265:02crwdnd2935265:03crwdne2935265:0 HMD Fusion Screen Replacement, Remove the SIM card tray: crwdns2935265:02crwdnd2935265:03crwdnd2935265:03crwdne2935265:0
      • Firmly press a SIM eject tool, bit, or straightened paper clip into the SIM card tray hole on the left edge of your phone until the tray ejects.

      • Remove the SIM card tray.

      crwdns2952109:0crwdne2952109:0

      crwdns2917038:0crwdne2917038:0

    1. HMD Fusion Screen Replacement, Remove the back cover screws: crwdns2935265:03crwdnd2935265:01crwdnd2935265:03crwdne2935265:0 HMD Fusion Screen Replacement, Remove the back cover screws: crwdns2935265:03crwdnd2935265:02crwdnd2935265:03crwdne2935265:0 HMD Fusion Screen Replacement, Remove the back cover screws: crwdns2935265:03crwdnd2935265:03crwdnd2935265:03crwdne2935265:0
      • Use a T3 Torx screwdriver to remove the sixteen 5.0 mm‑long screws securing the back cover.

      • Use your fingernails, or angled tweezers, to remove any stuck screws.

      • The screws are secured tightly in the back cover, so you might not be able to remove all of them. If you can't remove a few screws, don't worry! Move to the next step and follow the guide normally.

      crwdns2952109:0crwdne2952109:0

      crwdns2917038:0crwdne2917038:0

    2. HMD Fusion Screen Replacement: crwdns2935265:04crwdnd2935265:01crwdnd2935265:01crwdne2935265:0
      crwdns2935267:0crwdne2935267:0
      Magnetic Project Mat
      $19.95
      • During the next four steps, the remaining back cover screws might fall out unexpectedly.

      • To avoid losing screws, you can place a tray, bowl, or Magnetic Project Mat under the phone while you work.

      crwdns2952109:0crwdne2952109:0

      crwdns2917038:0crwdne2917038:0

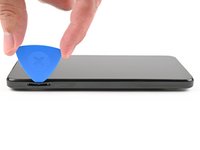
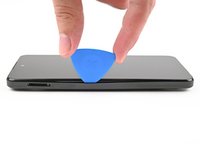
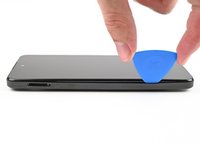
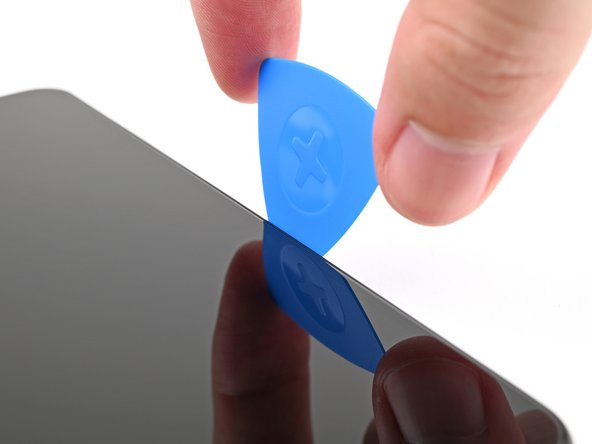
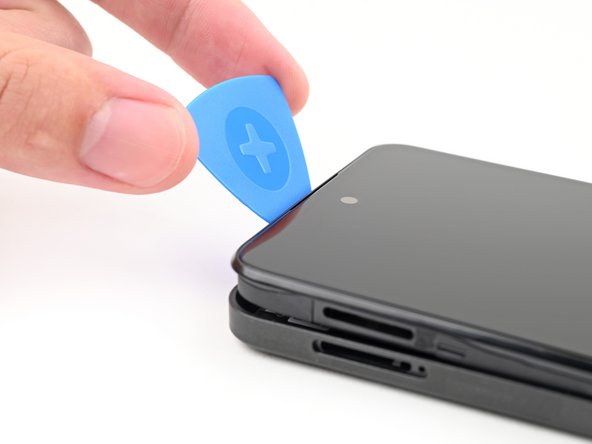
    3. HMD Fusion Screen Replacement, Unclip the back cover: crwdns2935265:05crwdnd2935265:01crwdnd2935265:02crwdne2935265:0 HMD Fusion Screen Replacement, Unclip the back cover: crwdns2935265:05crwdnd2935265:02crwdnd2935265:02crwdne2935265:0
      • Flip your phone over so the screen is facing up.

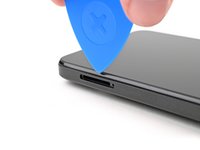
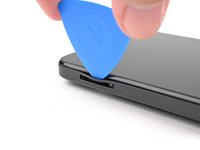
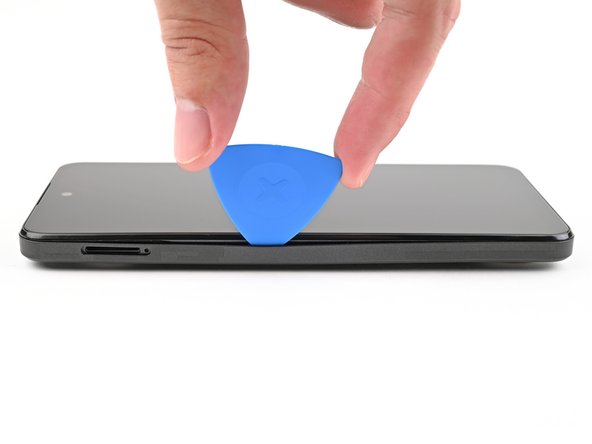
      • Insert the tip of an opening pick between the back cover and frame at the SIM card tray cutout.

      crwdns2952109:0crwdne2952109:0

      crwdns2917038:0crwdne2917038:0

    4. HMD Fusion Screen Replacement: crwdns2935265:06crwdnd2935265:01crwdnd2935265:03crwdne2935265:0 HMD Fusion Screen Replacement: crwdns2935265:06crwdnd2935265:02crwdnd2935265:03crwdne2935265:0 HMD Fusion Screen Replacement: crwdns2935265:06crwdnd2935265:03crwdnd2935265:03crwdne2935265:0
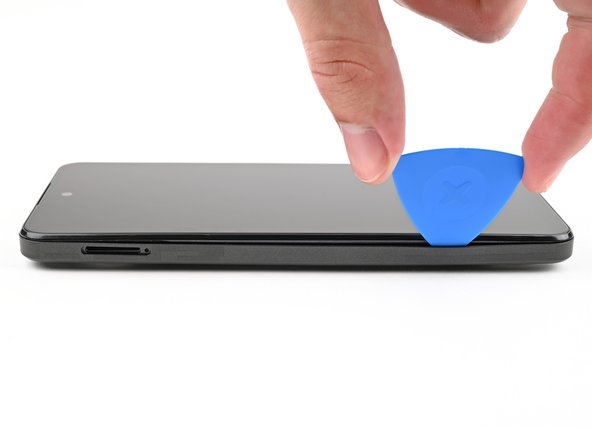
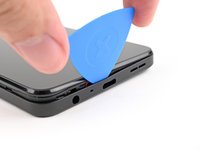
      • Slide the opening pick along the left edge to begin unclipping the back cover.

      crwdns2952109:0crwdne2952109:0

      crwdns2917038:0crwdne2917038:0

    5. HMD Fusion Screen Replacement: crwdns2935265:07crwdnd2935265:01crwdnd2935265:03crwdne2935265:0 HMD Fusion Screen Replacement: crwdns2935265:07crwdnd2935265:02crwdnd2935265:03crwdne2935265:0 HMD Fusion Screen Replacement: crwdns2935265:07crwdnd2935265:03crwdnd2935265:03crwdne2935265:0
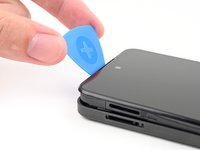
      • Continue sliding the pick around the perimeter of your phone until the back cover is fully unclipped.

      • The corners can be tricky to unclip and may take some force. If you're having trouble, try prying up with the pick.

      • Don't try to fully remove the cover yet, as it's still connected by a delicate cable.

      crwdns2952109:0crwdne2952109:0

      crwdns2917038:0crwdne2917038:0

    6. HMD Fusion Screen Replacement: crwdns2935265:08crwdnd2935265:01crwdnd2935265:03crwdne2935265:0 HMD Fusion Screen Replacement: crwdns2935265:08crwdnd2935265:02crwdnd2935265:03crwdne2935265:0 HMD Fusion Screen Replacement: crwdns2935265:08crwdnd2935265:03crwdnd2935265:03crwdne2935265:0
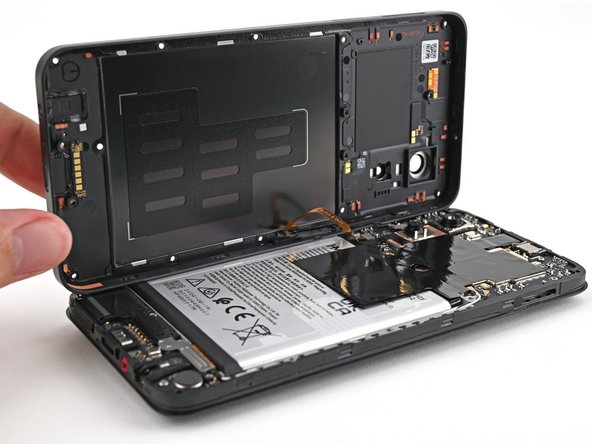
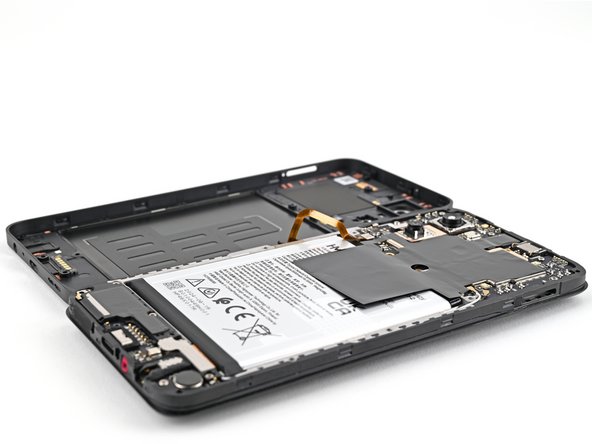
      • Carefully flip your phone over so the back cover is facing up.

      • Lift the back cover off the frame and flip it over the left edge of your phone, laying the cover flat on your work surface.

      • Be very careful not to strain the back cover's delicate cable.

      • During reassembly, place the back cover onto the frame and firmly press around the perimeter to reengage all the clips.

      crwdns2952109:0crwdne2952109:0

      crwdns2917038:0crwdne2917038:0

    7. HMD Fusion Screen Replacement, Disconnect the battery: crwdns2935265:09crwdnd2935265:01crwdnd2935265:03crwdne2935265:0 HMD Fusion Screen Replacement, Disconnect the battery: crwdns2935265:09crwdnd2935265:02crwdnd2935265:03crwdne2935265:0 HMD Fusion Screen Replacement, Disconnect the battery: crwdns2935265:09crwdnd2935265:03crwdnd2935265:03crwdne2935265:0
      crwdns2952109:0crwdne2952109:0

      crwdns2917038:0crwdne2917038:0

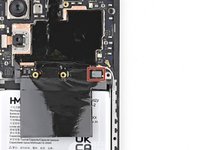
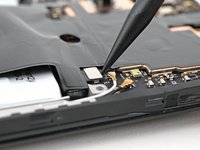
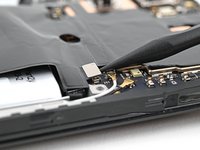
    8. HMD Fusion Screen Replacement, Disconnect the power button: crwdns2935265:010crwdnd2935265:01crwdnd2935265:03crwdne2935265:0 HMD Fusion Screen Replacement, Disconnect the power button: crwdns2935265:010crwdnd2935265:02crwdnd2935265:03crwdne2935265:0 HMD Fusion Screen Replacement, Disconnect the power button: crwdns2935265:010crwdnd2935265:03crwdnd2935265:03crwdne2935265:0
      • Use a spudger to pry up and disconnect the power button press connector.

      • Remove the back cover.

      crwdns2952109:0crwdne2952109:0

      crwdns2917038:0crwdne2917038:0

    1. HMD Fusion Screen Replacement, Screen: crwdns2935265:011crwdnd2935265:01crwdnd2935265:03crwdne2935265:0 HMD Fusion Screen Replacement, Screen: crwdns2935265:011crwdnd2935265:02crwdnd2935265:03crwdne2935265:0 HMD Fusion Screen Replacement, Screen: crwdns2935265:011crwdnd2935265:03crwdnd2935265:03crwdne2935265:0
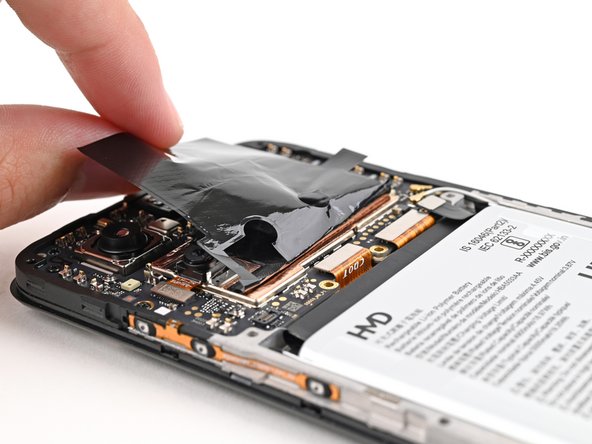
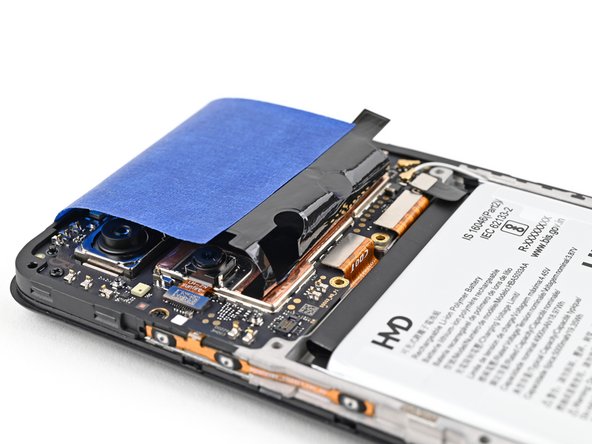
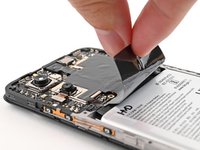
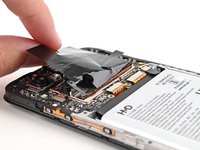
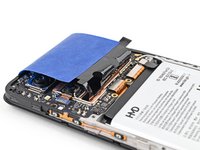
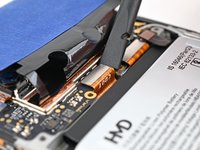
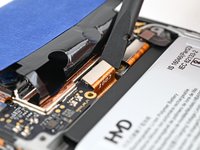
      • For the next step, you'll need to hold the graphite sheet out of the way of the display connector along the bottom of the motherboard.

      • Alternatively, you can use tape with light adhesive (such as painter's tape) to keep the graphite sheet out of the way.

      crwdns2952109:0crwdne2952109:0

      crwdns2917038:0crwdne2917038:0

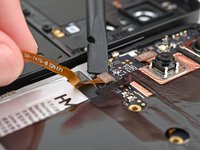
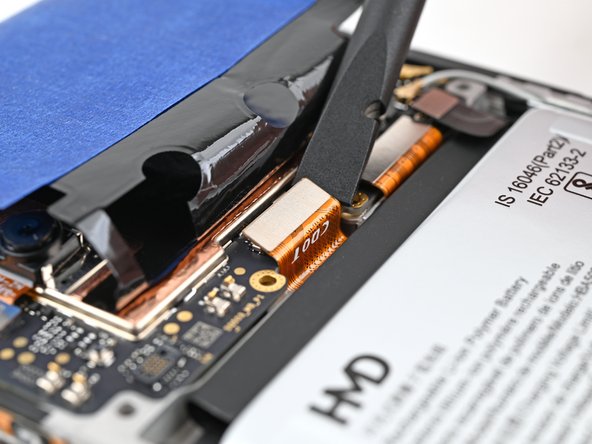
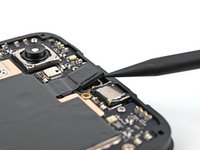
    2. HMD Fusion Screen Replacement, Disconnect the display: crwdns2935265:012crwdnd2935265:01crwdnd2935265:02crwdne2935265:0 HMD Fusion Screen Replacement, Disconnect the display: crwdns2935265:012crwdnd2935265:02crwdnd2935265:02crwdne2935265:0
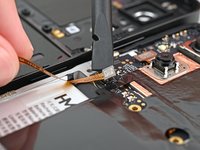
      • Use a spudger to pry up and disconnect the display press connector.

      • Pry under the right edge of the connector, as there are delicate surface‑mounted components to the left of it.

      crwdns2952109:0crwdne2952109:0

      crwdns2917038:0crwdne2917038:0

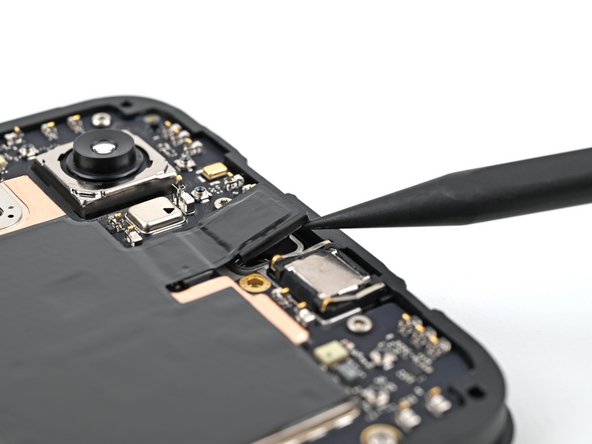
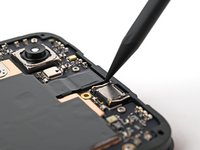
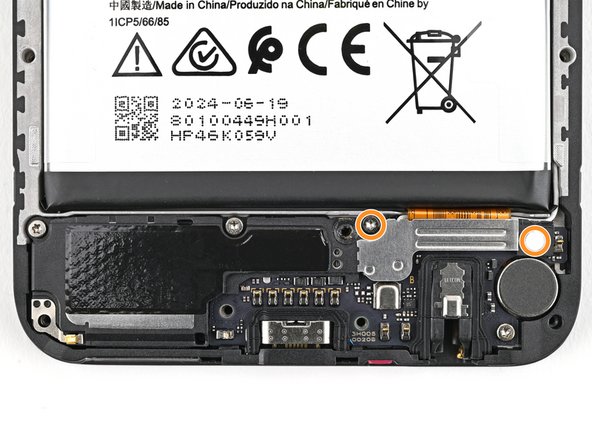
    3. HMD Fusion Screen Replacement, Separate the front camera: crwdns2935265:013crwdnd2935265:01crwdnd2935265:02crwdne2935265:0 HMD Fusion Screen Replacement, Separate the front camera: crwdns2935265:013crwdnd2935265:02crwdnd2935265:02crwdne2935265:0
      • Use the tip of a spudger to pry up the front camera from the frame and separate its adhesive.

      crwdns2952109:0crwdne2952109:0

      crwdns2917038:0crwdne2917038:0

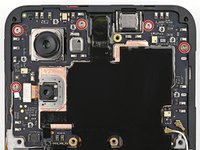
    4. HMD Fusion Screen Replacement, Remove the screen screws: crwdns2935265:014crwdnd2935265:01crwdnd2935265:02crwdne2935265:0 HMD Fusion Screen Replacement, Remove the screen screws: crwdns2935265:014crwdnd2935265:02crwdnd2935265:02crwdne2935265:0
      • Use a T3 Torx screwdriver to remove the seven 3.3 mm‑long screws securing the screen:

      • Five screws on the motherboard

      • Two screws on the loudspeaker

      • One of the screws on the loudspeaker may be covered by a sticker. Pierce through it with your screwdriver, or use tweezers to remove it.

      crwdns2952109:0crwdne2952109:0

      crwdns2917038:0crwdne2917038:0

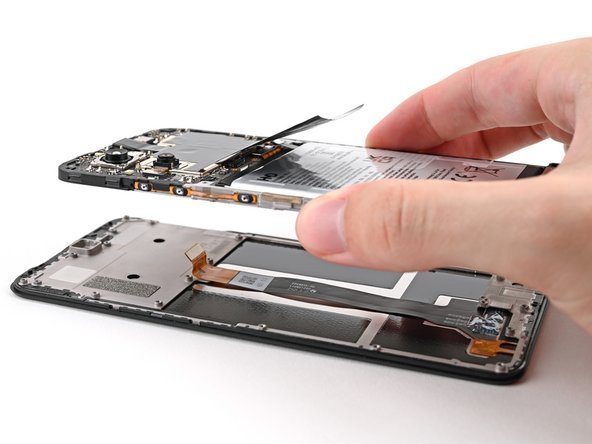
    5. HMD Fusion Screen Replacement, Remove the screen: crwdns2935265:015crwdnd2935265:01crwdnd2935265:02crwdne2935265:0 HMD Fusion Screen Replacement, Remove the screen: crwdns2935265:015crwdnd2935265:02crwdnd2935265:02crwdne2935265:0
      • Lift the screen off the frame, making sure to thread the display cable through its slot.

      • Remove the screen.

      crwdns2952109:0crwdne2952109:0

      crwdns2917038:0crwdne2917038:0

crwdns2915888:0crwdne2915888:0

To reassemble your device, follow these instructions in reverse order.

Take your e-waste to an R2 or e-Stewards certified recycler.

Repair didn’t go as planned? Try some basic troubleshooting, or ask our Answers community for help.

crwdns2935221:0crwdne2935221:0

crwdns2935229:09crwdne2935229:0

Alex Diaz-Kokaisl

crwdns2935283:001/16/22crwdne2935283:0

247,879 crwdns2915208:0crwdne2915208:0

crwdns2935297:01,203crwdne2935297:0

crwdns2935287:0crwdne2935287:0

iFixit crwdns2935289:0iFixitcrwdne2935289:0

Staff

crwdns2931471:0123crwdne2931471:0

crwdns2935297:085,578crwdne2935297:0

crwdns2947412:06crwdne2947412:0

Wo kann ich ein Ersatzdisplay bestellen? (Bin aus der Schweiz)

Ivan Haedo - crwdns2934203:0crwdne2934203:0 crwdns2950251:0crwdne2950251:0

Will the parts ever be in stock in Europe? Pointless to buy a repairable phone when you can't buy the parts

Ejrj - crwdns2934203:0crwdne2934203:0 crwdns2950251:0crwdne2950251:0

In teh description you remove the screen, but Ifix send a sreen with a frame fixed to it. no way this is gona fit.

L Verheul - crwdns2934203:0crwdne2934203:0 crwdns2950251:0crwdne2950251:0

Yes, the new screen has a frame attached to it. Just remove every screw on it an detach the frame carefully. I guess the frame supports the screen for transportation.

Robert Reiter - crwdns2934203:0crwdne2934203:0 crwdns2950251:0crwdne2950251:0

Hello, I am in Portugal, can I buy the screen on this website?

Sand.barack - crwdns2934203:0crwdne2934203:0 crwdns2950251:0crwdne2950251:0

crwdns2917038:0crwdne2917038:0

crwdns2936625:0crwdne2936625:0:

crwdns2936751:024crwdne2936751:0 16

crwdns2936753:07crwdne2936753:0 119

crwdns2936753:030crwdne2936753:0 464

crwdns2942667:0crwdne2942667:0 8,432