crwdns2915892:0crwdne2915892:0
This repair guide was authored by the iFixit staff and hasn’t been endorsed by Google. Learn more about our repair guides here.
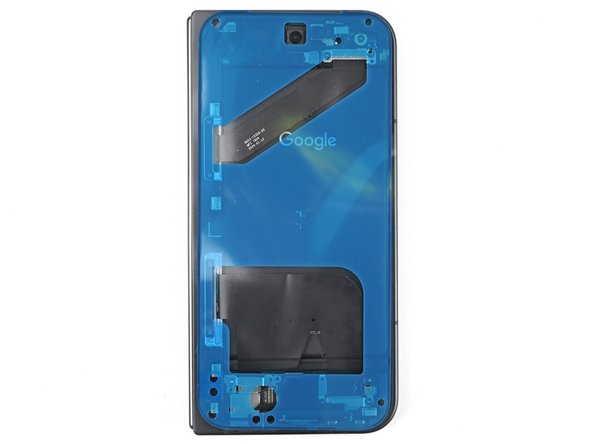
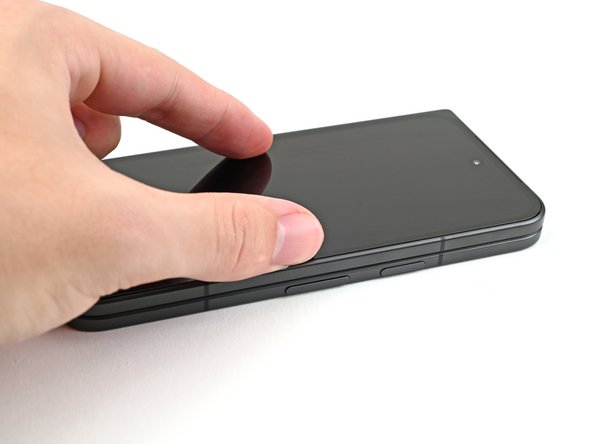
Use this guide to replace the outer screen in your Google Pixel 9 Pro Fold.
crwdns2942213:0crwdne2942213:0
-
-
Unplug all cables from your phone and completely power it down.
-
-
-
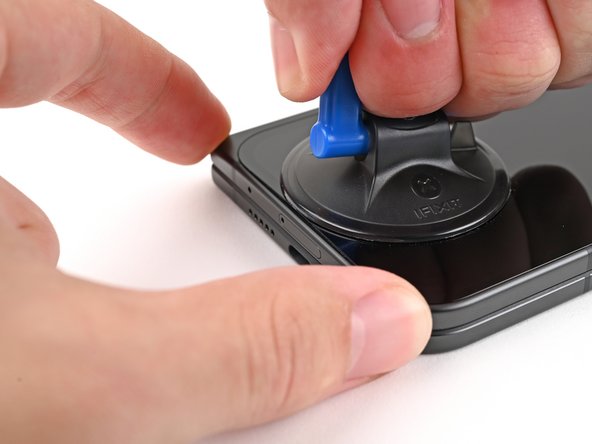
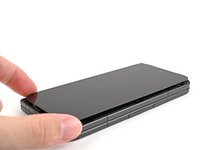
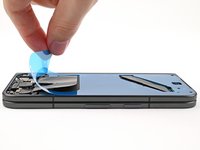
Apply a suction cup to the screen, as close to the center of the bottom edge as possible.
-
Pull up on the suction cup with strong, steady force to create a gap between the screen and the frame.
-
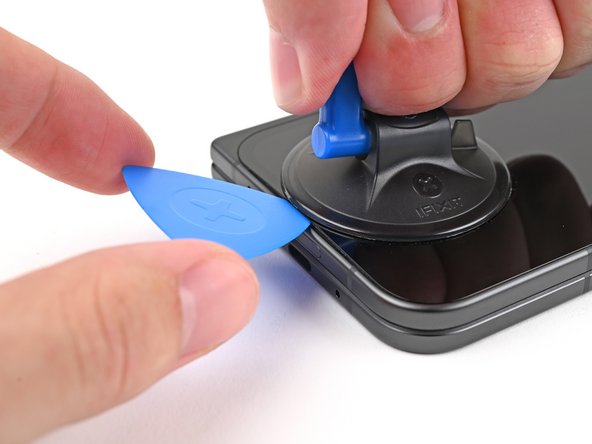
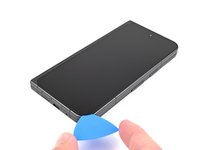
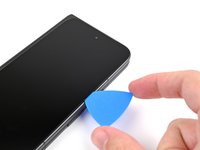
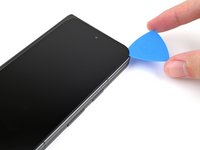
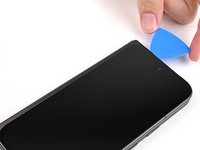
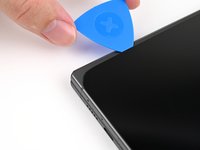
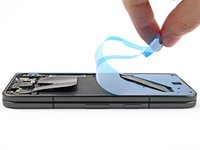
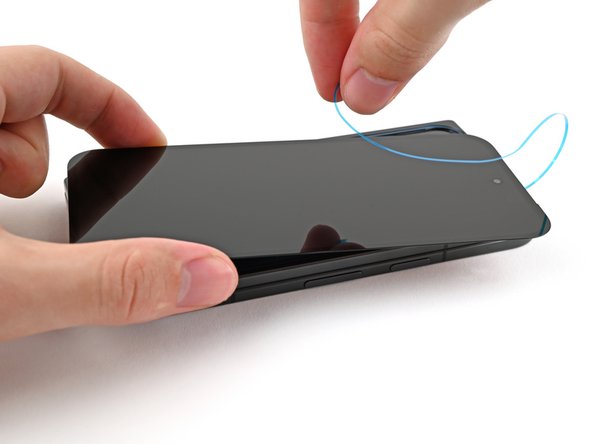
Insert an opening pick into the gap.
-
-
-
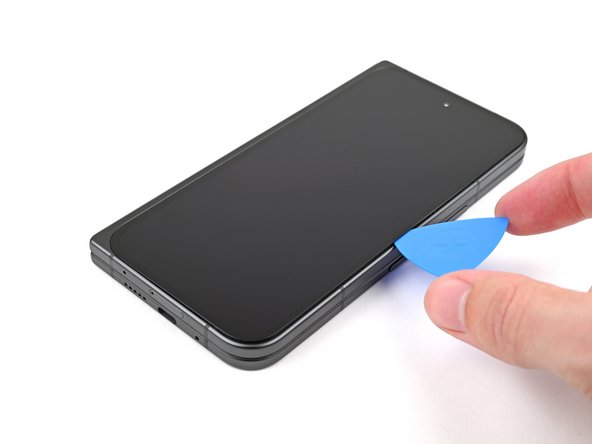
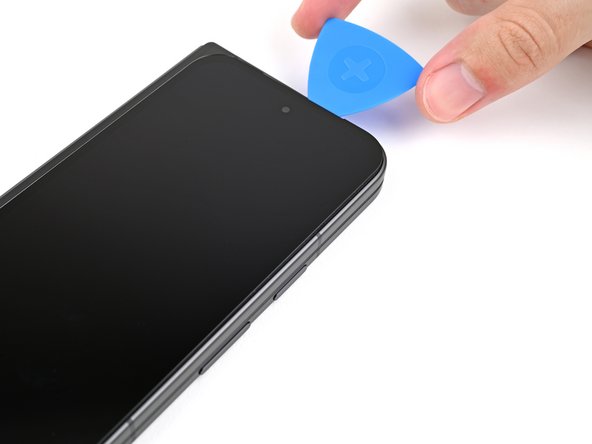
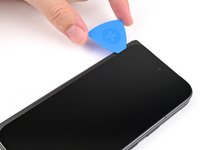
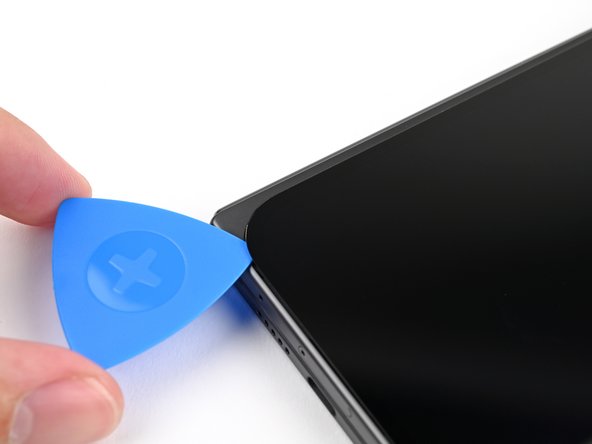
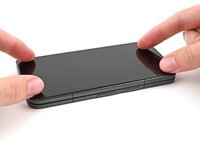
Slide the opening pick around the bottom right corner and up the right edge of the screen to separate the adhesive.
-
-
-
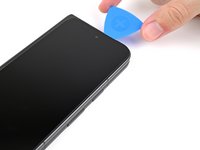
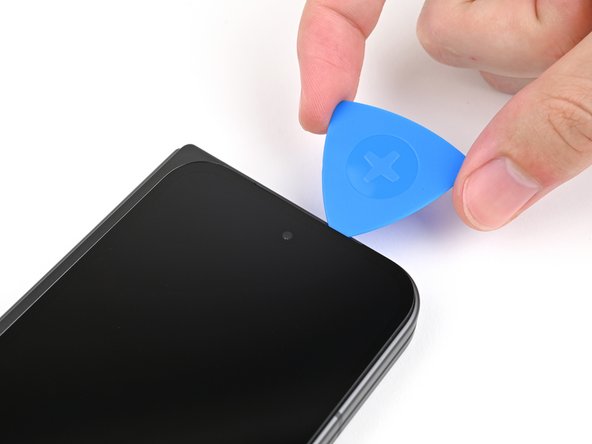
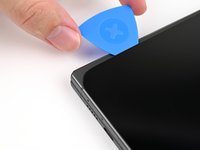
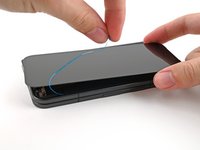
Slide the pick around the top right corner and stop before the front camera.
-
-
-
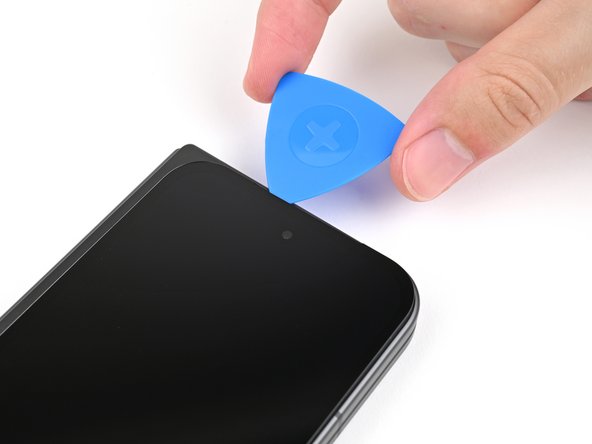
Pull the opening pick out so only the tip is under the screen.
-
Slide the opening pick across the top edge of the screen until you're past the front camera.
-
Push your pick to its original depth before continuing.
-
-
-
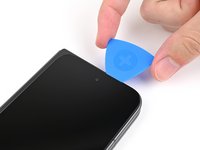
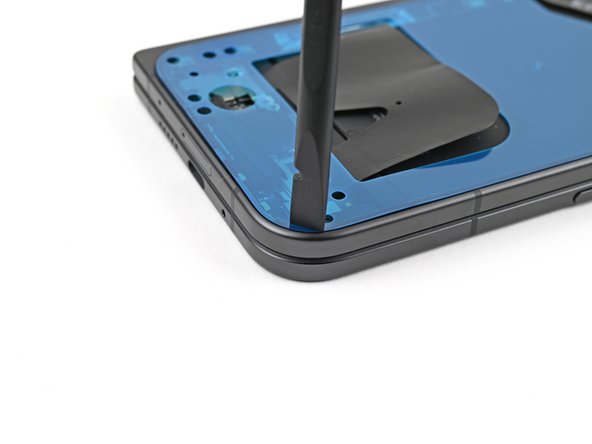
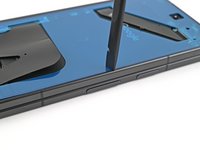
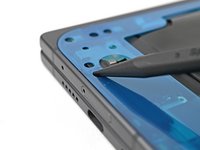
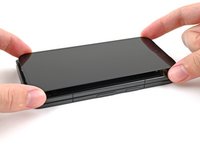
Slide the opening pick around the top left corner and stop about two‑thirds down the left edge of the screen.
-
-
-
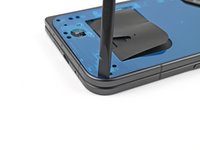
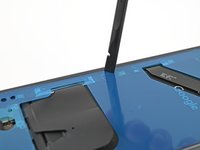
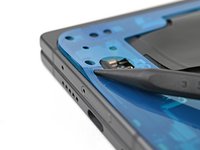
Pull the opening pick out to a 2 mm depth and rotate the pick around the bottom left corner to separate the remaining adhesive.
-
-
-
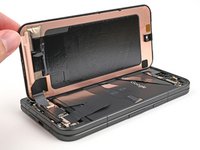
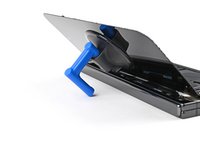
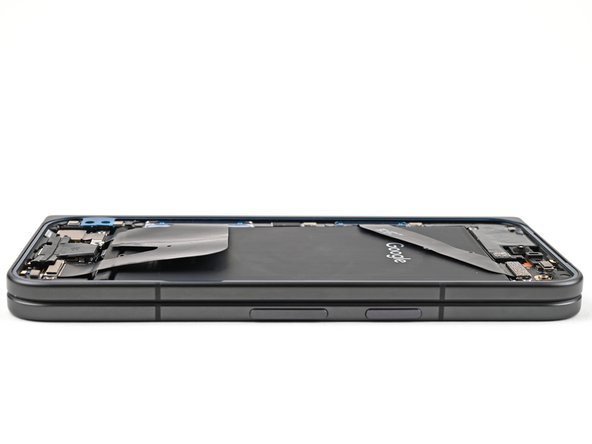
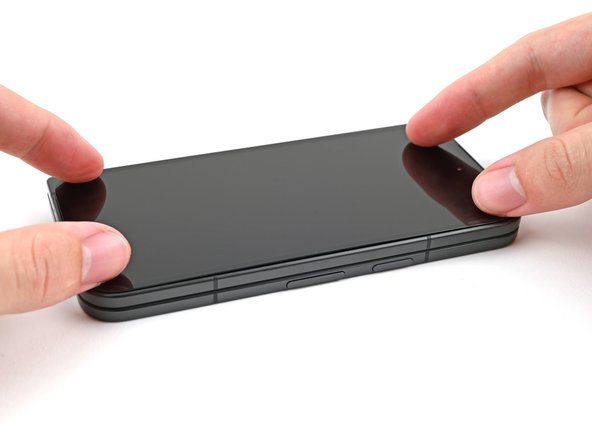
Lift the right edge of the screen and swing it over the left edge of the phone, like opening a book.
-
Prop up the screen with your suction handle or a clean, sturdy object.
-
-
crwdns2935267:0crwdne2935267:0FixMat$36.95
-
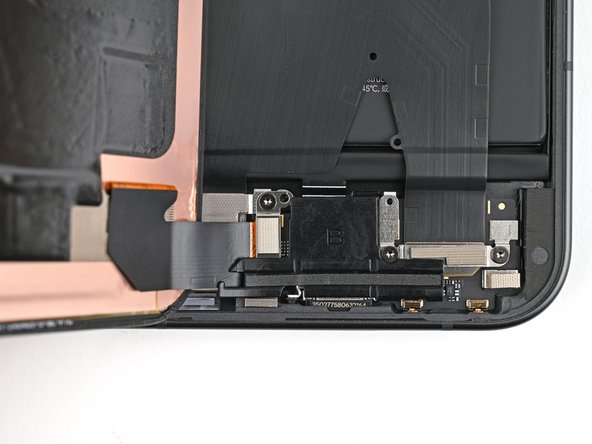
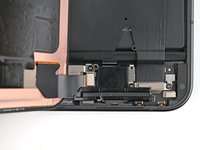
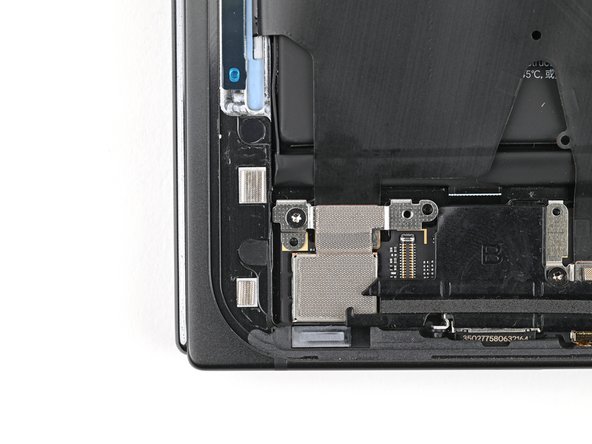
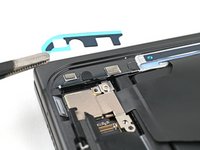
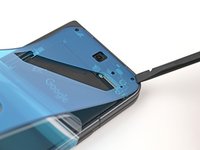
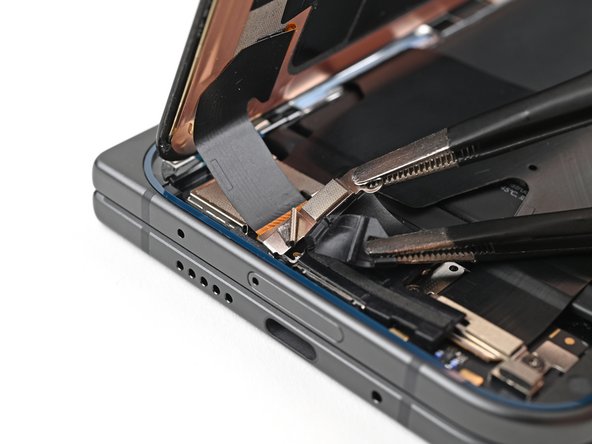
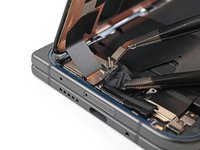
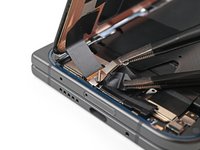
Use a Torx Plus 3IP driver to remove the 2.2 mm‑long screw securing the display cable bracket.
-
-
-
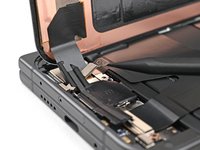
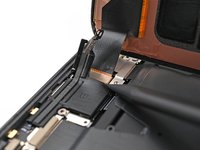
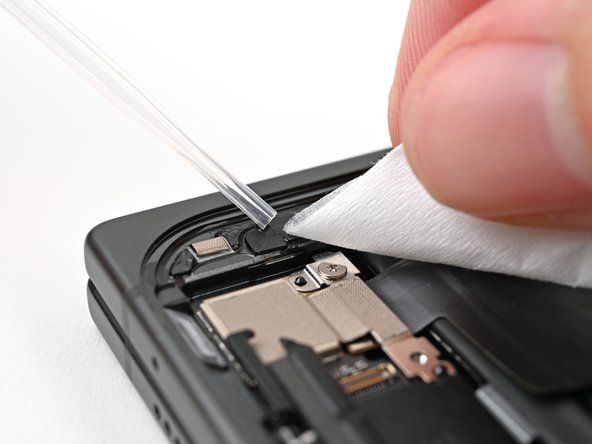
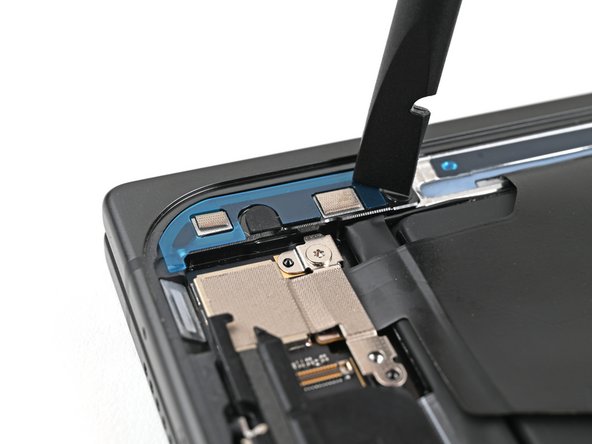
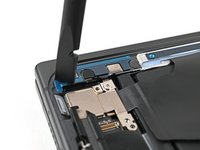
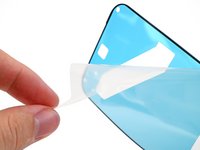
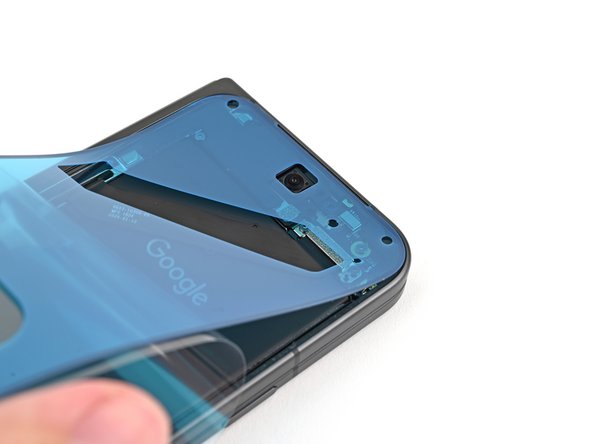
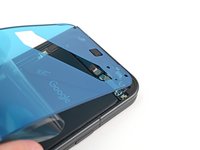
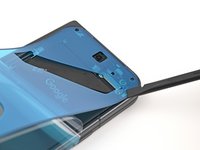
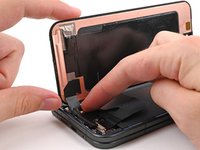
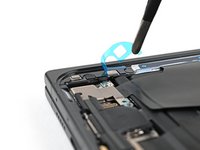
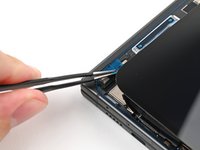
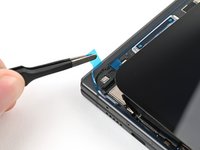
Use a spudger, or your fingers, to lift the display cable bracket enough to access the press connector underneath.
-
-
-
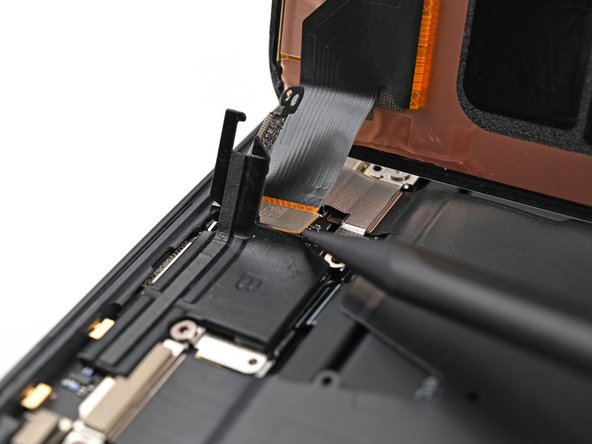
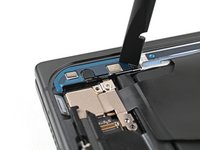
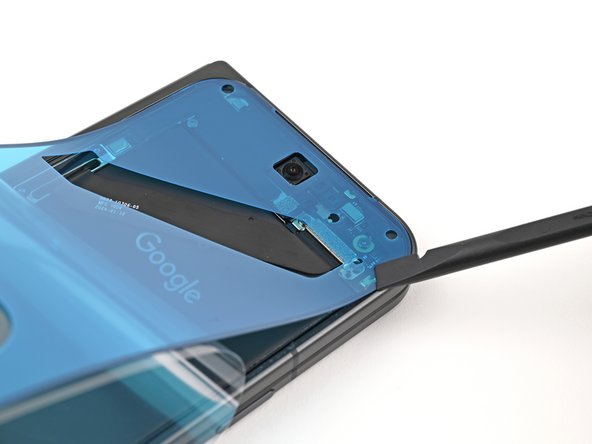
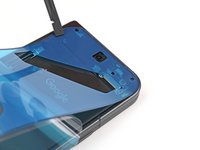
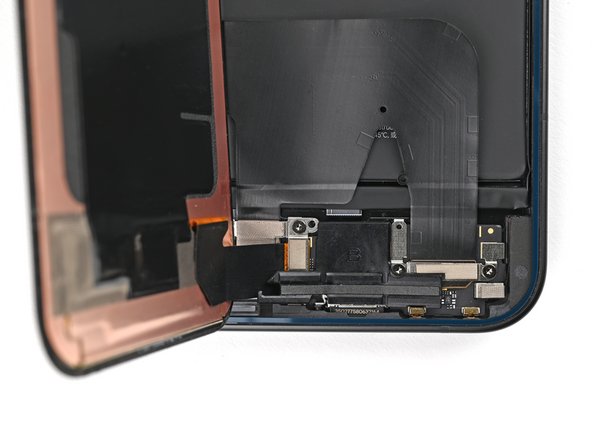
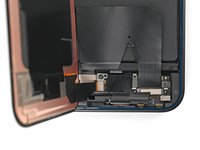
Use the point of a spudger to pry up and disconnect the display cable press connector.
-
-
-
-
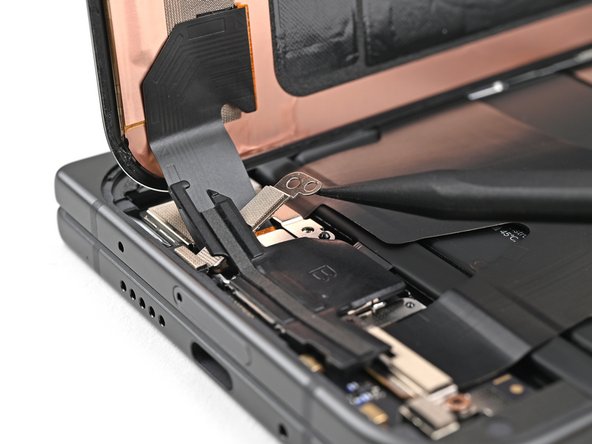
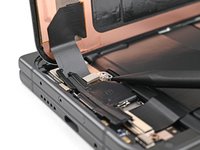
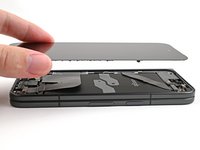
Lift the screen off the frame and remove it.
-
-
-
Congratulations on completing disassembly! The remaining steps will show you how to reassemble your device.
-
-
-
Use a spudger, or your fingers, to remove the old bottom left outer screen adhesive.
-
Use isopropyl alcohol (>90%) and a coffee filter or a microfiber cloth to remove any adhesive residue.
-
-
-
Before removing any liners, check if the bottom left outer screen adhesive matches the frame.
-
-
-
Peel the bottom left outer screen adhesive off its clear liner to expose the adhesive.
-
Put the adhesive into place on the frame.
-
-
-
Use the flat end of a spudger to press along the adhesive strip to adhere it to the frame.
-
-
-
Before removing any liners, check if the perimeter outer screen adhesive matches the frame.
-
-
-
Peel away the top half of the new adhesive strip from its clear liner and keep it folded.
-
-
-
Align the top half of the adhesive over the frame, using the corners as reference points.
-
Place the adhesive on the frame.
-
-
-
Use the flat end of a spudger, or your fingers, to press down the top edge of the adhesive and adhere it to the frame.
-
-
-
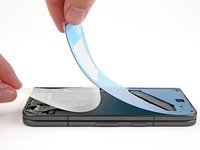
While peeling away the rest of the clear liner, slowly lay the rest of the adhesive over the perimeter of the phone.
-
-
-
Use the flat end of a spudger, or your fingers, to press down the rest of the adhesive and adhere it to the frame.
-
-
-
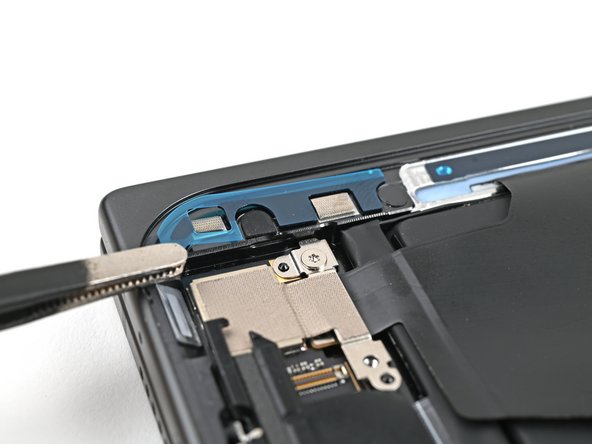
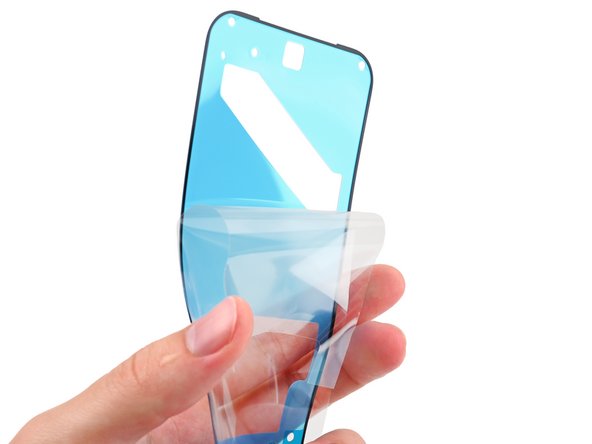
Use the tip of a spudger to pry up the segmented tab on the bottom left corner of the large blue liner.
-
-
-
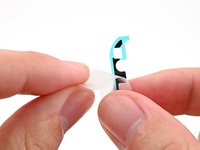
Lift the tab and peel off the large blue liner to expose the secondary liner.
-
-
-
Support the screen with your hand or prop it up on something sturdy.
-
Reconnect the outer screen cable press connector.
-
-
-
Reinsert the outer screen cable bracket clip under the frame and align its screw hole.
-
-
-
Use a Torx Plus 3IP driver to install the 2.2 mm‑long screw securing the display cable bracket.
-
-
-
Remove the blue liner from the bottom left outer screen adhesive strip.
-
While holding the screen above the frame, separate one of the secondary liner's pull tabs at the bottom left corner.
-
-
-
Still holding the screen, peel off the secondary liner to expose the adhesive.
-
-
-
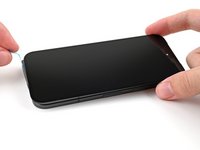
Align the outer screen over the frame and press it into place.
-
-
-
Press along the perimeter of the outer screen to adhere it to the frame.
-
Let the phone sit a few hours for the adhesive to cure.
-


Congratulations on completing your screen repair!
To run a diagnostics test with the built-in Pixel Diagnostic tool, click here.
Take your e-waste to an R2 or e-Stewards certified recycler.
Repair didn’t go as planned? Try some basic troubleshooting, or ask our Google Pixel 9 Pro Fold Answers Community for help.
crwdns2935221:0crwdne2935221:0
crwdns2935229:03crwdne2935229:0


crwdns2947412:03crwdne2947412:0
Can I use a pixel 9 screen to replace outer pixel 9 fold screen??
I can't find outer screen replacement part
note to others: the first time after installing, my phone did not power on many times over several hours and i was panicking. but i got it working, not sure which of it was the actual fix:
1. the screen cable should be plugged in quite snugly to the device. don't apply too much force, but apply enough that it latches on and isn't lose and moveable inside.
2. ensure your phone has charge.
3. hold the power button for longer than normal, about 15sec. then wait for 15sec before trying again.
4. try the other power up options - power+vol up, power+vol down for 15sec.