crwdns2915892:0crwdne2915892:0
This repair guide was authored by the iFixit staff and hasn’t been endorsed by Google. Learn more about our repair guides here.
Follow this guide to correctly apply screen adhesive to your Google Pixel 5a after a repair.
Before you begin, you should have already removed your Pixel’s screen and set it aside. Detailed instructions for this can be found here.
This guide was written using a Pixel 5. There will be some visual discrepancies, but the adhesive installation procedure is the same.
crwdns2942213:0crwdne2942213:0
-
crwdns2935267:0crwdne2935267:0Tweezers$4.99
-
Peel off as much adhesive as you can with a pair of tweezers.
-
Use a spudger to scrape away any lingering adhesive.
-
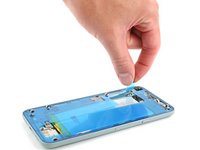
For best results, clean the area underneath the removed adhesive with 90% or greater isopropyl alcohol to prep the surface for the new adhesive.
-
-
-
Repeat the previous step for the screen adhesive.
-
-
-
Use the front camera and corners of the frame to correctly align the adhesive.
-
-
-
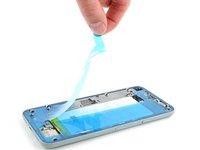
Peel away the clear plastic lining to expose the frame side of the adhesive.
-
-
-
-
Lower the adhesive onto the frame.
This clearly does not work. The adhesive is stuck to the clear plastic and wont come off.
You included a gel pouched that needs warmed. Is that relevant to this step? Its not mentioned here... -
-
-
Use the flat end of a spudger or your fingernail to press down on the adhesive.
-
Slide along the perimeter to secure the adhesive to the frame.
-
-
-
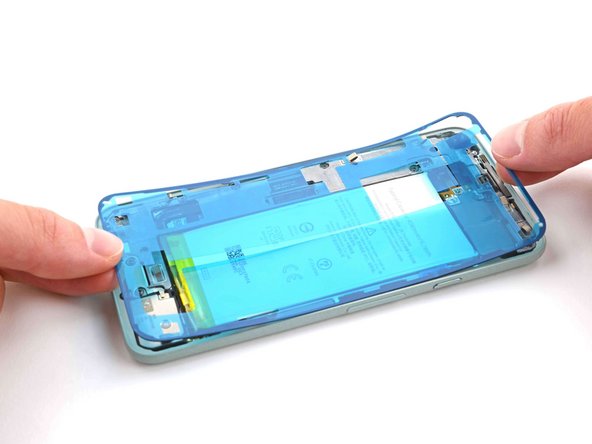
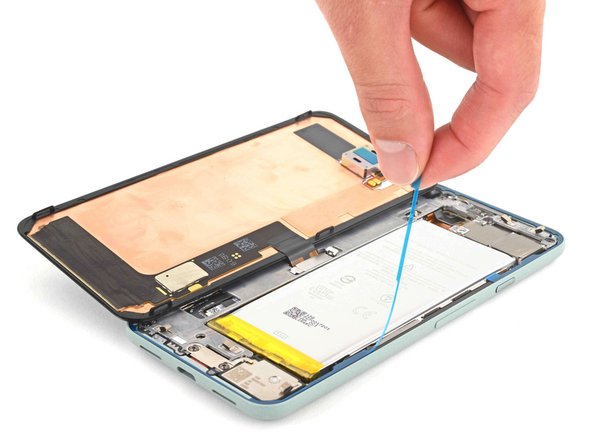
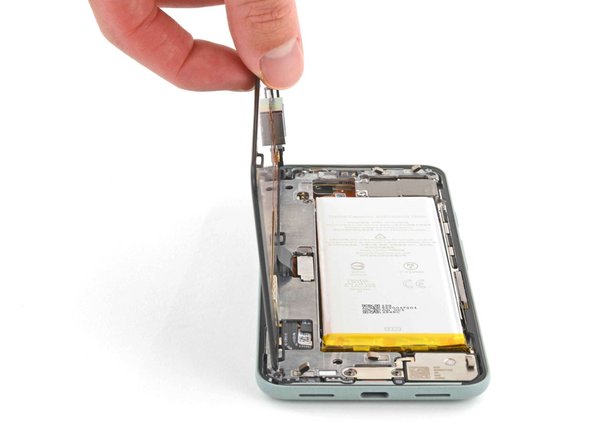
Use your fingers to grasp the blue plastic lining near the center and peel it away from the phone.
The final protective layer of plastic came off with the blue sheet when I did this step, but I was able to work around that by keeping a piece of stiff plastic over the edge of the phone as I struggled to connect the screen cable.
-
-
-
Follow the screen replacement guide in reverse order and connect the screen to your pixel.
-
If you replaced the screen, check the screen's front-facing camera hole and remove any protective liners covering it.
This step took forever. Had to hire someone to do it because I was struggling for almost an hour, and even he had trouble with it.
I also want to echo what someone else said in the original screen tutorial: make sure you remove the plastic with the red flap from the front facing camera lens on the new screen. There are two temp adhesives to remove for that one.
-
-
-
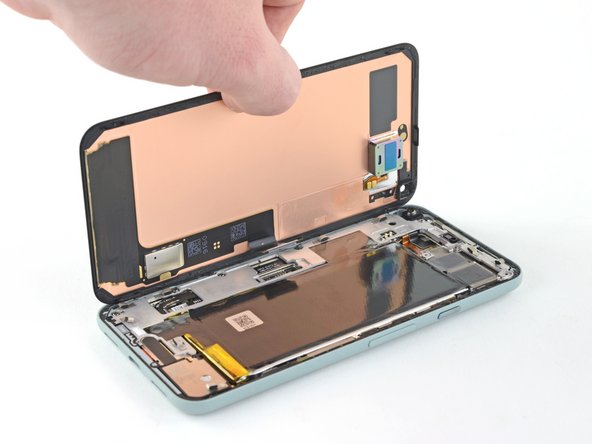
Peel away the blue plastic lining to expose the perimeter adhesive.
I waited to peel the final strip till i had the screen in position but not clicked down.
This minimized the chance of dust.
I did have to pull just the beginning of the tab so it was peeking out before resting the screen down like that.
-
-
-
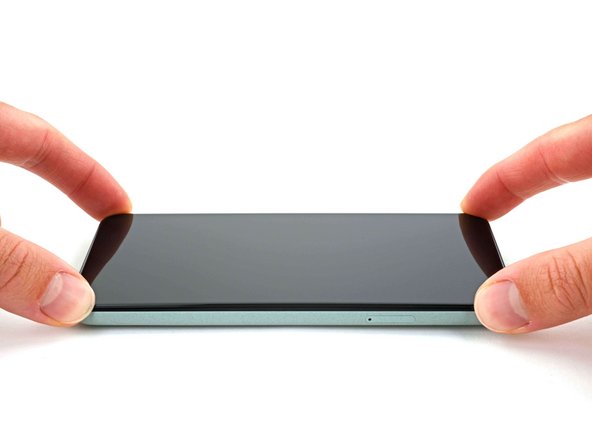
Position the screen so it lays on the frame.
-
-
-
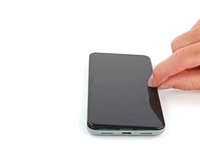
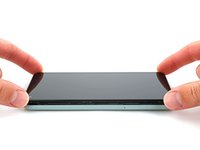
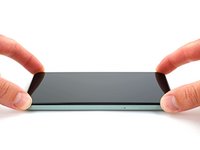
Press down the corners of the screen to secure them to the frame.
-
-
-
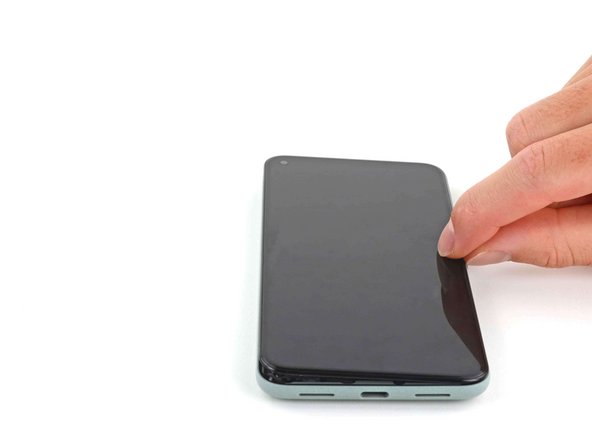
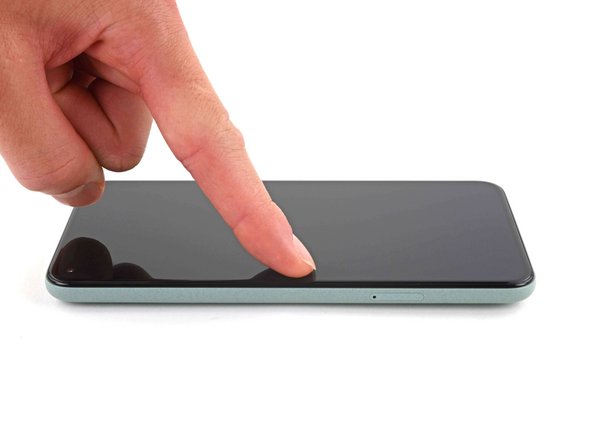
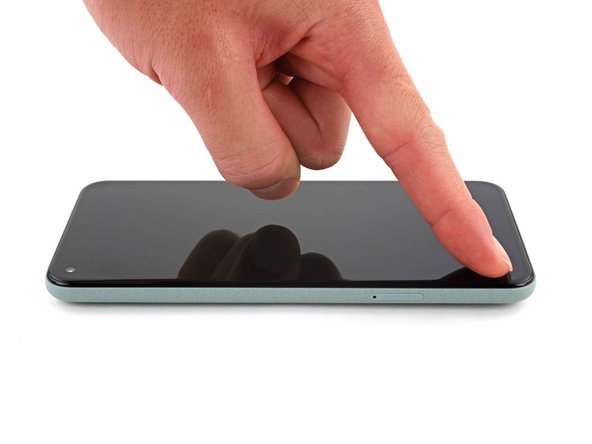
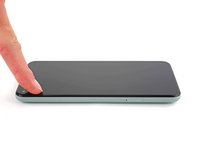
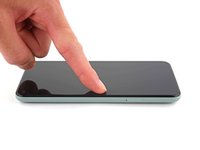
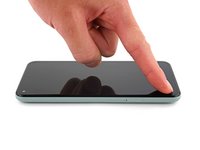
Press down on the edges of the screen.
-
Slide along the perimeter to secure it to the frame.
-
Repair didn’t go as planned? Try some basic troubleshooting, or ask our Pixel 5a Answers community for help.
Repair didn’t go as planned? Try some basic troubleshooting, or ask our Pixel 5a Answers community for help.
crwdns2935221:0crwdne2935221:0
crwdns2935229:018crwdne2935229:0
crwdns2947412:05crwdne2947412:0
Pretty easy. Maybe 20 mins job. Nice guide.
What is the stack of books for?
Hey there!
Usually you would place a stack of books or 2L+ bottle of water on top of the device to apply extra force to the adhesive and leave it for some time, like 30-60 minutes. That would ensure better adhesion for the replacement screen. It is not necessary nowadays, but it's an old-school style way of gluing things together and seasoned repair techs still place something heavy on top of the device when replacing glued-in components
Excellent instructions. I was able to get through this no problem.
Bought the kit and followed this guide, worked perfectly. Thanks Ifixit for helping me fix my phone.



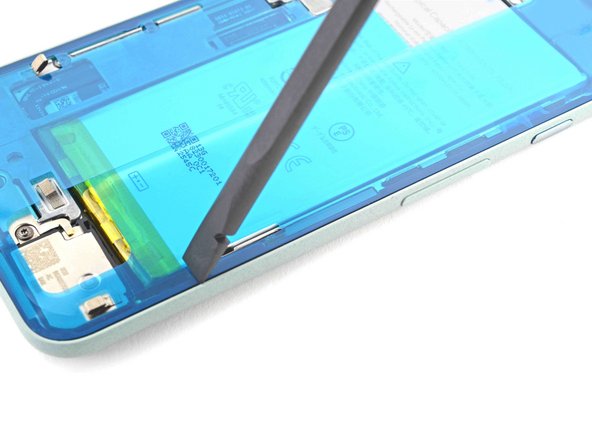
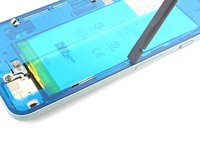
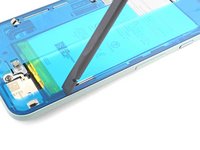




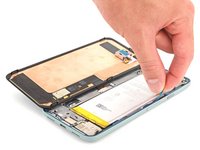
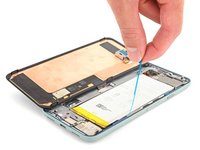

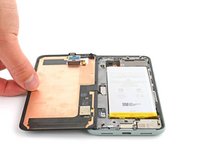
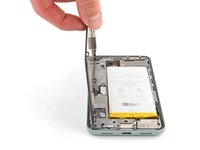




This part was strangely frustrating, not matter how much I poked or tweezed I couldn't seem to get the old stuff to come off... but finally using the pointy end of the spudger I got just the right angle to loosen under a nice chunk and then I was able to use the tweezers to pull pretty much all of it off in one satisfying strip. It's attached to plastic underneath and you really can't ruin what it's resting on with the spudger but with the adhesive all still in place I wasn't certain what I was looking at and I was afraid to try too hard.
Determined, but distracted - crwdns2934203:0crwdne2934203:0