crwdns2915892:0crwdne2915892:0
This repair guide was authored by the iFixit staff and hasn’t been endorsed by Google. Learn more about our repair guides here.
Follow this guide to correctly apply screen adhesive to your Google Pixel 5 after a repair.
Before you begin, you should have already removed your Pixel’s screen and set it aside. Detailed instructions for this can be found here.
crwdns2942213:0crwdne2942213:0
-
crwdns2935267:0crwdne2935267:0Tweezers$4.99
-
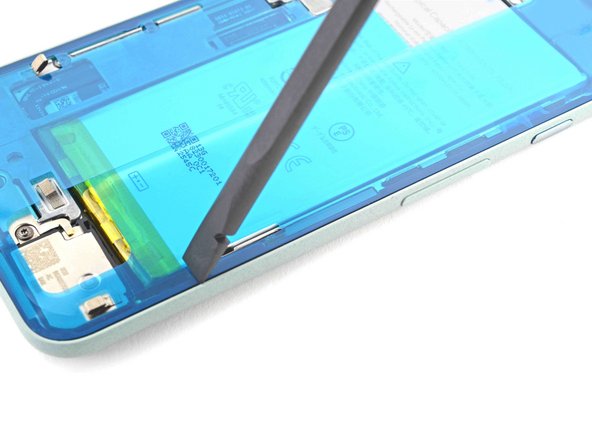
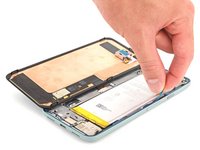
Peel off as much adhesive as you can with a pair of tweezers.
-
Use a spudger to scrape away any lingering adhesive.
-
For best results, clean the area underneath the removed adhesive with 90% or greater isopropyl alcohol to prep the surface for the new adhesive.
-
-
-
Repeat the previous step for the screen adhesive.
-
-
-
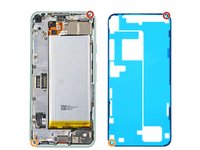
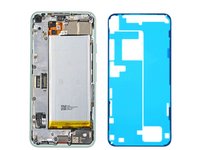
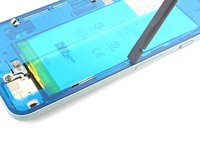
Use the holes in the top right and bottom left corners of the frame to correctly align the adhesive:
-
The top right hole is circular
-
The bottom left hole is oblong
-
-
-
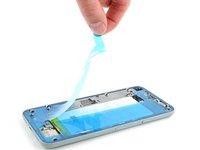
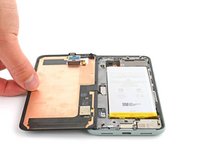
Peel away the clear plastic lining to expose the frame side of the adhesive.
-
-
-
-
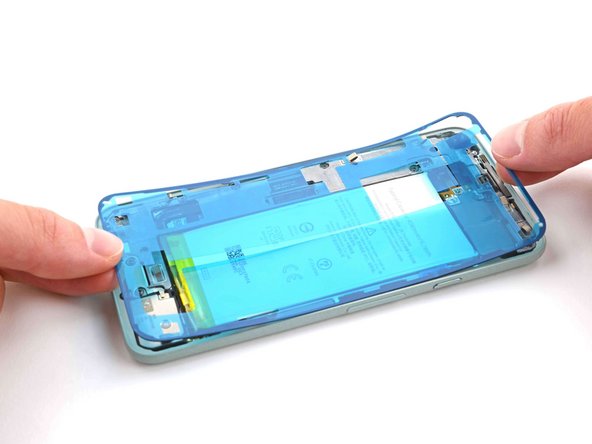
Lower the adhesive onto the frame.
-
-
-
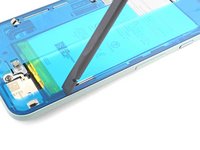
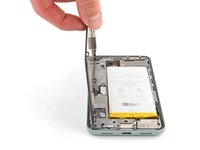
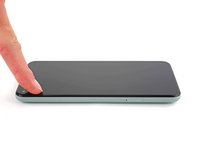
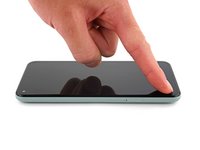
Use the flat end of a spudger or your fingernail to press down on the adhesive.
-
Slide along the perimeter to secure the adhesive to the frame.
-
-
-
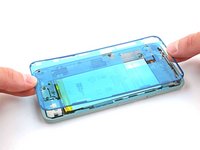
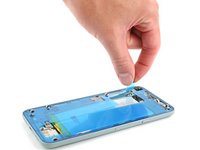
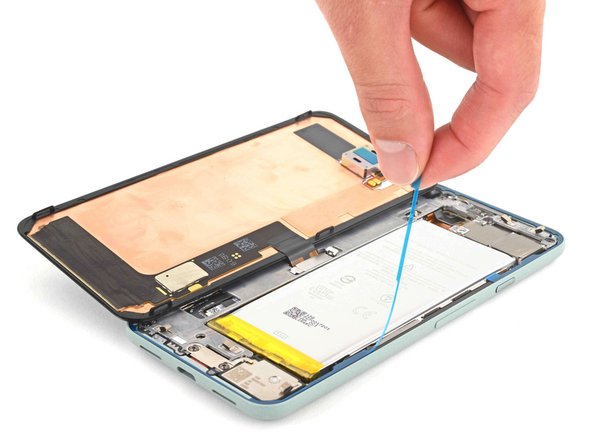
Use your fingers to grasp the blue plastic lining near the center and peel it away from the phone.
-
-
-
Follow the screen replacement guide in reverse order and connect the screen to your Pixel.
I forgot to use the screen connector cover. I would add a warning on this step like "Don't forget the screen connector cover after connecting the cable."
Guillermo González de Garibay - crwdns2934203:0crwdne2934203:0
-
-
-
Peel away the blue plastic lining to expose the perimeter adhesive.
On the new screen I received, there was a reeaally tiny black plastic tape or protector on the inside of the camera hole on the back of the screen, not easy to see.
Before closing the phone, I've tested the screen and everything and checked for any other blue lining left (like in the guide here). Only once closed I noticed that the front camera wasn't working and saw that something was blocking it from the inside, I thought I had somehow misplaced the camera at first. Once I opened it again, and hopefully didn't brake the screen and was able to reuse the adesive, I saw that black tape on the inside of the camera hole.
I don't know if it's only the screen I received that had this tape, but it's shurely something to watch for.Yep, I almost missed this. Thank you!
-
-
-
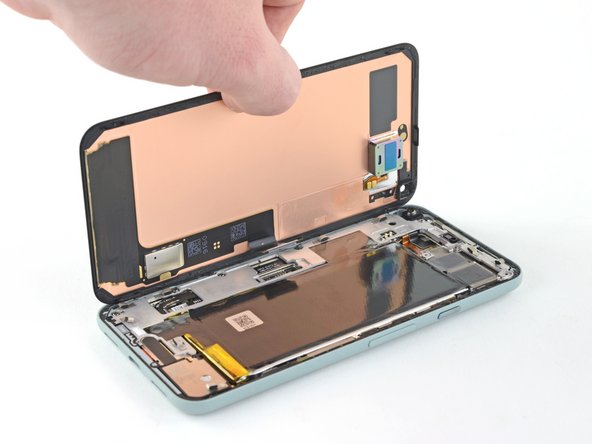
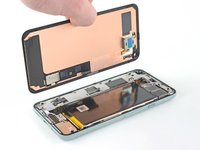
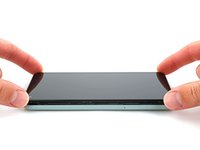
Position the screen so it lays on the frame.
The front facing camera bracket has changed as compared to the original display that came with my Pixel 5. It is no longer a rigid molded part that is glued on but now is flexible has a flap that can cover the camera lens if not installed properly. I am not sure what the best method is as its very hard to access once the display is connected and the screen flipped into position.
-
-
-
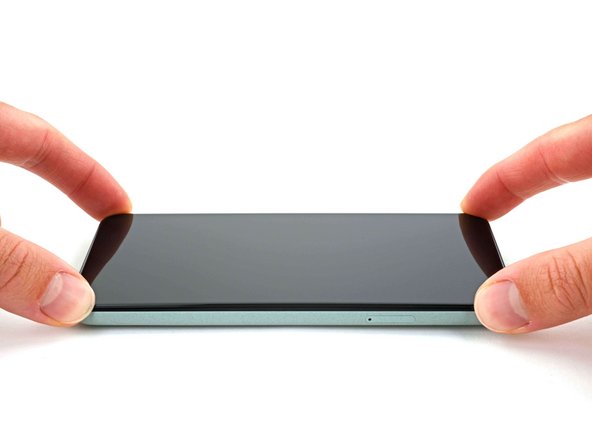
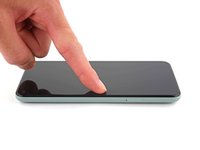
Press down the corners of the screen to secure them to the frame.
-
-
-
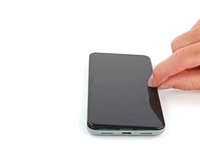
Press down on the edges of the screen.
-
Slide along the perimeter to secure it to the frame.
-


Repair didn’t go as planned? Try some basic troubleshooting, or ask our Pixel 5 Answers community for help.
Repair didn’t go as planned? Try some basic troubleshooting, or ask our Pixel 5 Answers community for help.
crwdns2935221:0crwdne2935221:0
crwdns2935229:028crwdne2935229:0

crwdns2915084:0crwdne2915084:0

Guide Team crwdns2935289:0Guide Teamcrwdne2935289:0
Staff
crwdns2931471:09crwdne2931471:0
crwdns2935297:013,111crwdne2935297:0
crwdns2947410:01crwdne2947410:0
Vielen Dank für die ausführliche und hilfreiche Anleitung. Hat alles geklappt. Leider hatte ich die Schutzfolie über der Frontkamera übersehen. Die funktioniert jetzt nicht mehr. Das sollte noch in der Anleitung ergänzt werden.