crwdns2933423:0crwdne2933423:0

GameSir X2 Type-C Right Joystick Replacement

crwdns2942213:0crwdne2942213:0

  1. GameSir X2 Type-C Right Joystick Replacement, Back Cover: crwdns2935265:01crwdnd2935265:01crwdnd2935265:02crwdne2935265:0 GameSir X2 Type-C Right Joystick Replacement, Back Cover: crwdns2935265:01crwdnd2935265:02crwdnd2935265:02crwdne2935265:0
    • Turn the device so the back faces you.

  2. GameSir X2 Type-C Right Joystick Replacement: crwdns2935265:02crwdnd2935265:01crwdnd2935265:02crwdne2935265:0 GameSir X2 Type-C Right Joystick Replacement: crwdns2935265:02crwdnd2935265:02crwdnd2935265:02crwdne2935265:0
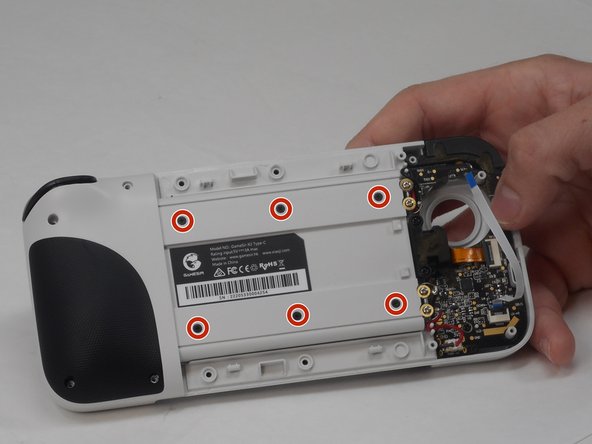
    • Remove the eight 6 mm T6 Torx screws.

  3. GameSir X2 Type-C Right Joystick Replacement: crwdns2935265:03crwdnd2935265:01crwdnd2935265:01crwdne2935265:0
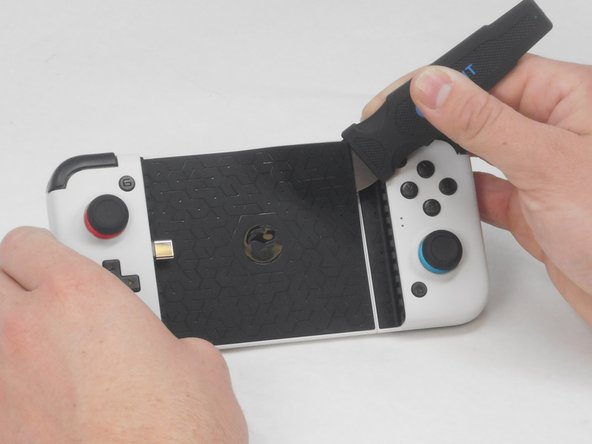
    • Use a straight edge to remove the rubber pad on the front of the device.

  4. GameSir X2 Type-C Right Joystick Replacement: crwdns2935265:04crwdnd2935265:01crwdnd2935265:02crwdne2935265:0 GameSir X2 Type-C Right Joystick Replacement: crwdns2935265:04crwdnd2935265:02crwdnd2935265:02crwdne2935265:0
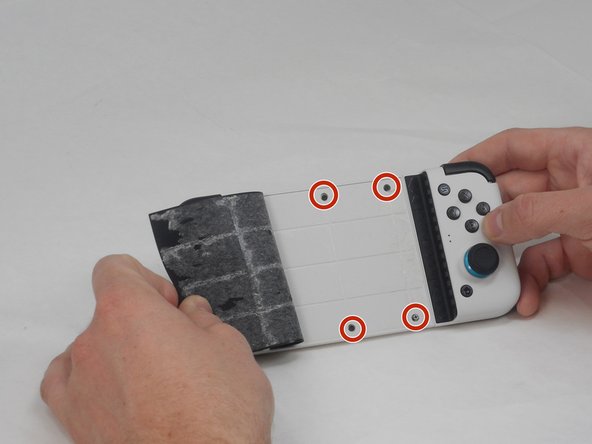
    • Remove the four 4.5 mm screws with a Phillips #000 screwdriver.

  5. GameSir X2 Type-C Right Joystick Replacement: crwdns2935265:05crwdnd2935265:01crwdnd2935265:02crwdne2935265:0 GameSir X2 Type-C Right Joystick Replacement: crwdns2935265:05crwdnd2935265:02crwdnd2935265:02crwdne2935265:0
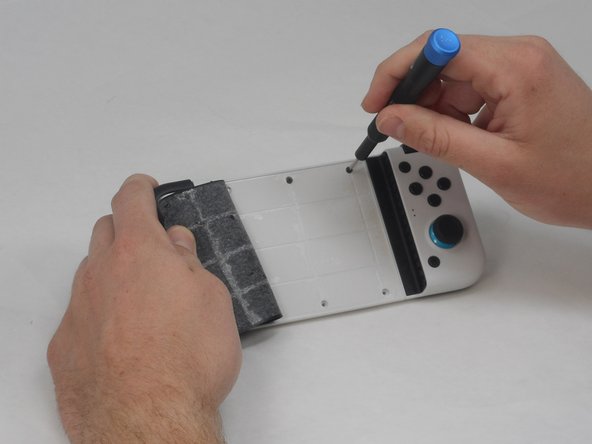
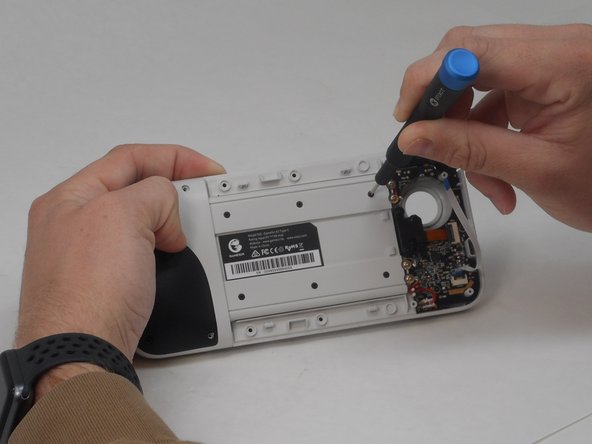
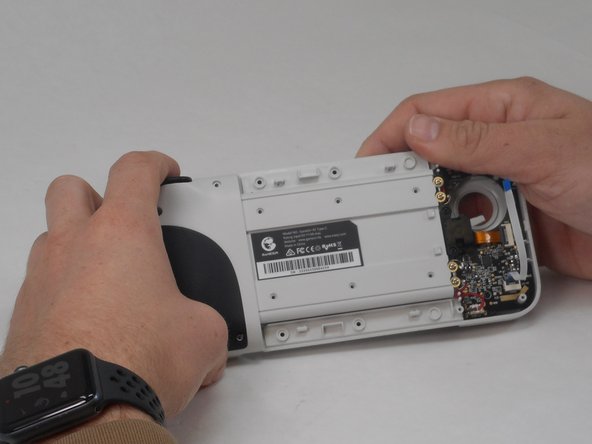
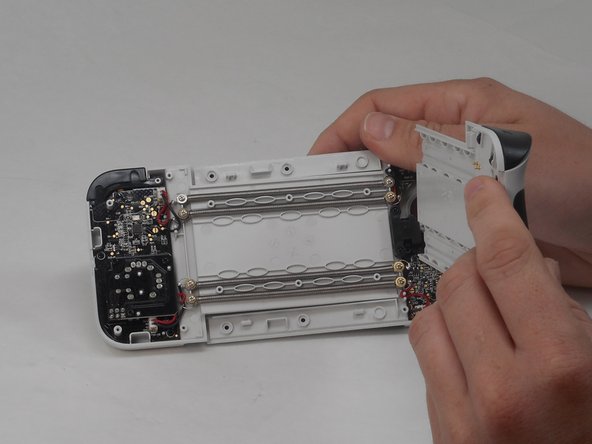
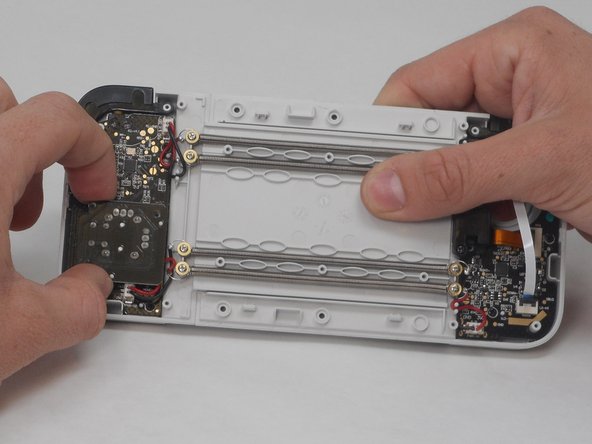
    • Use a straight edge to pry open the controller, following the seam on the controller.

    • Some force is necessary, but be careful not to damage any of the clips holding the controller together.

  6. GameSir X2 Type-C Right Joystick Replacement, Right Joystick: crwdns2935265:06crwdnd2935265:01crwdnd2935265:03crwdne2935265:0 GameSir X2 Type-C Right Joystick Replacement, Right Joystick: crwdns2935265:06crwdnd2935265:02crwdnd2935265:03crwdne2935265:0 GameSir X2 Type-C Right Joystick Replacement, Right Joystick: crwdns2935265:06crwdnd2935265:03crwdnd2935265:03crwdne2935265:0
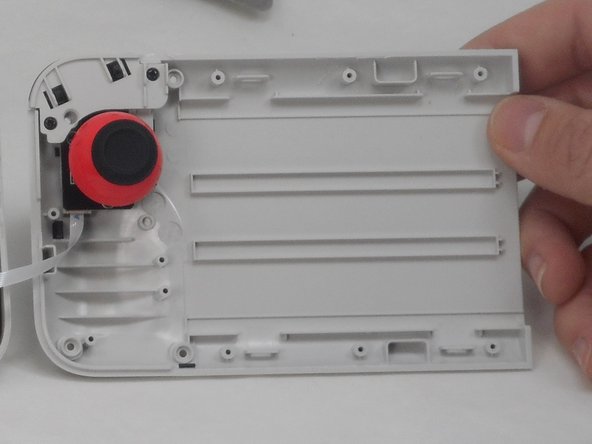
    • Remove six 4.5 mm screws using the Phillips #000 screwdriver.

  7. GameSir X2 Type-C Right Joystick Replacement: crwdns2935265:07crwdnd2935265:01crwdnd2935265:02crwdne2935265:0 GameSir X2 Type-C Right Joystick Replacement: crwdns2935265:07crwdnd2935265:02crwdnd2935265:02crwdne2935265:0
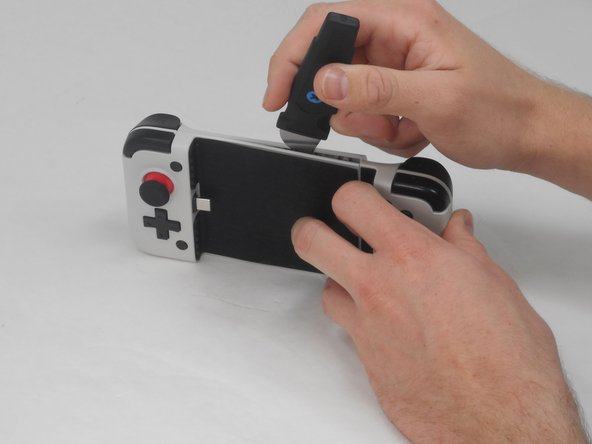
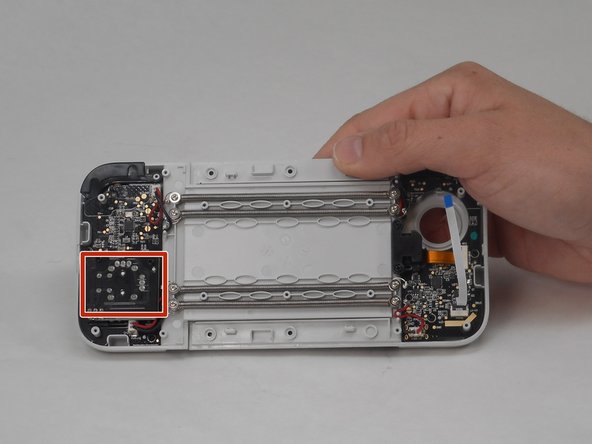
    • Remove the left panel of the back cover to expose the joystick.

    • The joystick is attached to the black board.

  8. GameSir X2 Type-C Right Joystick Replacement: crwdns2935265:08crwdnd2935265:01crwdnd2935265:02crwdne2935265:0 GameSir X2 Type-C Right Joystick Replacement: crwdns2935265:08crwdnd2935265:02crwdnd2935265:02crwdne2935265:0
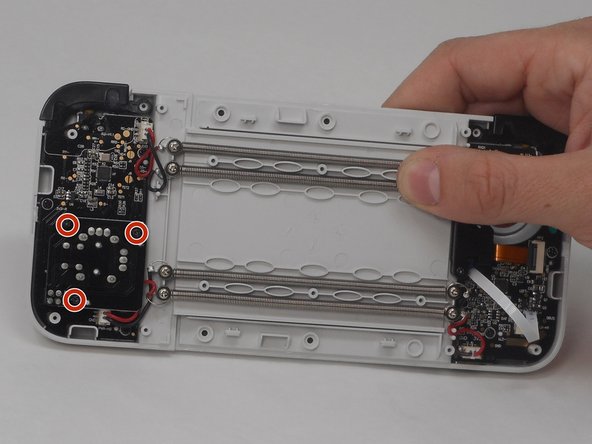
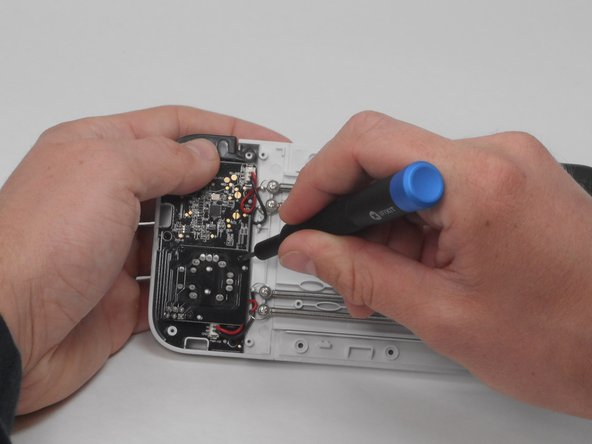
    • Remove three 6 mm screws using a Phillips #00 screwdriver.

  9. GameSir X2 Type-C Right Joystick Replacement: crwdns2935265:09crwdnd2935265:01crwdnd2935265:02crwdne2935265:0 GameSir X2 Type-C Right Joystick Replacement: crwdns2935265:09crwdnd2935265:02crwdnd2935265:02crwdne2935265:0
    • Pull the joystick assembly out.

crwdns2915888:0crwdne2915888:0

To reassemble your device, follow these instructions in reverse order.

crwdns2935227:0crwdne2935227:0

Malak Moustafa

crwdns2935283:002/14/24crwdne2935283:0

248 crwdns2915208:0crwdne2915208:0

crwdns2935295:0crwdne2935295:0

crwdns2915084:0crwdne2915084:0

University of Memphis, Team 1-2, Sneed Spring 2024 crwdns2935289:0University of Memphis, Team 1-2, Sneed Spring 2024crwdne2935289:0

UM-SNEED-S24S1G2

crwdns2931471:03crwdne2931471:0

crwdns2935297:05crwdne2935297:0

crwdns2944067:00crwdne2944067:0

crwdns2917038:0crwdne2917038:0

crwdns2936625:0crwdne2936625:0:

crwdns2936751:024crwdne2936751:0 1

crwdns2936753:07crwdne2936753:0 7

crwdns2936753:030crwdne2936753:0 33

crwdns2942667:0crwdne2942667:0 67