crwdns2915892:0crwdne2915892:0
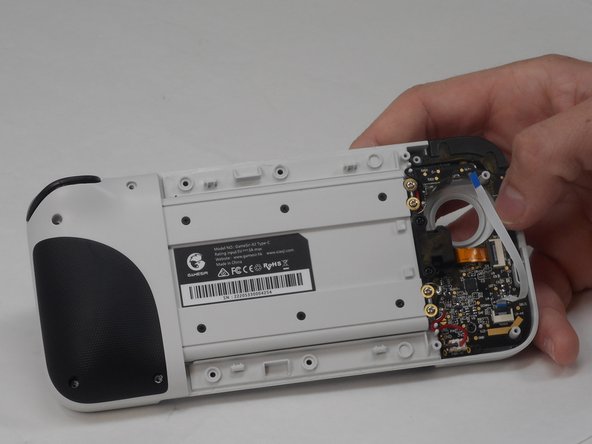
The joystick is on the front of the GameSir X2 Type-C. It allows the user to create various outputs depending on the game the user is playing.
If you need to replace the left joystick on your GameSir X2 Type-C, you can do so by following this guide. You might need to replace your left joystick if it doesn't respond to input or has a lagging response. Check out the Troubleshooting Page to see if your left joystick needs to be replaced. Note that this guide doesn't apply to the right joystick. If you need to replace your right joystick refer to our Right Joystick Replacement Guide.
crwdns2942213:0crwdne2942213:0
-
-
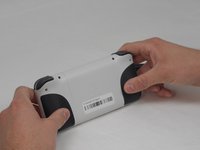
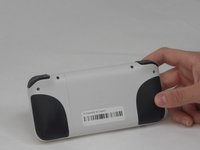
Turn the device so the back faces you.
-
-
-
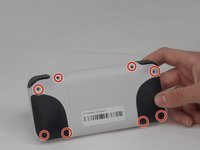
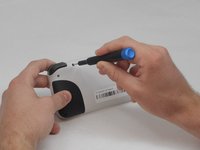
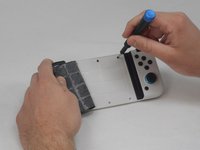
Remove the eight 6 mm T6 Torx screws.
-
-
-
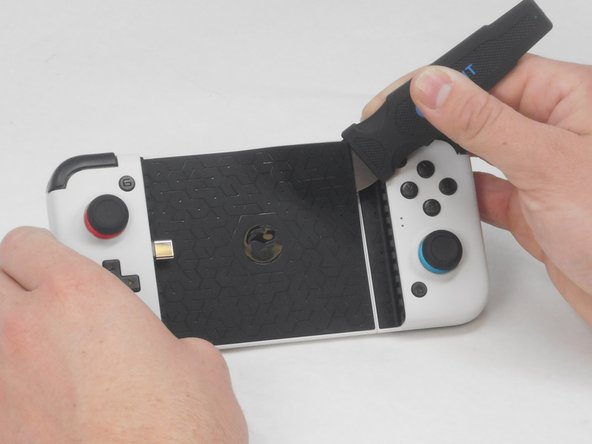
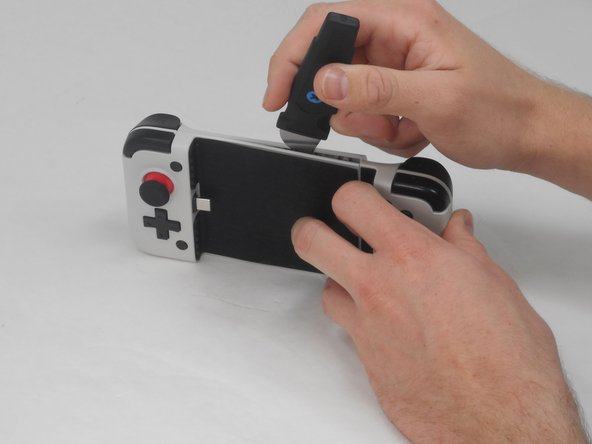
Use a straight edge to remove the rubber pad on the front of the device.
-
-
-
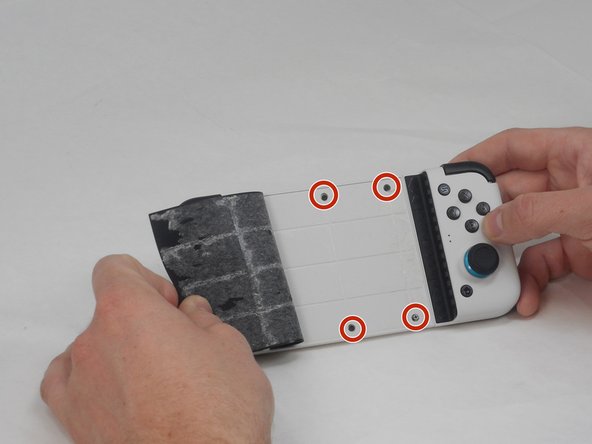
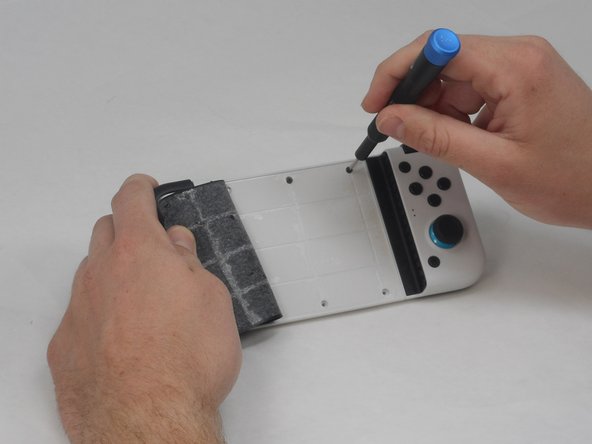
Remove the four 4.5 mm screws with a Phillips #000 screwdriver.
-
-
-
-
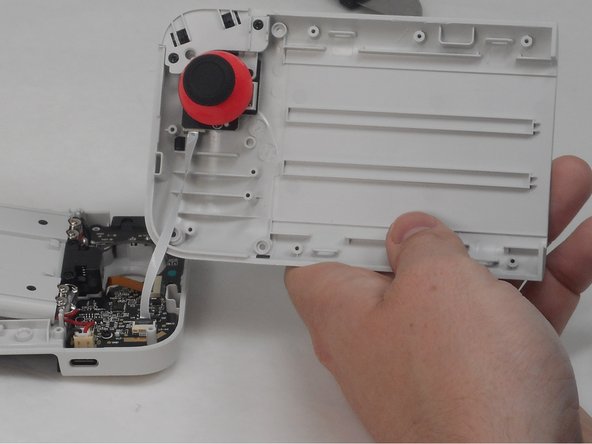
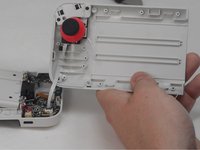
Use a straight edge to pry open the controller, following the seam on the controller.
-
-
-
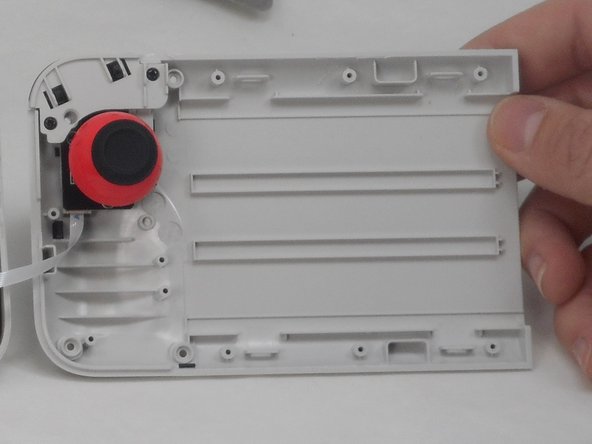
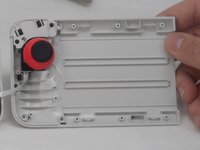
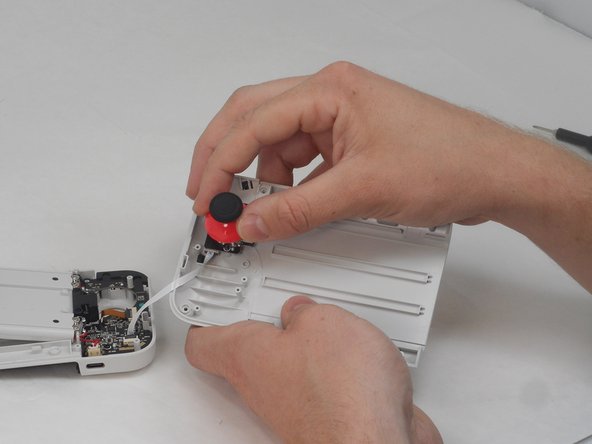
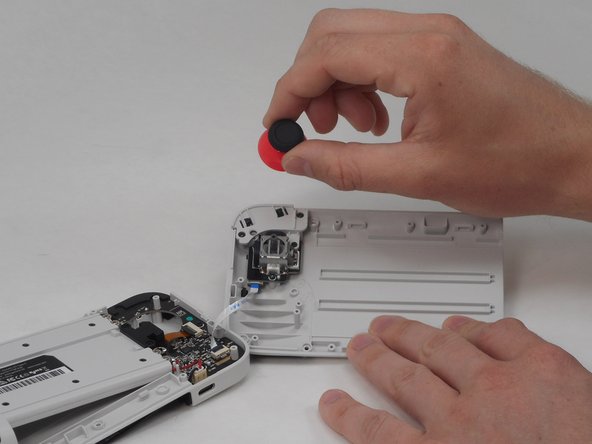
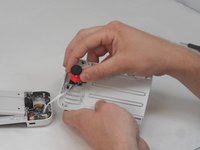
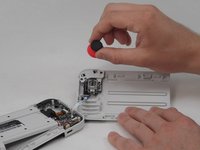
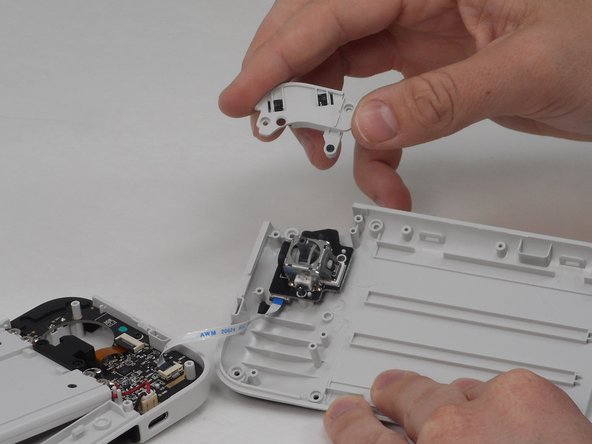
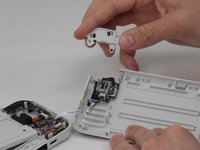
Pull the joystick cap out of its socket.
-
-
-
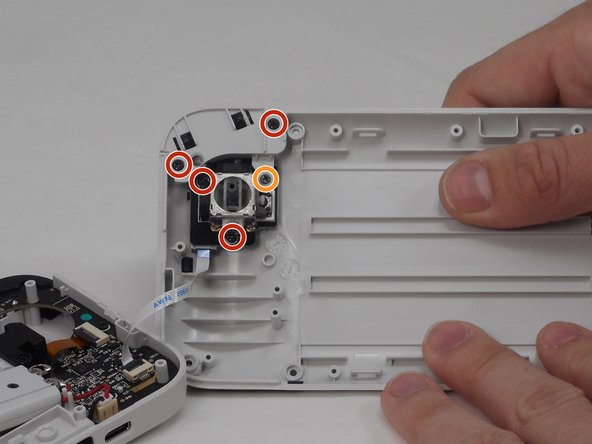
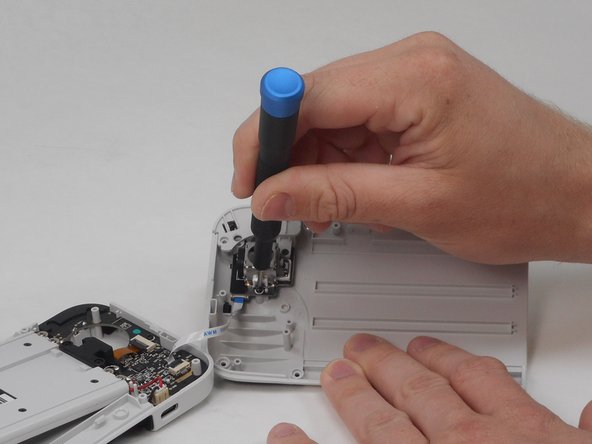
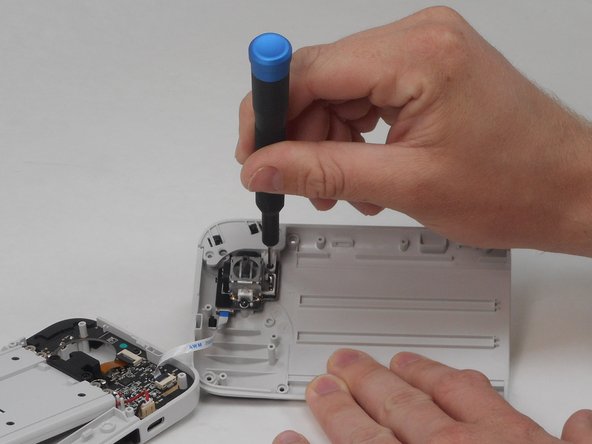
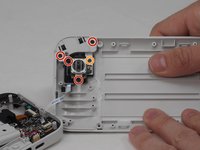
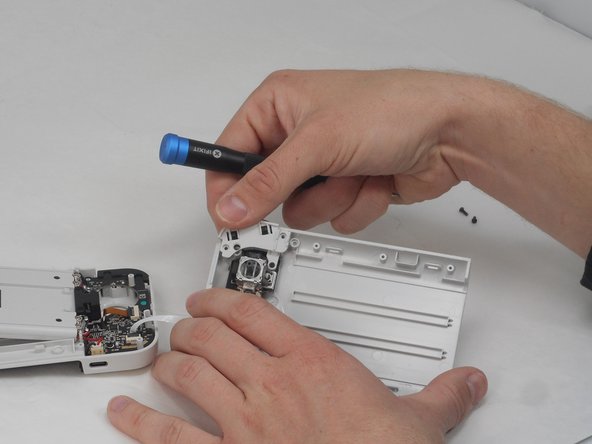
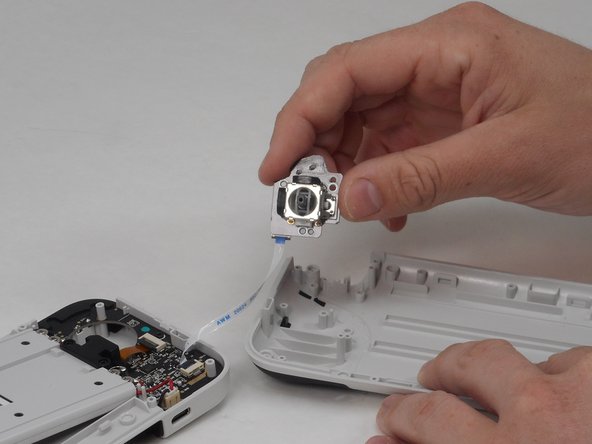
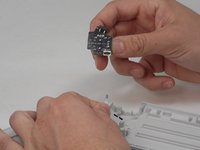
Remove the four 6 mm screws using a Phillips #00 screwdriver.
-
Remove the single 7.5 mm screw using a Phillips #00 screwdriver.
-
-
-
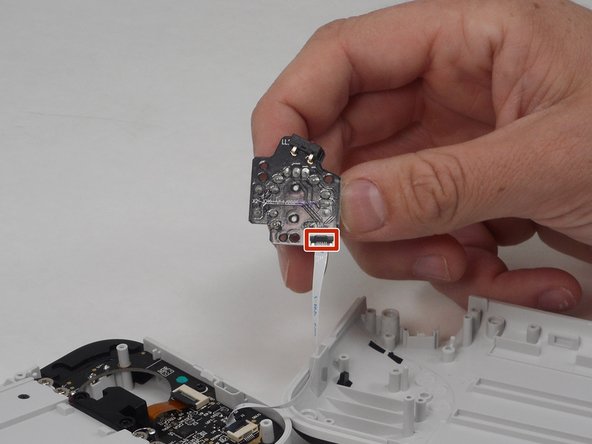
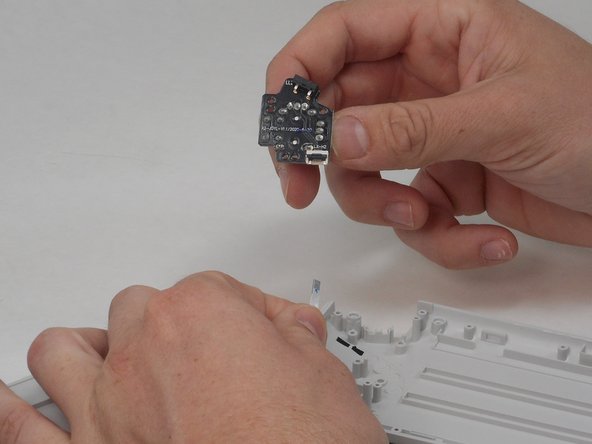
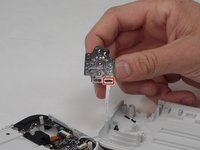
Flip up the black ZIF locking flap to disconnect the ribbon cable.
-
To reassemble your device, follow these instructions in reverse order.
To reassemble your device, follow these instructions in reverse order.
crwdns2935221:0crwdne2935221:0
crwdns2935227:0crwdne2935227:0
crwdns2947410:01crwdne2947410:0
Nice guide, but where does one procure a replacement thumbstick assembly?


