crwdns2915892:0crwdne2915892:0
Follow this guide to replace the secondary SSD in your Framework Laptop 16.
Your Framework Laptop uses SSDs (Solid State Drive) for storage. The secondary storage supports an M.2 2230 NVMe SSD.
crwdns2942213:0crwdne2942213:0
-
-
Unplug all cables and fully shut down your laptop.
-
-
-
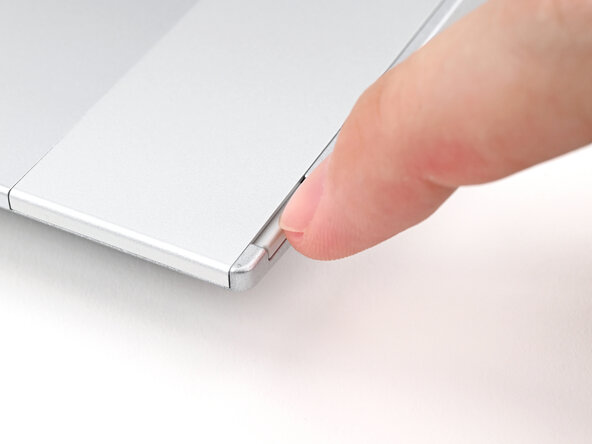
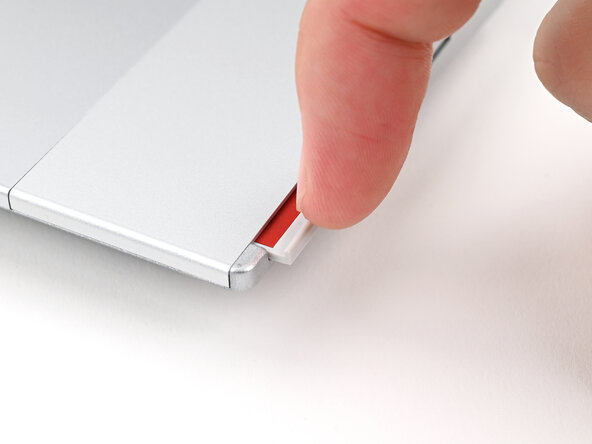
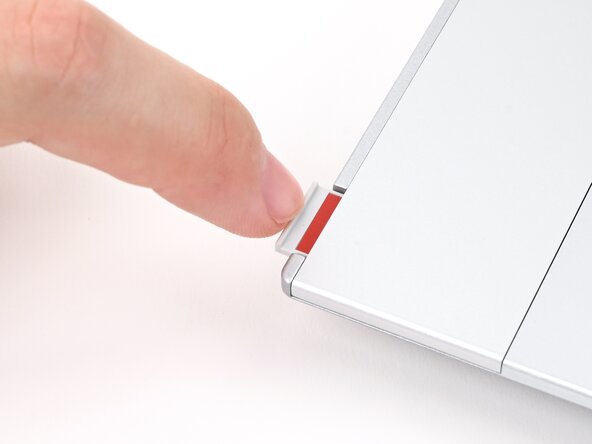
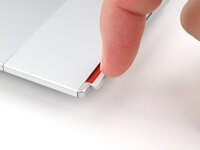
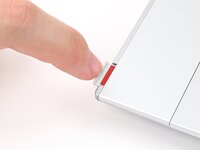
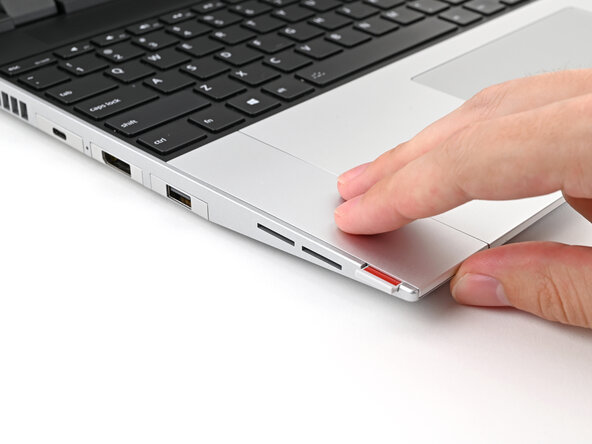
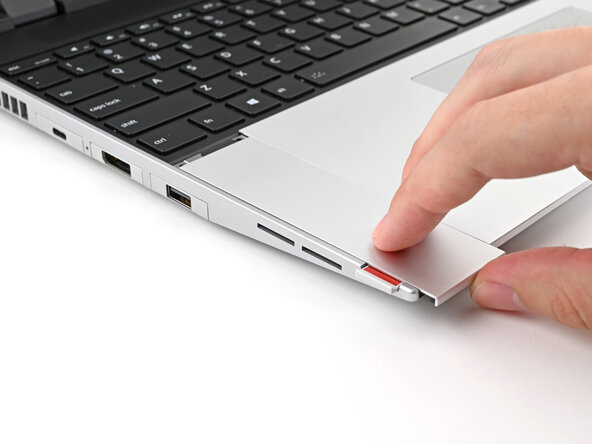
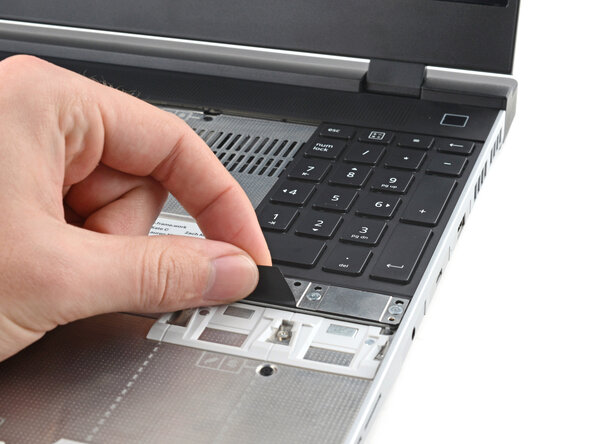
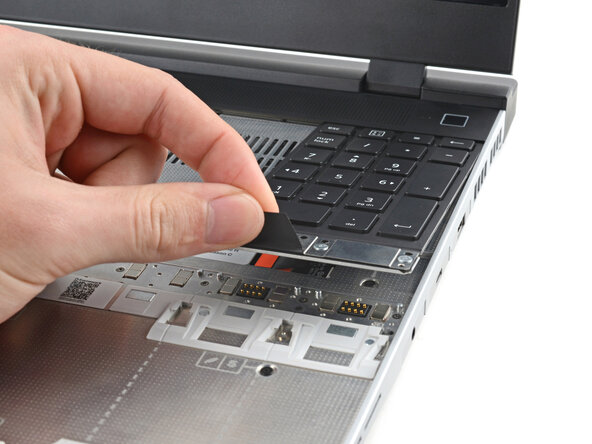
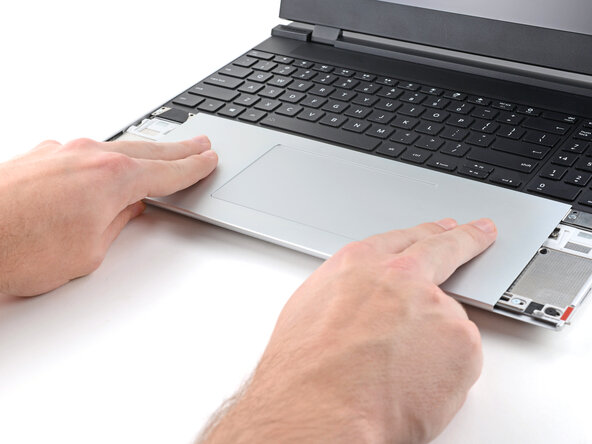
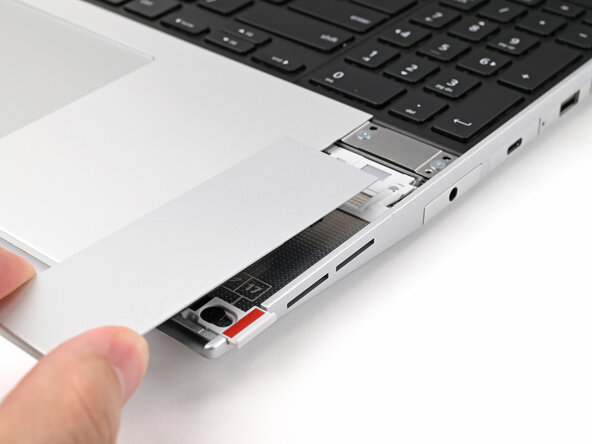
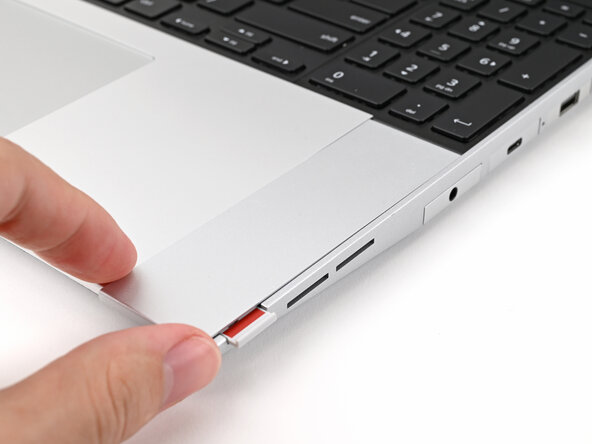
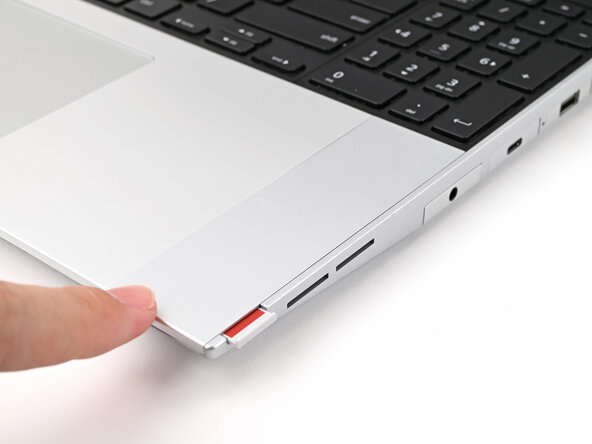
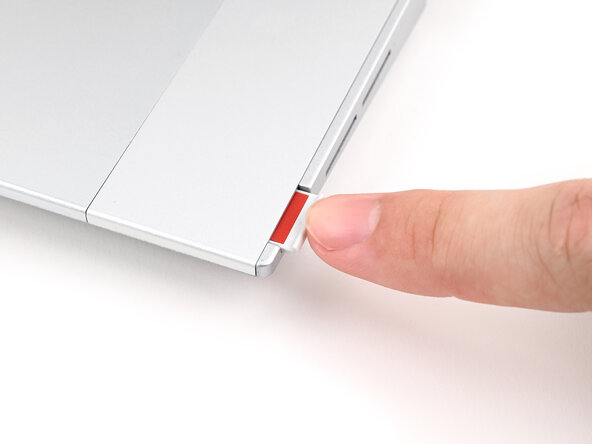
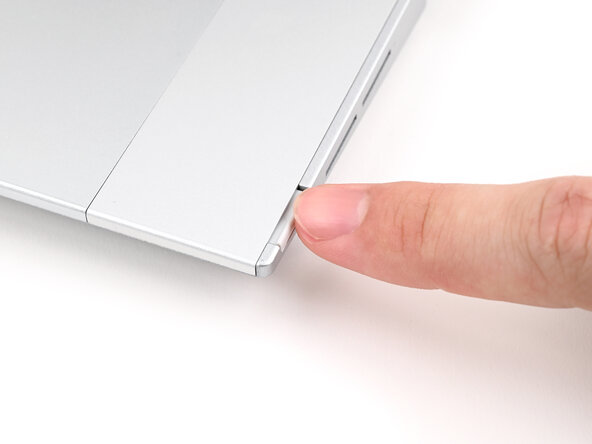
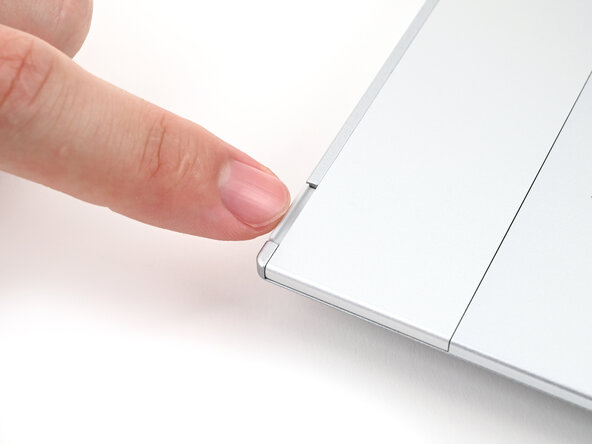
Use your fingernail to pull out the two Input Module latches and unlock them.
-
-
-
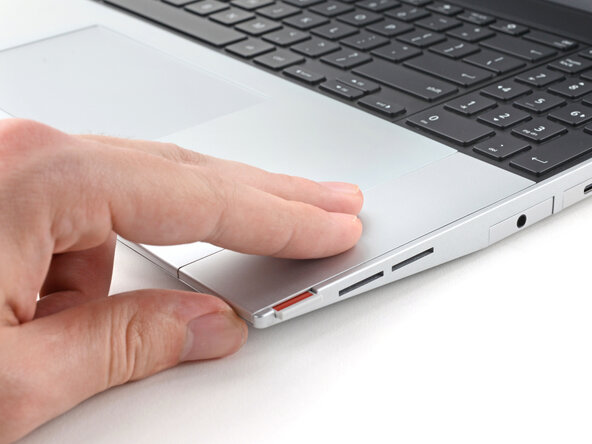
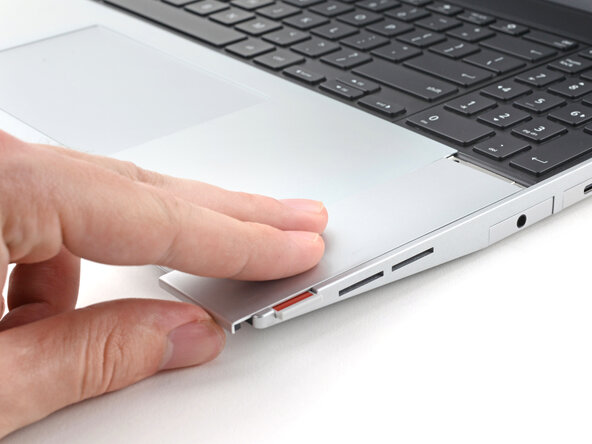
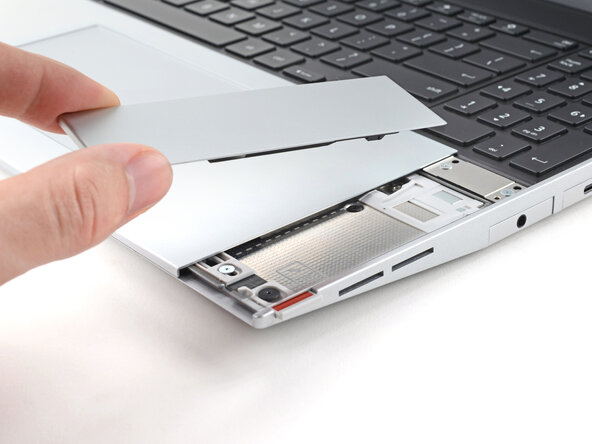
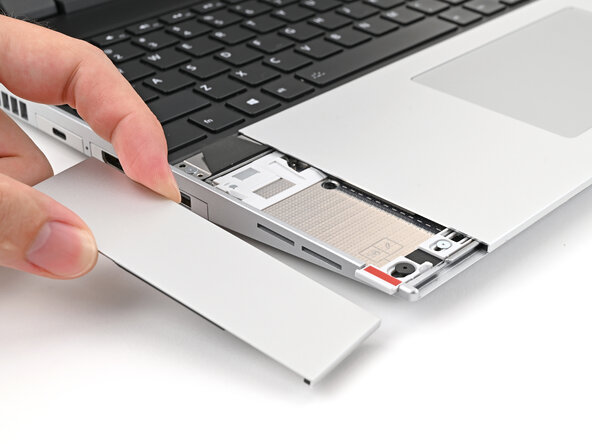
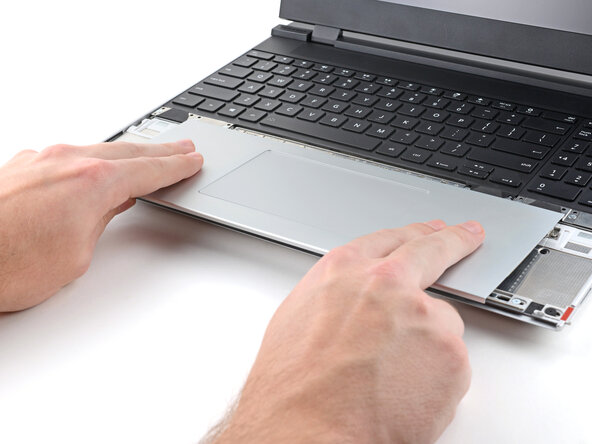
Use your fingers to slide the Touchpad Spacer toward the bottom edge of the laptop and unclip it.
-
Lift the Touchpad Spacer off the laptop and remove it.
-
-
-
Repeat the same procedure for the other touchpad spacer.
-
-
-
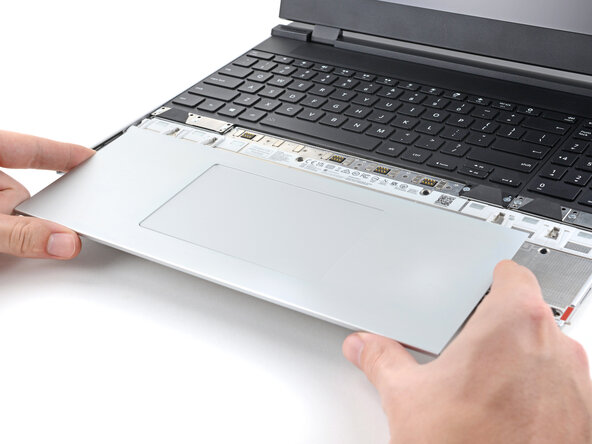
Use your fingers to slide the Touchpad Module toward the bottom edge of the laptop and disconnect it.
-
Lift the Touchpad Module and remove it.
-
-
-
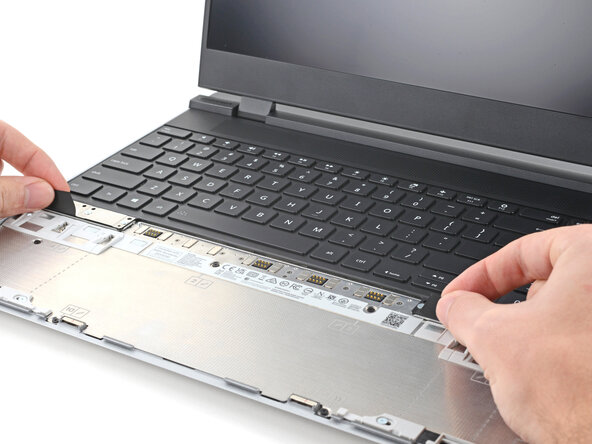
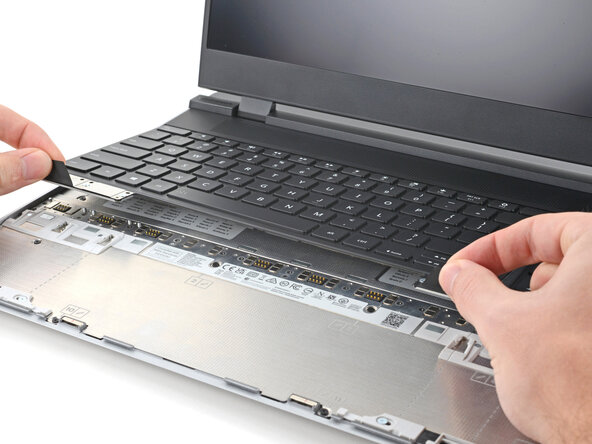
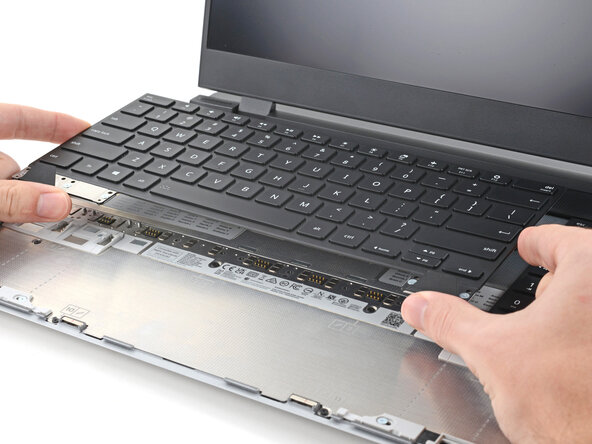
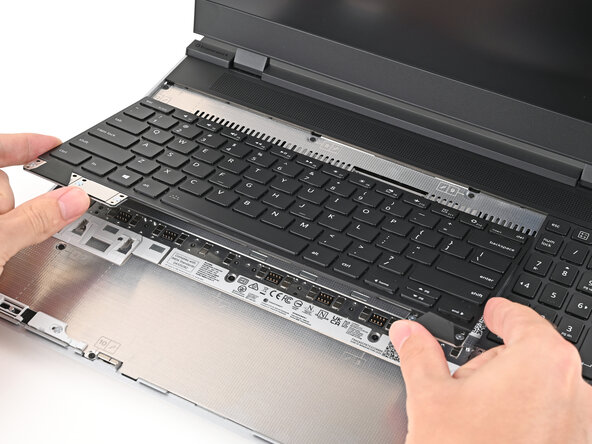
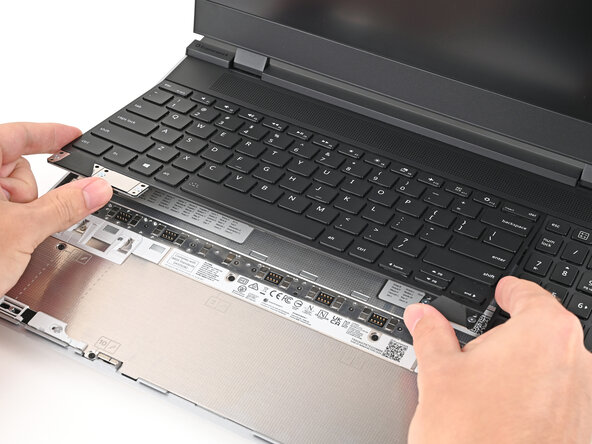
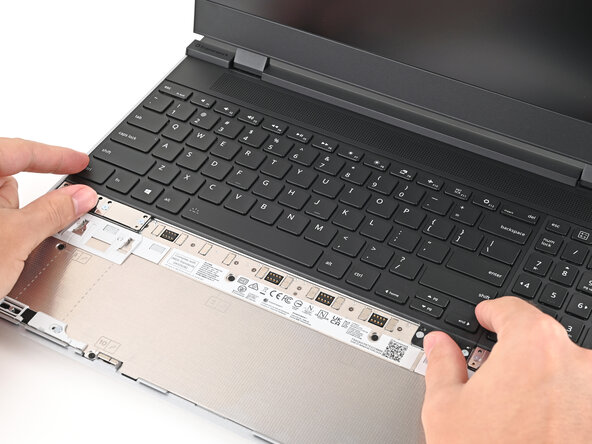
Grip the two pull tabs along the bottom of the keyboard and lift until its magnets release.
-
Remove the keyboard.
-
-
-
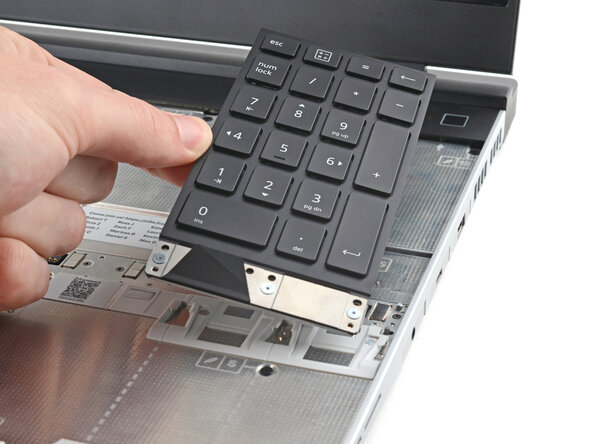
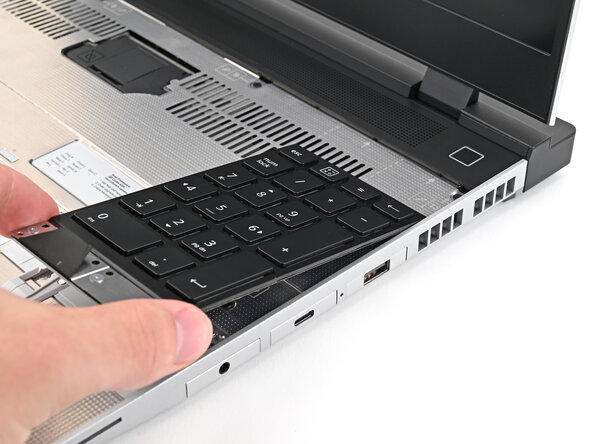
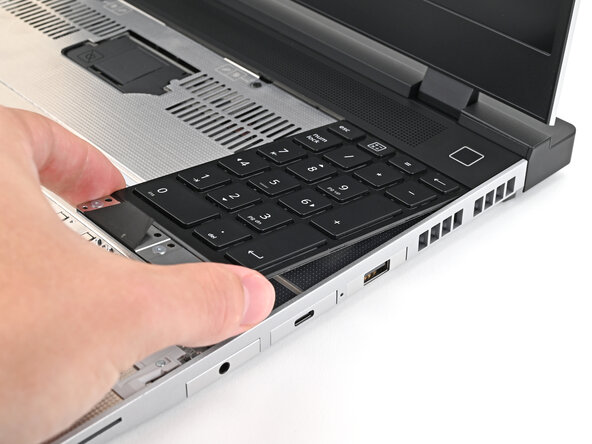
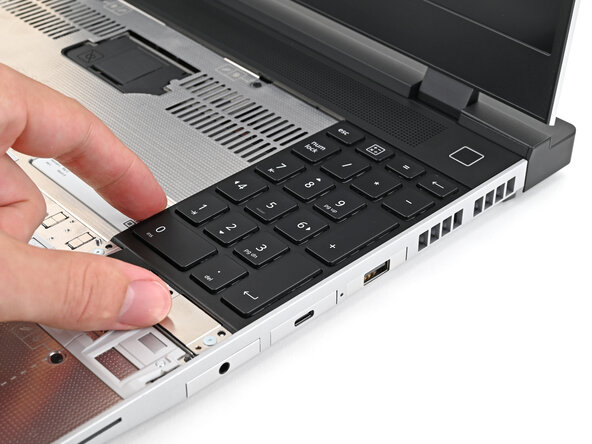
Grip the pull tab at the bottom of the Input Module and lift until its magnets release.
-
Remove the Input Module.
-
Repeat for any remaining Input Modules.
-
-
-
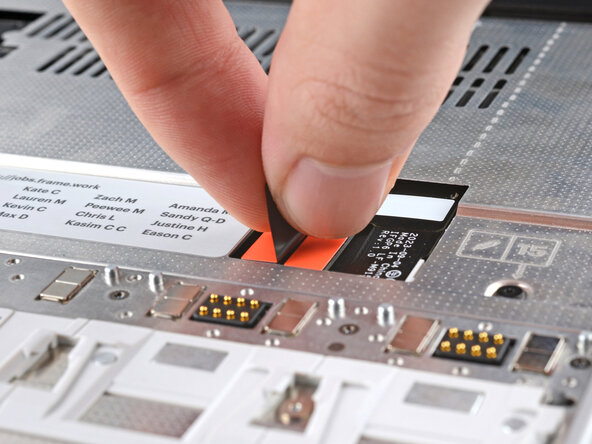
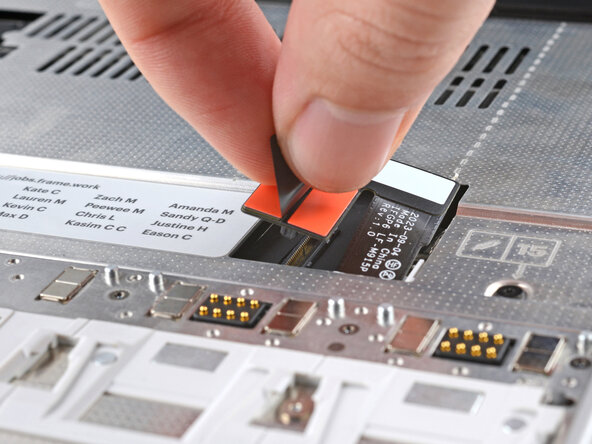
Grip the black pull tab on the midframe cable press connector.
-
Lift up to disconnect the midframe cable.
-
-
-
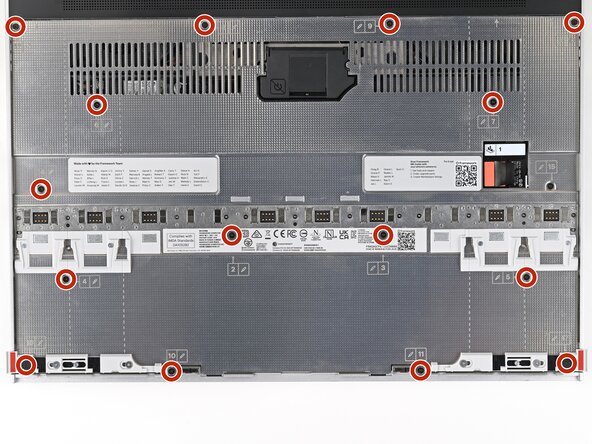
Use your Framework Screwdriver to loosen the 16 captive T5 Torx screws securing the Mid Plate.
-
-
-
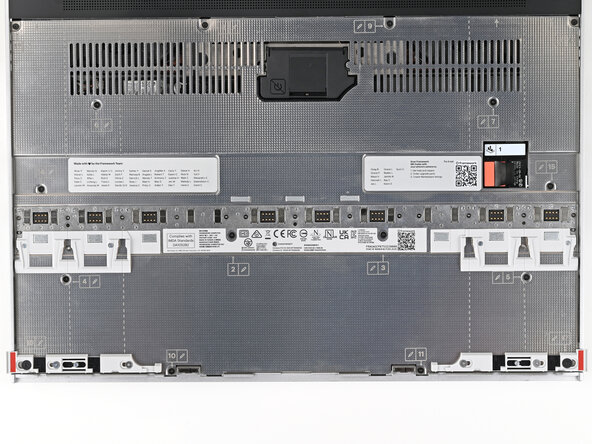
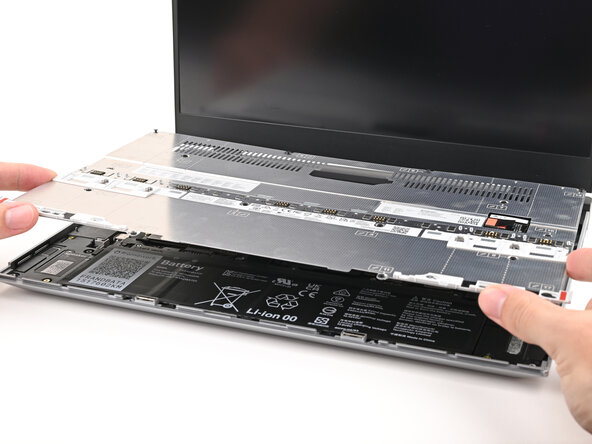
Use your fingers to lift the Mid Plate off the laptop and remove it.
-
-
-
-
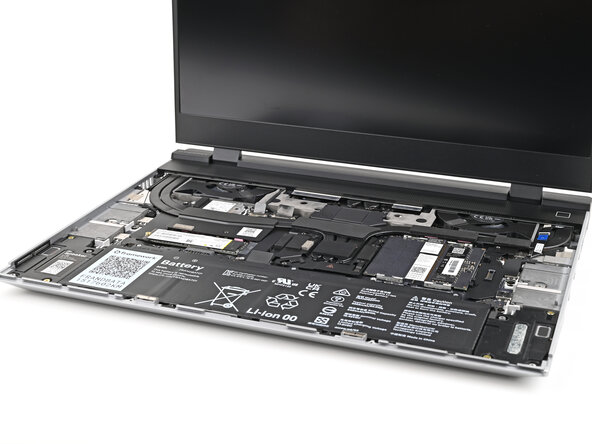
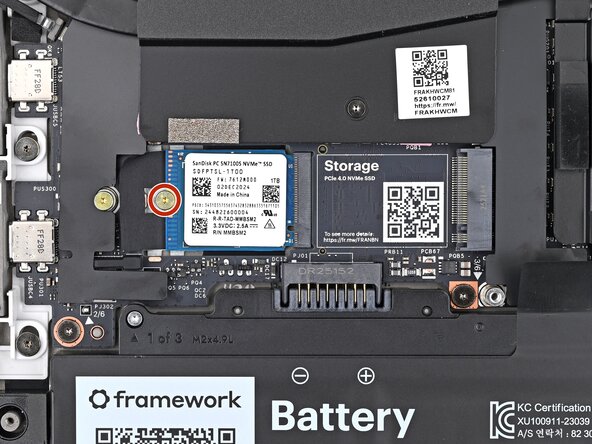
Use your Framework Screwdriver to remove the 2 mm‑long T5 Torx screw securing the SSD.
-
-
-
Grip the end of the SSD with the screw hole and slide it out of its socket.
-
Remove the SSD.
-
-
-
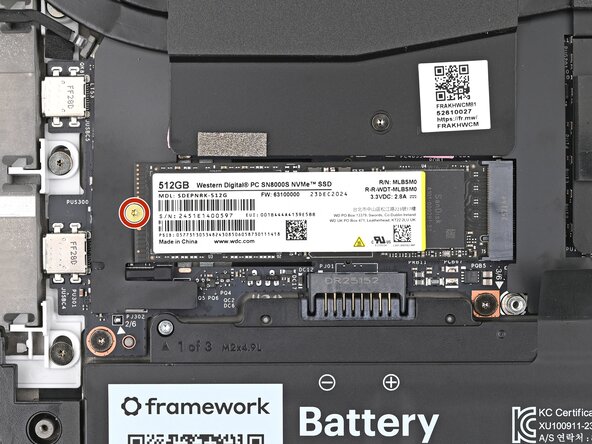
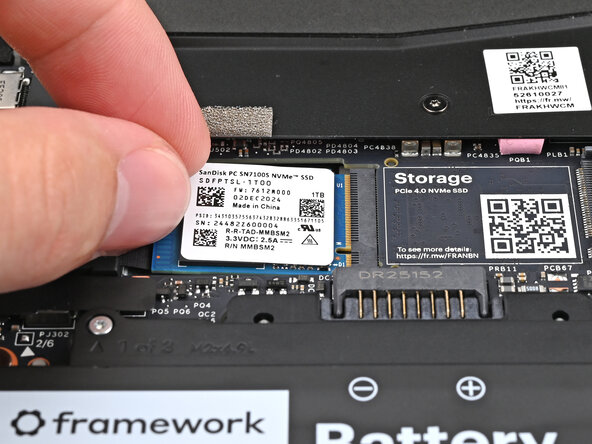
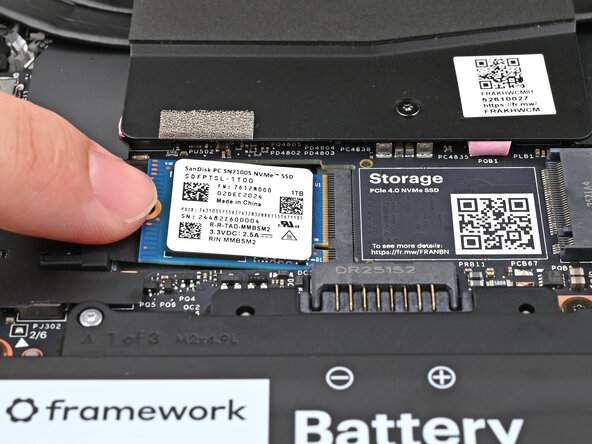
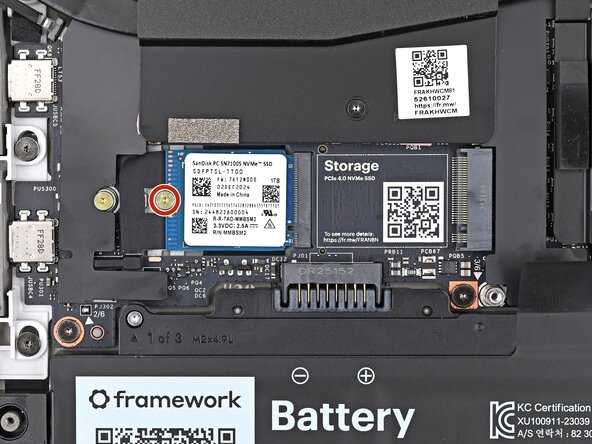
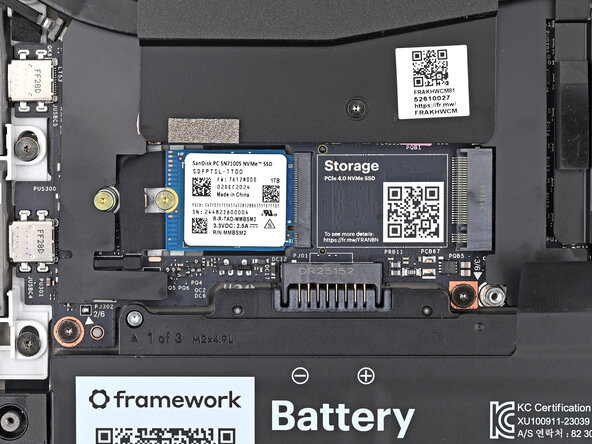
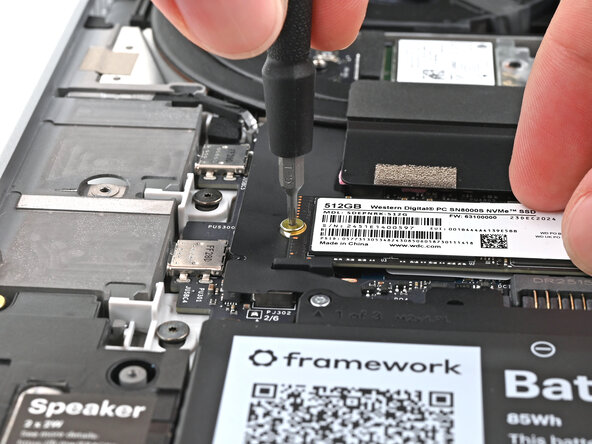
Use your Framework Screwdriver to remove the 2 mm‑long T5 Torx screw securing the secondary SSD.
-
-
-
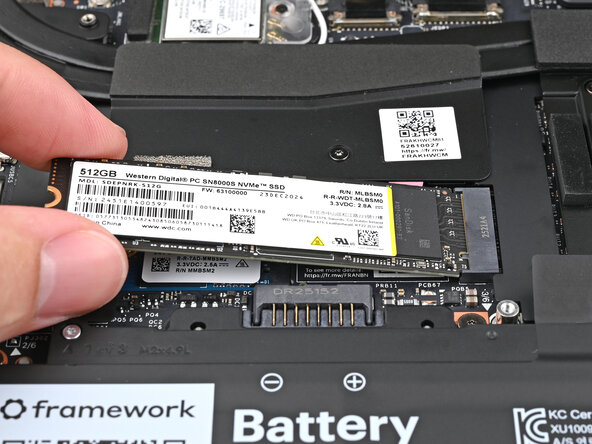
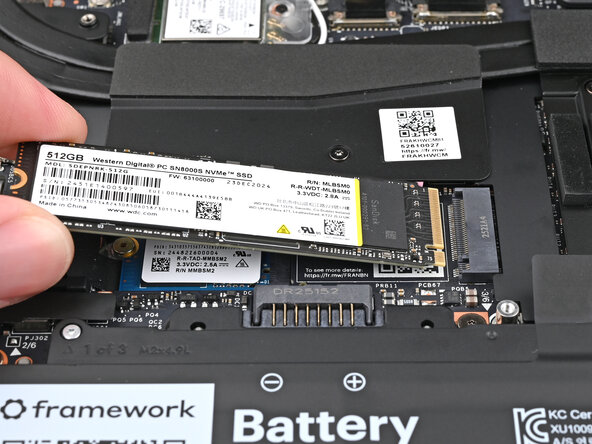
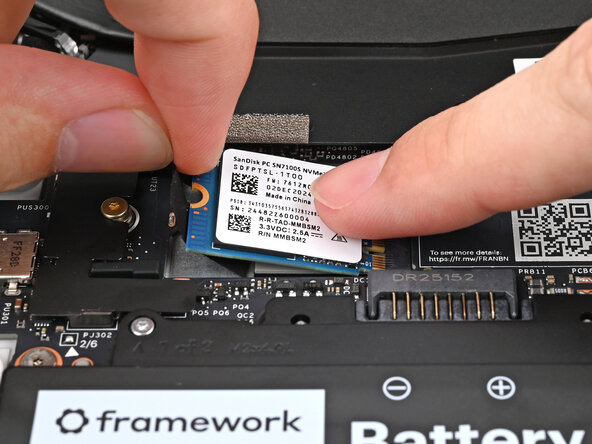
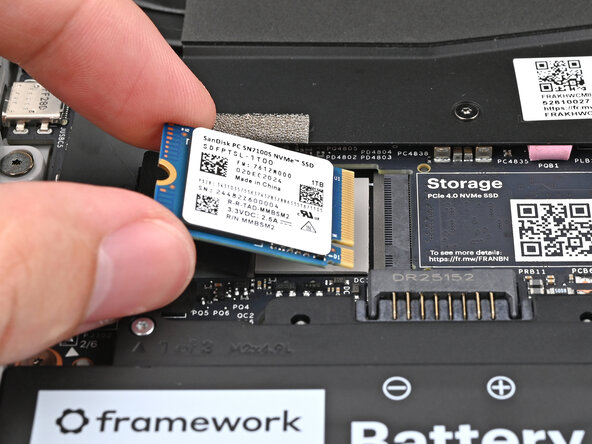
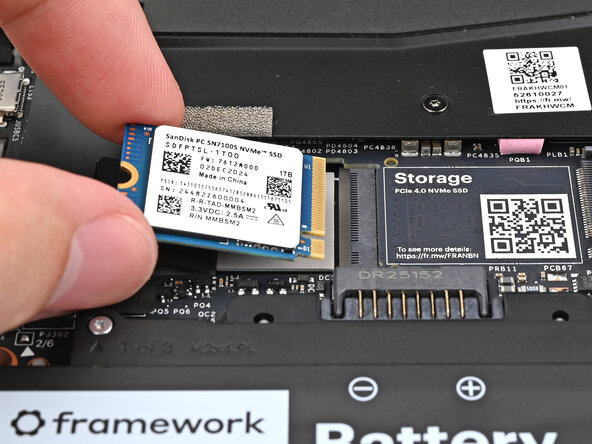
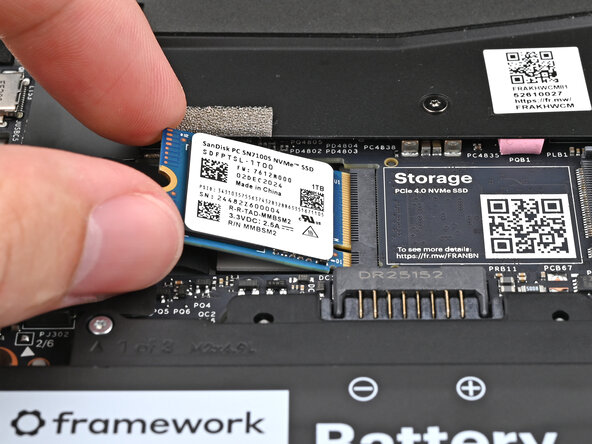
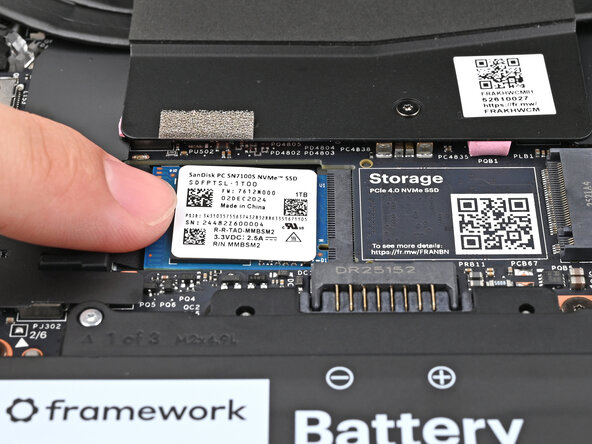
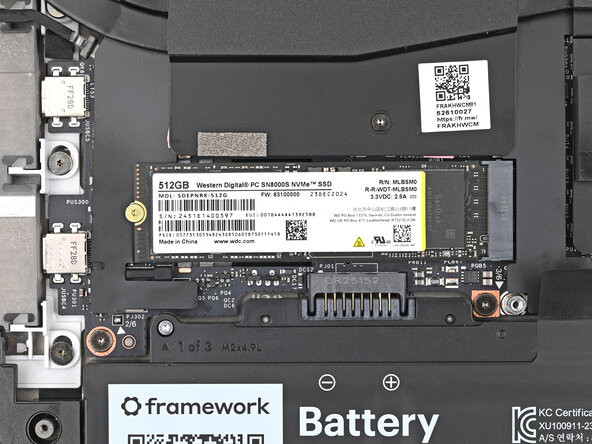
While pulling up on the black tab underneath the SSD, use your finger to slide the SSD out of its socket.
-
-
-
Congratulations on completing disassembly! The remaining steps will show how to reassemble your Framework Laptop.
-
-
-
Align the SSD's gold contacts with its socket.
-
Insert the SSD partially into the socket at a shallow angle. You should still be able to see most of the gold contacts.
-
Press the SSD flat to the Mainboard.
-
-
-
While keeping the SSD flat to the Mainboard, push it into its socket until its golden contacts are completely covered.
-
-
-
Use your Framework Screwdriver to install the 2 mm‑long T5 Torx screw securing the SSD.
-
-
-
Insert the SSD into the socket at a shallow angle. The gold contacts should mostly be covered by the socket.
-
-
-
While holding the SSD flat to the Mainboard, use your Framework Screwdriver to install the 2 mm‑long T5 Torx screw securing the SSD.
-
-
-
Place the Mid Plate on the laptop, making sure it sits evenly on its alignment pegs.
-
-
-
Use your Framework Screwdriver to tighten the 16 captive T5 Torx screws in order (starting with 2) to secure the Mid Plate evenly.
-
-
-
Align the Mid Plate cable press connector over its socket and press down to connect it.
-
-
-
Align the top edge of the Input Module with the top edge of the laptop.
-
Lay the Input Module on the laptop and let the magnets pull the keyboard into place
-
Repeat for any remaining Input Modules.
-
-
-
Align the top edge of the keyboard with the top edge of the laptop.
-
Lay the keyboard on the laptop and let the magnets pull the keyboard into place
-
-
-
Place the Touchpad Module flat on its cutout so its clips are properly aligned.
-
Press the Touchpad Module down and slide it into place so it lines up evenly with the bottom edge of the laptop.
-
-
-
Place the Touchpad Spacer over its spot on the laptop with the bottom edge overhanging slightly.
-
Slide the Touchpad Spacer towards the top of the laptop to secure it.
-
Repeat the same procedure for the other Touchpad Spacer.
-
-
-
Push the Input Module latches back into place to lock them.
-


You finished fixing your Framework Laptop!
Take your e-waste to an R2 or e-Stewards certified recycler.
If you need help, contact Framework support.
You finished fixing your Framework Laptop!
Take your e-waste to an R2 or e-Stewards certified recycler.
If you need help, contact Framework support.
