crwdns2915892:0crwdne2915892:0
Follow this guide to replace or change the Top Cover in your Framework Laptop 12.
The Top Cover is the plastic shell that holds the display. It also holds the two antennas along the top edge.
You'll encounter some component terms in this guide:
- The Display Cover is the plastic bezel strip below the screen.
crwdns2942213:0crwdne2942213:0
-
-
Before you begin repairs, unplug your laptop and shut it down from the operating system. This ensures that the laptop isn't in standby/suspend mode.
-
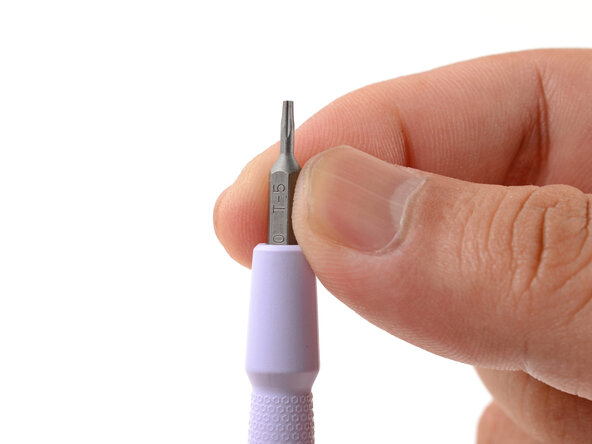
Make sure your Framework Screwdriver has the T5 Torx bit (labeled as T-5) facing outwards. If it's not, pull the bit out and flip it.
-
-
-
Open the laptop lid so that both the screen and the base lie flat on your work surface.
-
-
-
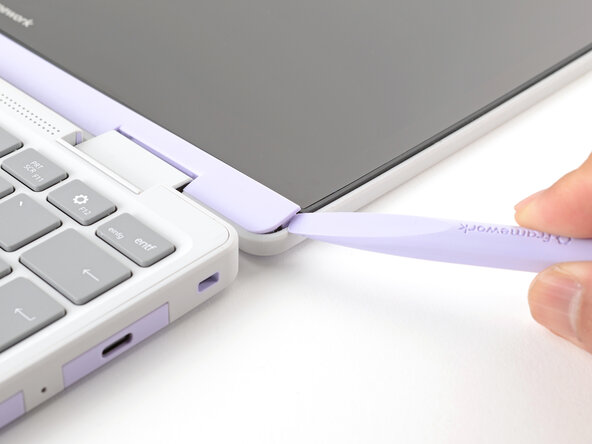
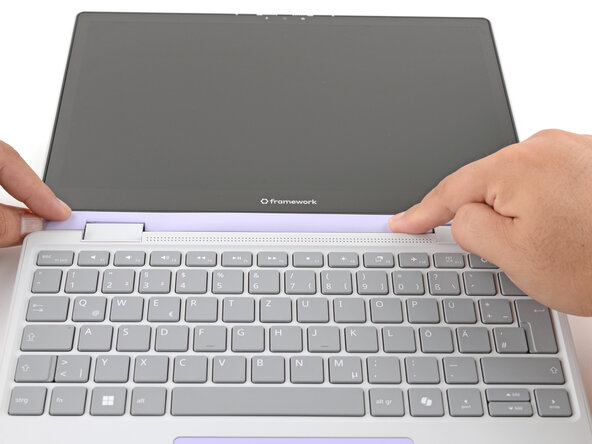
Use the flat end of your Framework Screwdriver to pry up the right edge of the Display Cover.
-
-
-
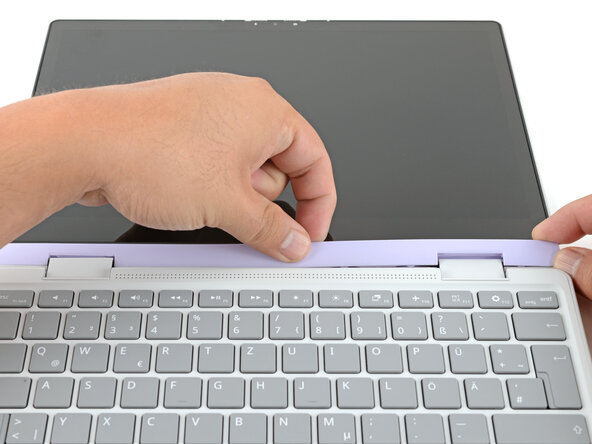
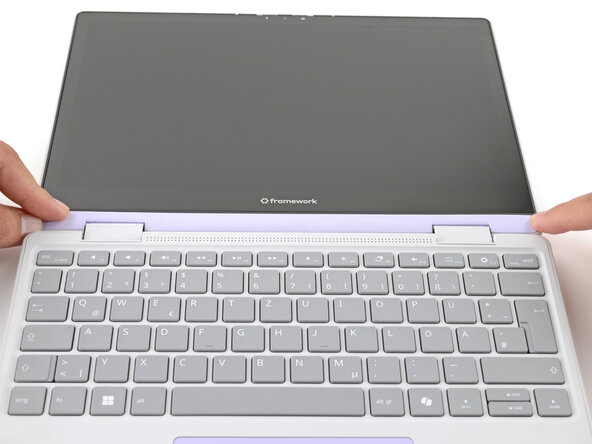
Slide your fingers under the top edge of the Display Cover to release it from the laptop.
-
-
-
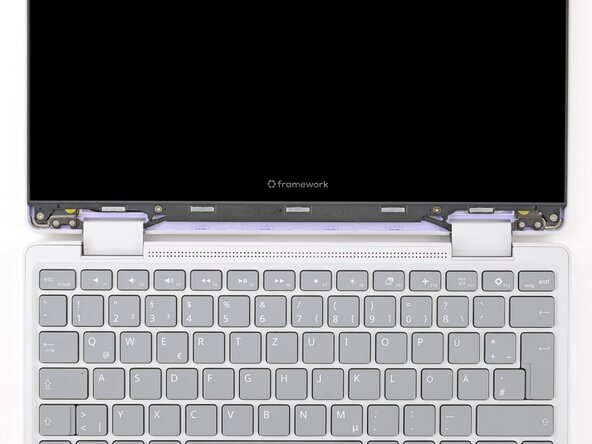
Use your Framework Screwdriver to remove the four 3.3 mm‑long T5 Torx screws securing the display to the Top Cover.
-
-
-
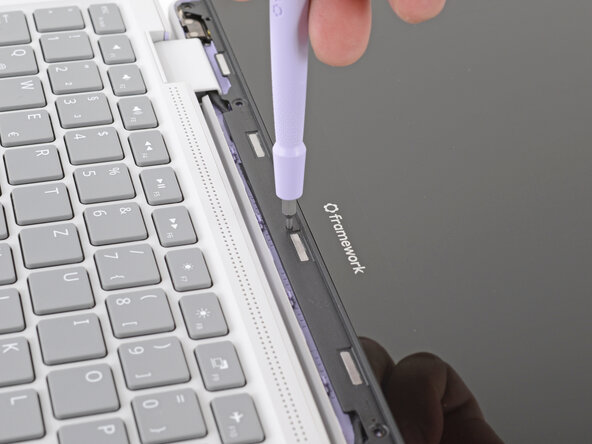
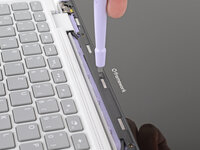
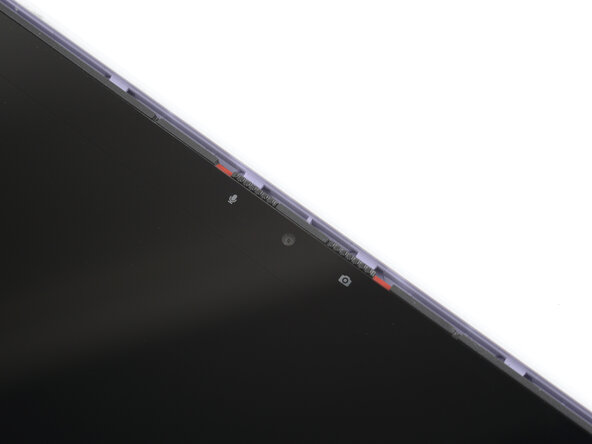
Insert the bit end of your Framework Screwdriver into the small hole on the display, below the Framework logo.
-
Slide the display down towards the hinge edge to release the tabs holding the top edge of the display in place.
-
-
-
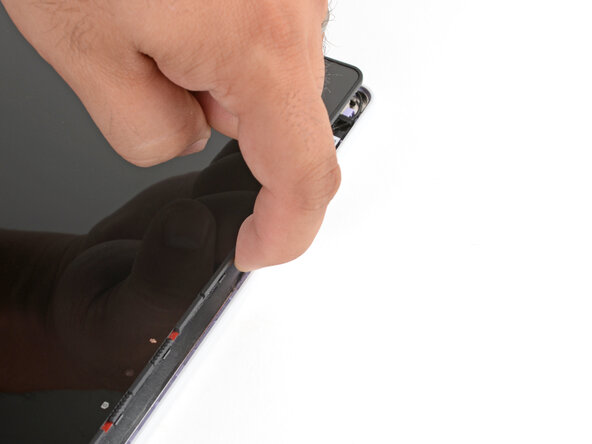
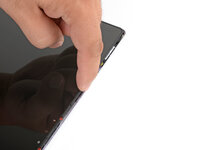
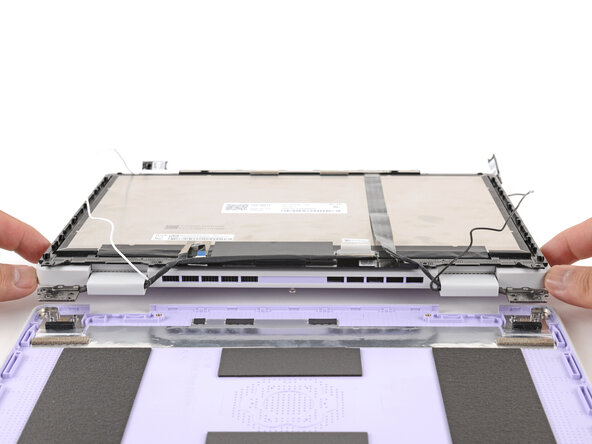
Use your fingers to lift the top edge of the display from the Top Cover.
-
-
-
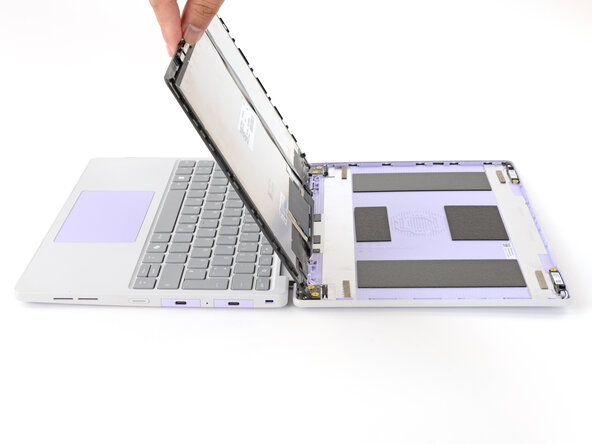
Use your fingers to carefully swing the display over so it lies on top of the keyboard.
-
-
-
-
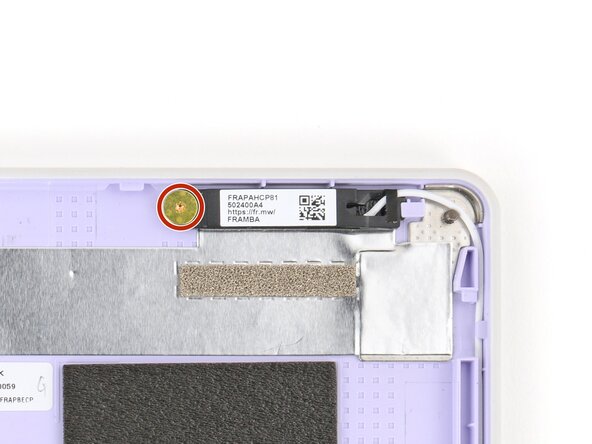
Use your Framework Screwdriver to remove the two 2.4 mm‑long T5 Torx screws securing the two antennas to the Top Cover.
-
-
-
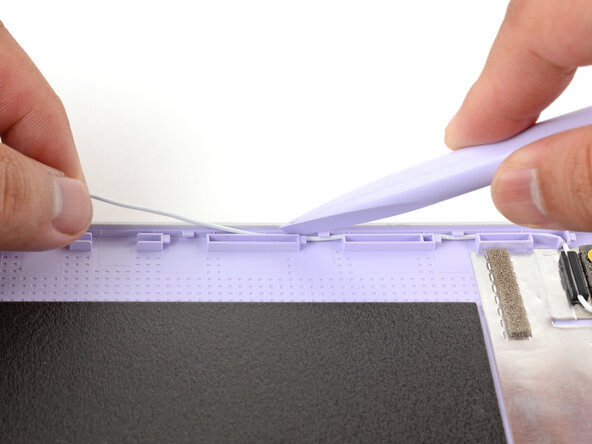
Use your fingers to lift the right antenna away from the Top Cover.
-
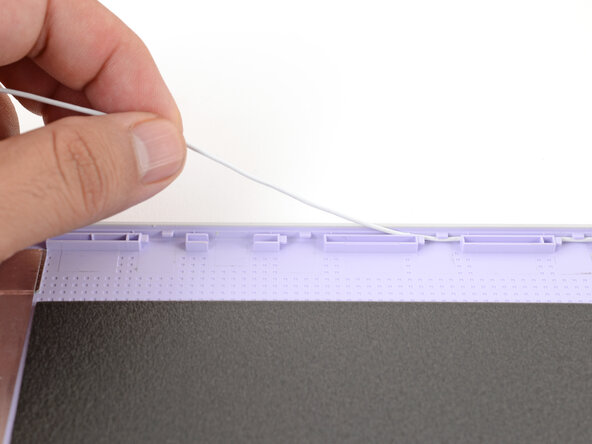
Carefully guide the white antenna cable out of its channel until you reach the hinge.
-
-
-
Repeat the previous step to guide the black antenna cable out of its channel.
-
-
-
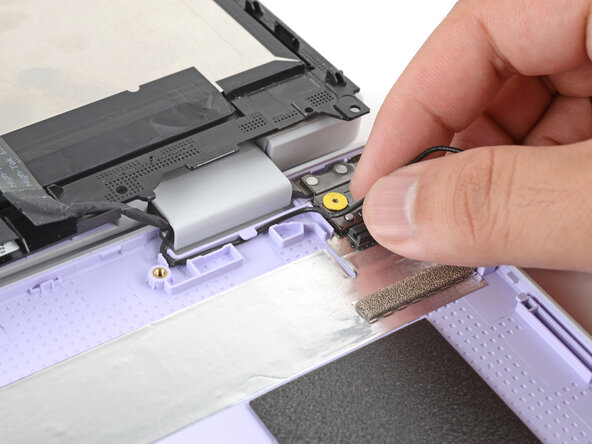
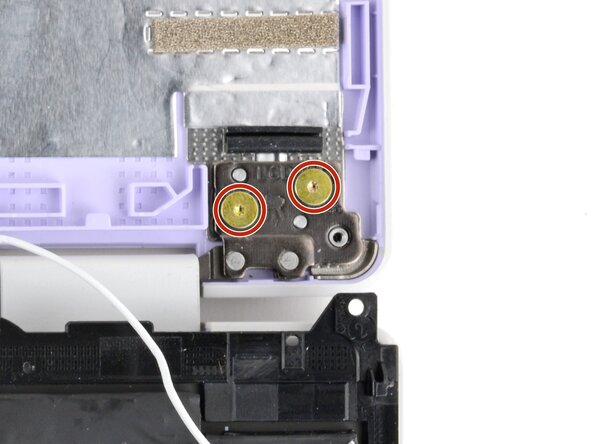
Use your Framework Screwdriver to remove the four (two per hinge) 2.4 mm‑long T5 Torx screws securing the two hinges to the Top Cover.
-
-
-
Use your fingers to lift the hinges over the Top Cover lip.
-
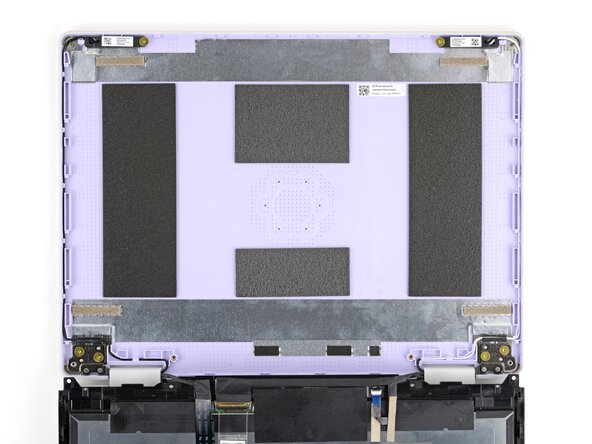
Separate the Top Cover from the rest of the laptop.
-
-
-
Remove the Top Cover.
-
-
-
Use your fingers to lift the hinges over the Top Cover lip and lay them in place.
-
-
-
Use your Framework Screwdriver to install the four 2.4 mm‑long T5 Torx screws to secure the two hinges to the Top Cover.
-
-
-
Lay each antenna in place in the Top Cover.
-
-
-
Use your Framework Screwdriver to install the two 2.4 mm‑long T5 Torx screws to secure the antennas to the Top Cover.
-
-
-
Use your fingers and your Framework Screwdriver to guide and press both antenna cables back into their channels.
-
-
-
Use your fingers to carefully swing the display over so it lies on top of the Top Cover.
-
-
-
Align the display in the Top Cover such that the top edge of the display is slightly below the top edge of the Top Cover.
-
Use your fingers to slide the display upwards to latch the tabs on the top edge of the display.
-
-
-
Use your Framework Screwdriver to install the four 3.3 mm‑long T5 Torx screws to secure the display to the Top Cover.
-
-
-
Align the Display Cover to the bottom of the display.
-
-
-
Use your finger to press along the length of the Display Cover to snap it onto the laptop.
-


You finished fixing your Framework Laptop!
Take your e-waste to an R2 or e-Stewards certified recycler.
If you need help, contact Framework support.
You finished fixing your Framework Laptop!
Take your e-waste to an R2 or e-Stewards certified recycler.
If you need help, contact Framework support.

crwdns2915084:0crwdne2915084:0

Guide Team crwdns2935289:0Guide Teamcrwdne2935289:0
Staff
crwdns2931471:010crwdne2931471:0
crwdns2935297:015,323crwdne2935297:0