crwdns2915892:0crwdne2915892:0
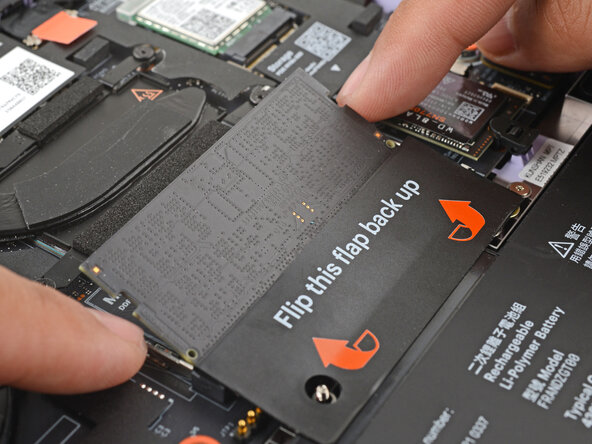
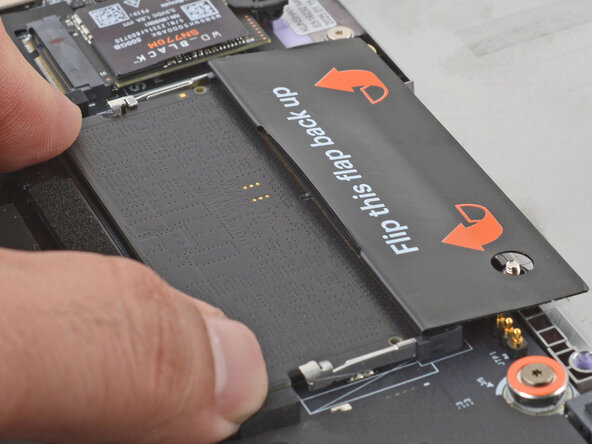
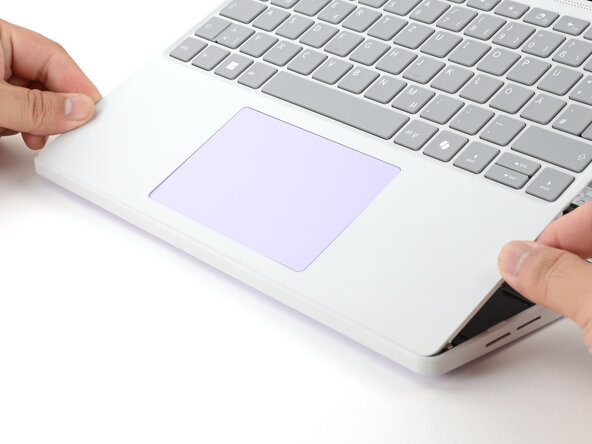
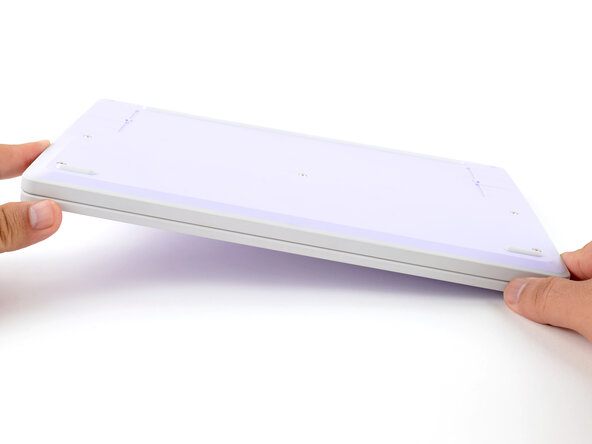
Follow this guide to replace or upgrade the memory module (aka RAM) in your Framework Laptop 12.
Your Framework Laptop's SO-DIMM memory slot supports up to 48 GB of DDR5 memory at DDR5-5200 speed. If you install memory faster than the supported speed, the laptop will work properly, but not use the full memory speed.
For a list of validated memory modules, check out this link.
You'll encounter some component terms in this guide:
- The Input Cover is the piece that contains the keyboard and trackpad.
crwdns2942213:0crwdne2942213:0
-
-
Before you begin repairs, unplug your laptop and shut it down from the operating system. This ensures that the laptop isn't in standby/suspend mode.
-
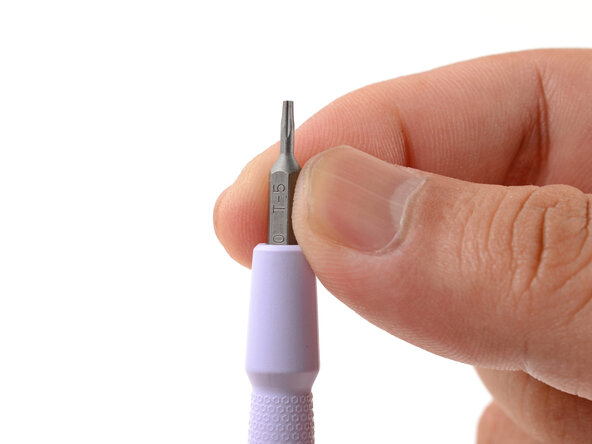
Make sure your Framework Screwdriver has the T5 Torx bit (labeled as T-5) facing outwards. If it's not, pull the bit out and flip it.
-
-
-
Set your Framework Laptop face-down on a clean work surface.
-
-
-
Use your Framework Screwdriver to fully loosen the eight captive T5 Torx screws on the bottom of your laptop.
-
-
-
Flip your laptop over so it's face-up on your work surface.
-
-
-
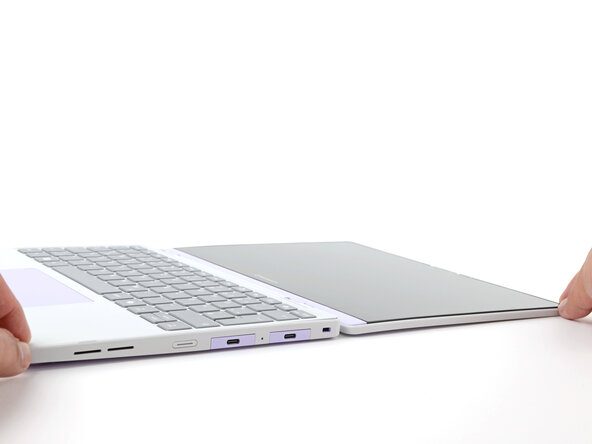
Open the laptop lid so that both the screen and the base lie flat on your work surface.
-
-
-
-
Use your fingers to grip the Input Cover in the hinge cutouts.
-
Lift upwards to swing the Input Cover up from the base of the laptop.
-
Remove the Input Cover.
-
-
-
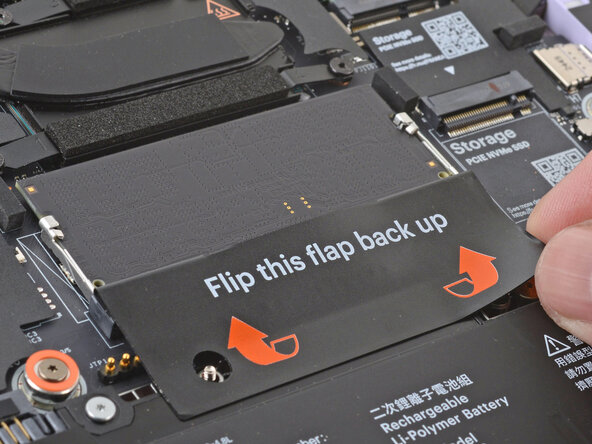
Use your fingers to flip open the memory flap.
-
-
-
Use your fingers to spread the clips on both sides of the memory module apart to unclip the memory.
-
-
-
Use your fingers to grab the memory module by its edges.
-
Slide the memory module out of its socket and remove it.
-
-
-
Orient the module with the label facing down and align the gold contacts with the socket.
-
Insert the contact edge into the socket at a shallow angle. The gold contacts should mostly be covered by the socket.
-
Press the edges of the memory module down until the side clips lock it in place.
-
-
-
Flip the memory flap back over the memory module.
-
-
-
Angle the bottom edge of the Input Cover towards the base of the laptop.
-
Align and insert the bottom edge of the Input Cover into the base of the laptop.
-
Lower the Input Cover's top edge onto the laptop until the magnets snap it in place.
-
-
-
Close the laptop lid.
-
Flip your laptop face-down on a clean work surface.
-
-
-
Use your Framework Screwdriver to tighten the eight captive T5 Torx screws on the bottom of your laptop.
-
You finished fixing your Framework Laptop!
After installing new memory, the laptop will take longer to start up for the first time, and the screen will turn on slower. This is normal—the system is performing memory training.
Take your e-waste to an R2 or e-Stewards certified recycler.
If you need help, contact Framework support.


