crwdns2933423:0crwdne2933423:0

Framework Desktop Primary Storage Replacement

crwdns2942213:0crwdne2942213:0

  1. Framework Desktop Primary Storage Replacement, Power down your Desktop: crwdns2935265:01crwdnd2935265:01crwdnd2935265:03crwdne2935265:0 Framework Desktop Primary Storage Replacement, Power down your Desktop: crwdns2935265:01crwdnd2935265:02crwdnd2935265:03crwdne2935265:0 Framework Desktop Primary Storage Replacement, Power down your Desktop: crwdns2935265:01crwdnd2935265:03crwdnd2935265:03crwdne2935265:0
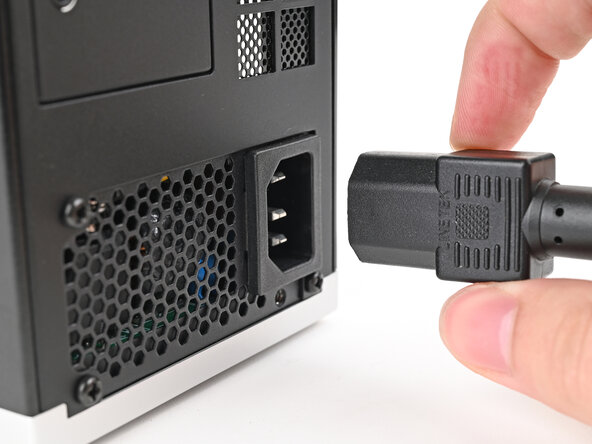
    • Before you begin repairs, shut down your Desktop from the operating system and unplug it.

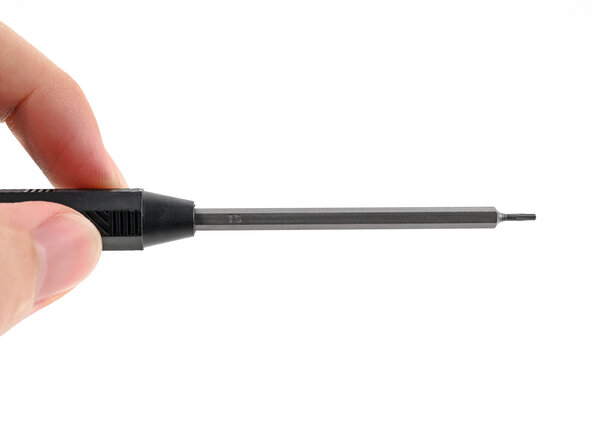
    • Make sure your Framework Desktop Screwdriver has the T5 Torx bit (labeled as T5) facing outwards. If it's not, pull the bit out and flip it.
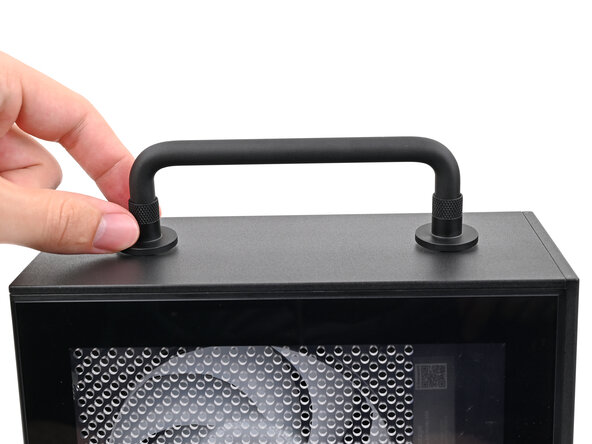
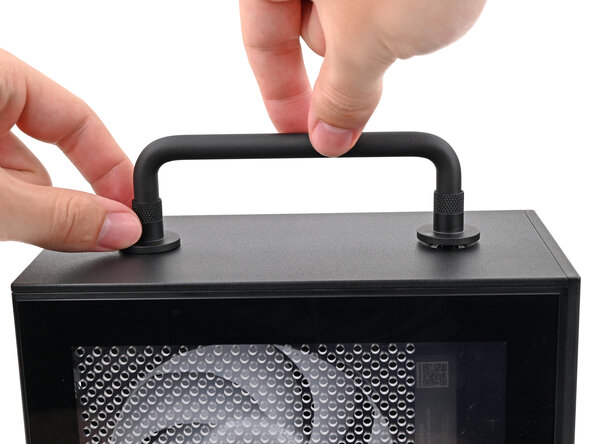
  2. Framework Desktop Primary Storage Replacement, Remove the Top Panel screws: crwdns2935265:02crwdnd2935265:01crwdnd2935265:03crwdne2935265:0 Framework Desktop Primary Storage Replacement, Remove the Top Panel screws: crwdns2935265:02crwdnd2935265:02crwdnd2935265:03crwdne2935265:0 Framework Desktop Primary Storage Replacement, Remove the Top Panel screws: crwdns2935265:02crwdnd2935265:03crwdnd2935265:03crwdne2935265:0
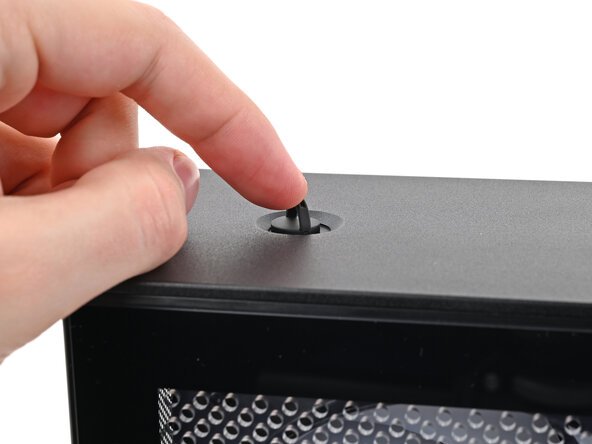
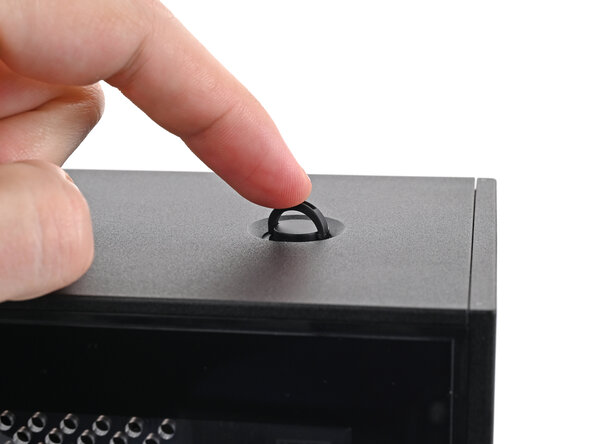
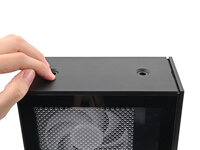
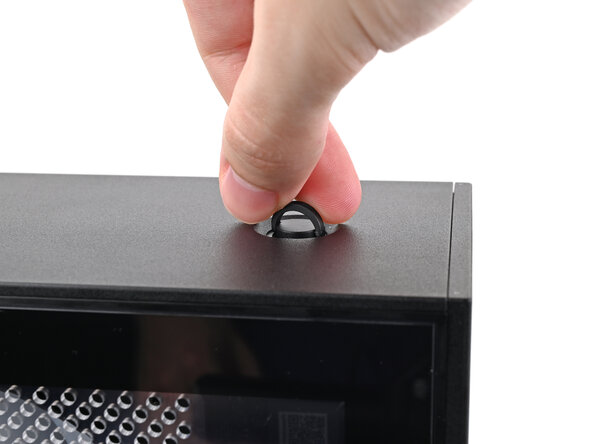
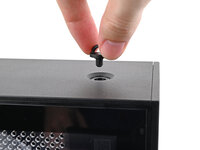
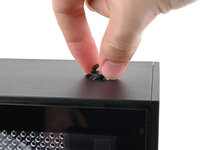
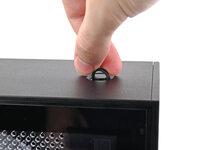
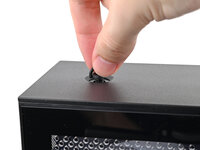
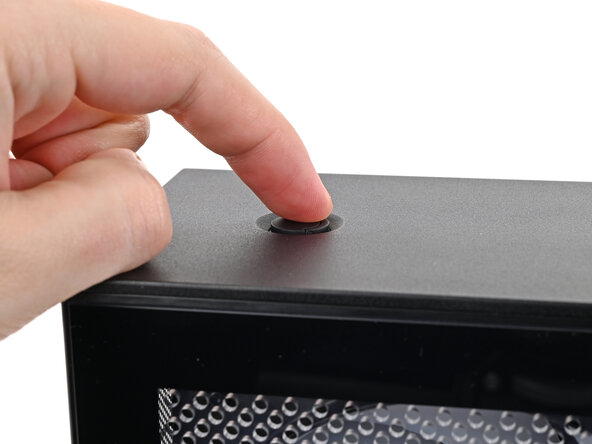
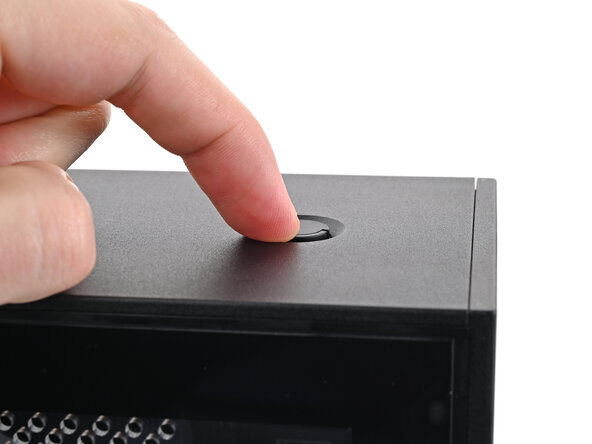
    • Use your finger to lift up the two D-rings on the Top Panel screws.

  3. Framework Desktop Primary Storage Replacement: crwdns2935265:03crwdnd2935265:01crwdnd2935265:03crwdne2935265:0 Framework Desktop Primary Storage Replacement: crwdns2935265:03crwdnd2935265:02crwdnd2935265:03crwdne2935265:0 Framework Desktop Primary Storage Replacement: crwdns2935265:03crwdnd2935265:03crwdnd2935265:03crwdne2935265:0
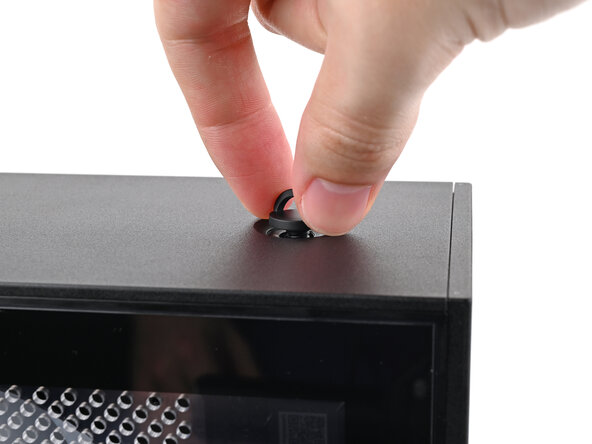
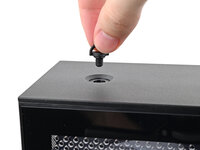
    • Use your fingers to twist the screw counter-clockwise and loosen it.

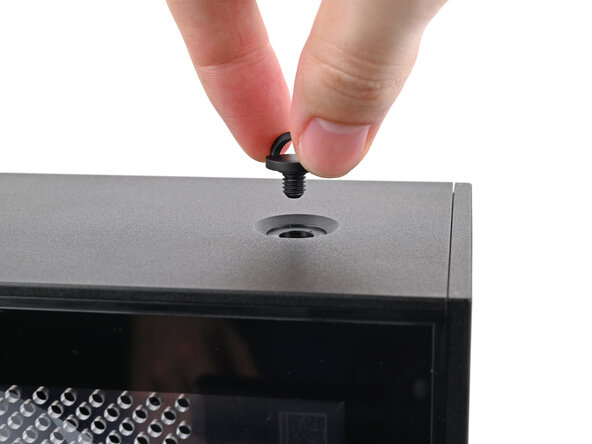
    • Remove the Top Panel screw.

  4. Framework Desktop Primary Storage Replacement: crwdns2935265:04crwdnd2935265:01crwdnd2935265:03crwdne2935265:0 Framework Desktop Primary Storage Replacement: crwdns2935265:04crwdnd2935265:02crwdnd2935265:03crwdne2935265:0 Framework Desktop Primary Storage Replacement: crwdns2935265:04crwdnd2935265:03crwdnd2935265:03crwdne2935265:0
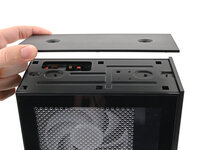
    • Repeat the same procedure for the other Top Panel screw.

  5. Framework Desktop Primary Storage Replacement, Remove the Top Panel: crwdns2935265:05crwdnd2935265:01crwdnd2935265:03crwdne2935265:0 Framework Desktop Primary Storage Replacement, Remove the Top Panel: crwdns2935265:05crwdnd2935265:02crwdnd2935265:03crwdne2935265:0 Framework Desktop Primary Storage Replacement, Remove the Top Panel: crwdns2935265:05crwdnd2935265:03crwdnd2935265:03crwdne2935265:0
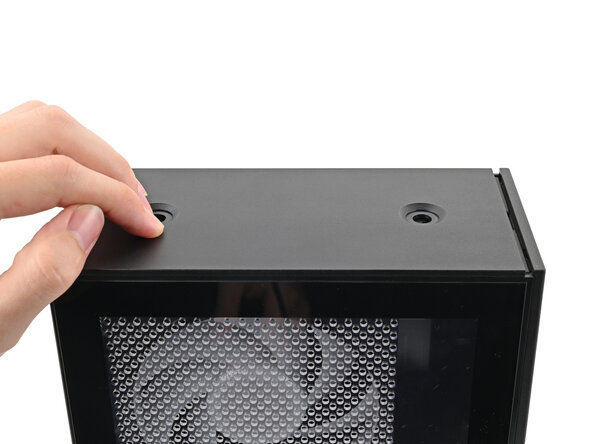
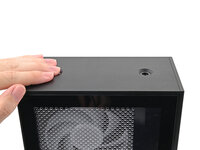
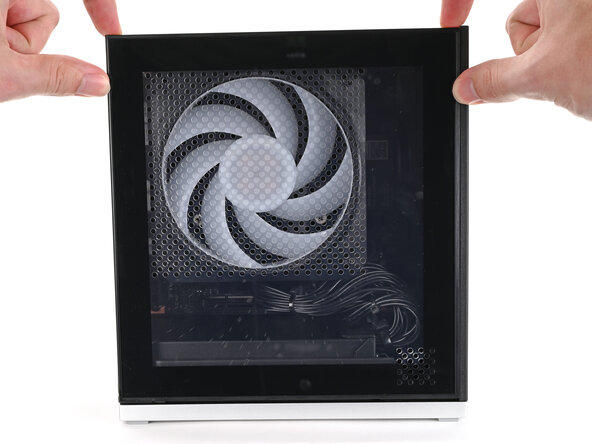
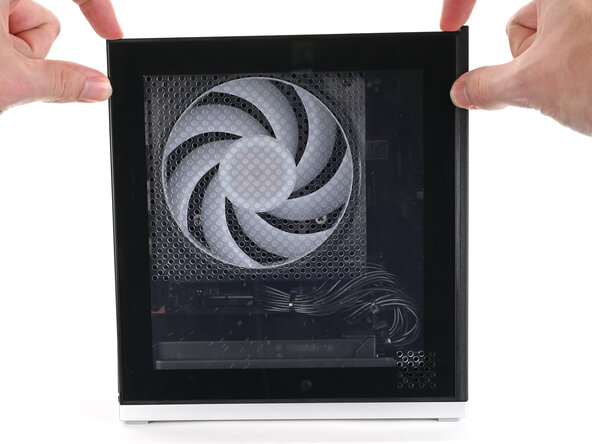
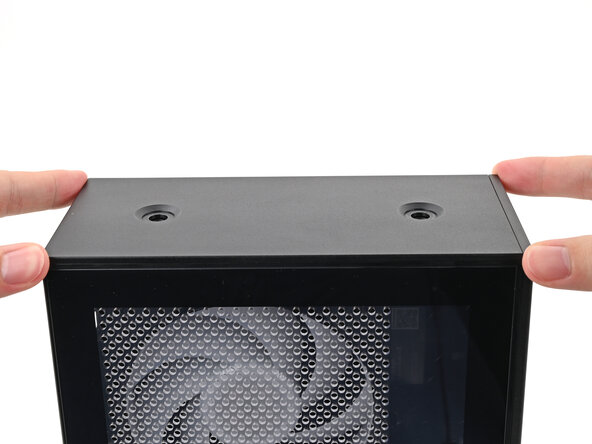
    • Slide the Top Panel towards the rear of the computer to release the clips securing it to the chassis.

    • If you're having a hard time gripping the Top Panel, use the screw holes to get a better handhold.

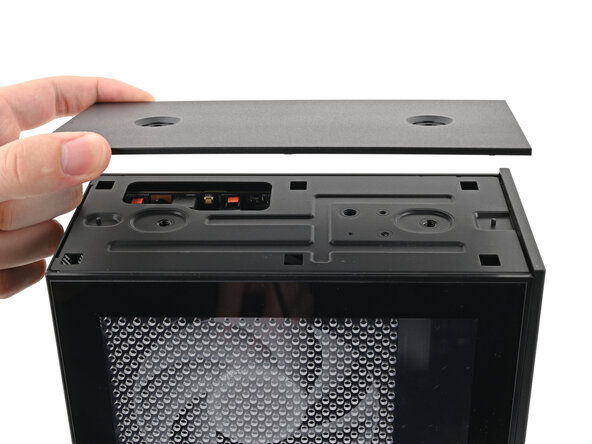
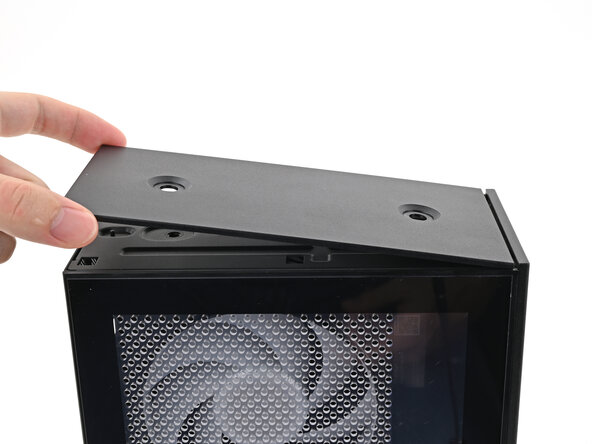
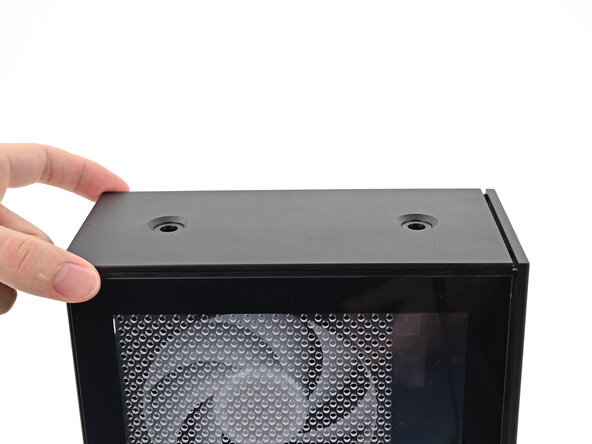
    • Lift the Top Panel off the chassis and remove it.

  6. Framework Desktop Primary Storage Replacement, Remove the Left Panel: crwdns2935265:06crwdnd2935265:01crwdnd2935265:03crwdne2935265:0 Framework Desktop Primary Storage Replacement, Remove the Left Panel: crwdns2935265:06crwdnd2935265:02crwdnd2935265:03crwdne2935265:0 Framework Desktop Primary Storage Replacement, Remove the Left Panel: crwdns2935265:06crwdnd2935265:03crwdnd2935265:03crwdne2935265:0
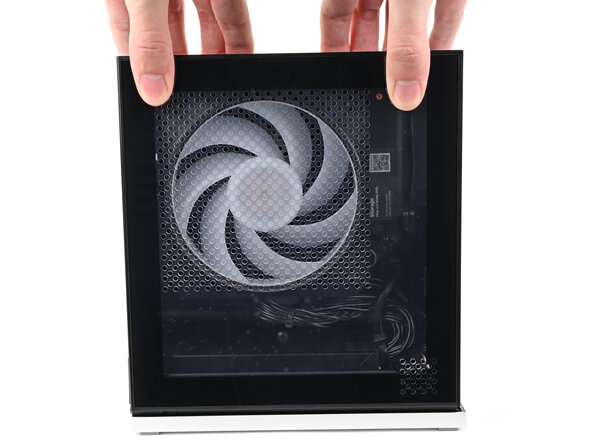
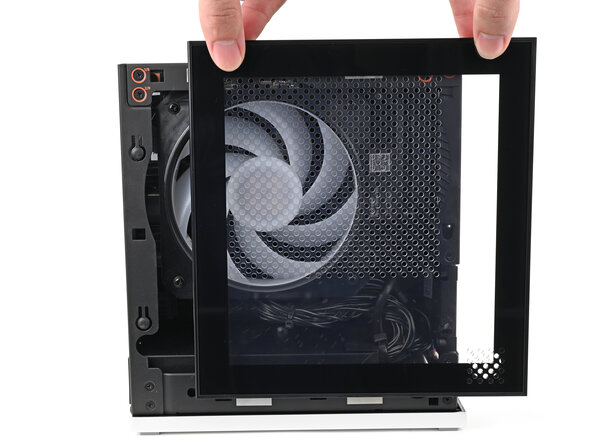
    • Use your fingers to grip the top of the Left Panel and slide it upward to release its clips.

    • Remove the Left Panel.

  7. Framework Desktop Primary Storage Replacement, Loosen the SSD screw: crwdns2935265:07crwdnd2935265:01crwdnd2935265:02crwdne2935265:0 Framework Desktop Primary Storage Replacement, Loosen the SSD screw: crwdns2935265:07crwdnd2935265:02crwdnd2935265:02crwdne2935265:0
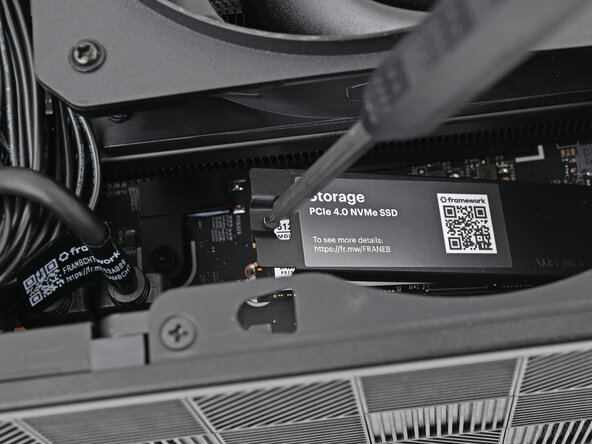
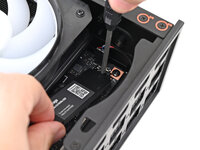
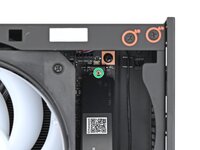
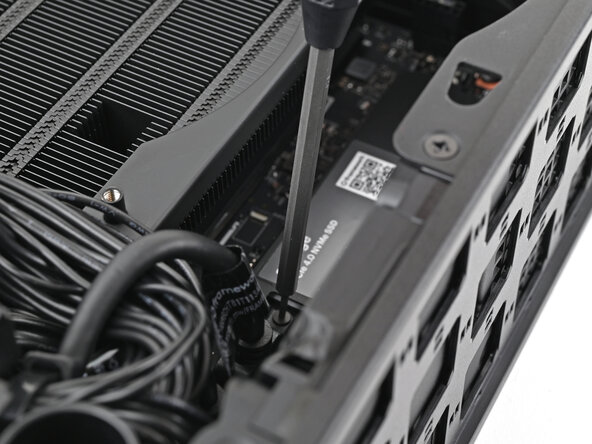
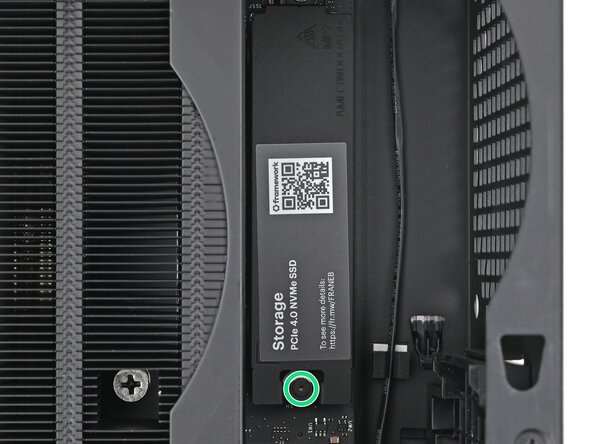
    • Use your Framework Desktop Screwdriver to loosen the captive T5 Torx screw securing the SSD.

    • The SSD and its heat spreader will pop up to an angle when its screw is fully loosened.

  8. Framework Desktop Primary Storage Replacement, Remove the SSD: crwdns2935265:08crwdnd2935265:01crwdnd2935265:03crwdne2935265:0 Framework Desktop Primary Storage Replacement, Remove the SSD: crwdns2935265:08crwdnd2935265:02crwdnd2935265:03crwdne2935265:0 Framework Desktop Primary Storage Replacement, Remove the SSD: crwdns2935265:08crwdnd2935265:03crwdnd2935265:03crwdne2935265:0
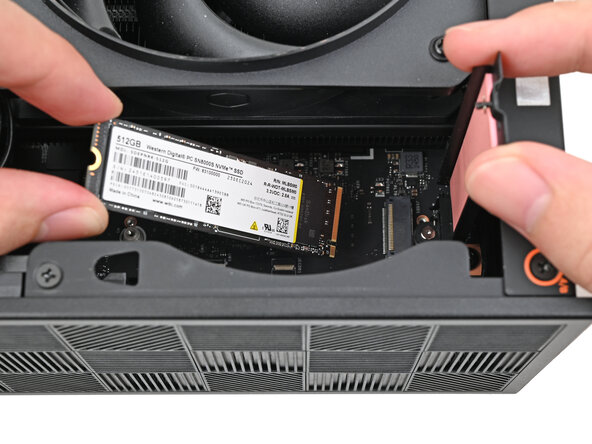
    • While holding the heat spreader upright, grab the SSD by its edges and pull it out of its socket.
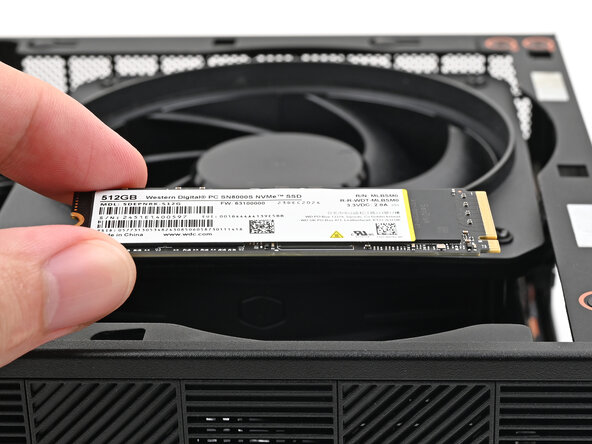
    • Remove the SSD.

  9. Framework Desktop Primary Storage Replacement, Remove the primary storage heat spreader screw: crwdns2935265:09crwdnd2935265:01crwdnd2935265:03crwdne2935265:0 Framework Desktop Primary Storage Replacement, Remove the primary storage heat spreader screw: crwdns2935265:09crwdnd2935265:02crwdnd2935265:03crwdne2935265:0 Framework Desktop Primary Storage Replacement, Remove the primary storage heat spreader screw: crwdns2935265:09crwdnd2935265:03crwdnd2935265:03crwdne2935265:0
    • If your replacement SSD comes with a pre-installed heat spreader, follow the next two steps. Otherwise skip here.

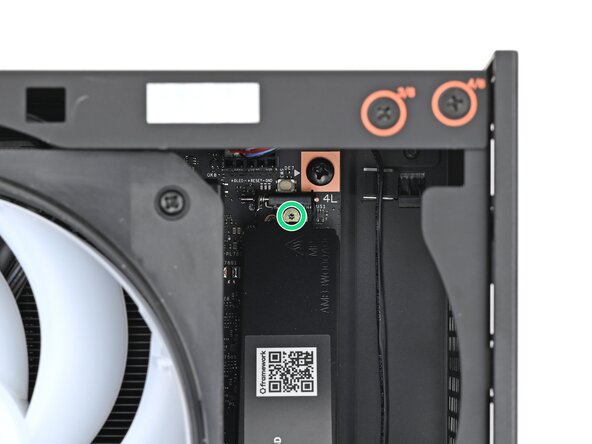
    • While securing the primary storage heat spreader with one hand, use your Framework Desktop Screwdriver to remove the 4.5 mm‑long T5 Torx screw securing it.

  10. Framework Desktop Primary Storage Replacement, Remove the primary storage heat spreader: crwdns2935265:010crwdnd2935265:01crwdnd2935265:01crwdne2935265:0
    • Lift the primary storage heat spreader out of the Desktop and remove it.

    • Follow the guide normally, making sure to ignore instructions that involve the primary storage heat spreader.

  11. Framework Desktop Primary Storage Replacement, Disassembly complete: crwdns2935265:011crwdnd2935265:01crwdnd2935265:01crwdne2935265:0
    • Congratulations on completing disassembly! The remaining steps will show how to reassemble your Framework Desktop.

  12. Framework Desktop Primary Storage Replacement, Install the SSD: crwdns2935265:012crwdnd2935265:01crwdnd2935265:02crwdne2935265:0 Framework Desktop Primary Storage Replacement, Install the SSD: crwdns2935265:012crwdnd2935265:02crwdnd2935265:02crwdne2935265:0
    • Hold the SSD by its edges. Don't touch the gold contacts with your fingers. If you do, wipe the contacts with a clean, lint-free cloth to remove any finger oils.

    • While holding the heat spreader upright, align the SSD's gold contacts with its socket.

    • Insert the SSD into the socket at a shallow angle. The gold contacts should mostly be covered by the socket.

    • The SSD fits into the socket in one orientation. If it doesn't feel like it fits, try flipping the module.

  13. Framework Desktop Primary Storage Replacement: crwdns2935265:013crwdnd2935265:01crwdnd2935265:03crwdne2935265:0 Framework Desktop Primary Storage Replacement: crwdns2935265:013crwdnd2935265:02crwdnd2935265:03crwdne2935265:0 Framework Desktop Primary Storage Replacement: crwdns2935265:013crwdnd2935265:03crwdnd2935265:03crwdne2935265:0
    • Insert your Framework Desktop Screwdriver into the captive screw on the primary storage heat spreader and press it flat to the Mainboard.

    • Tighten the screw securing the SSD.

  14. Framework Desktop Primary Storage Replacement, Install the Left Panel: crwdns2935265:014crwdnd2935265:01crwdnd2935265:03crwdne2935265:0 Framework Desktop Primary Storage Replacement, Install the Left Panel: crwdns2935265:014crwdnd2935265:02crwdnd2935265:03crwdne2935265:0 Framework Desktop Primary Storage Replacement, Install the Left Panel: crwdns2935265:014crwdnd2935265:03crwdnd2935265:03crwdne2935265:0
    • Slide the Left Panel onto the left edge of the chassis and press it flat to ensure its clips are slotted into place.

    • There should be a small gap between the bottom of the Left Panel and the silver base.

    • Push the Left Panel towards the base of the computer to close the gap and engage the clips.

  15. Framework Desktop Primary Storage Replacement, Install the Top Panel: crwdns2935265:015crwdnd2935265:01crwdnd2935265:03crwdne2935265:0 Framework Desktop Primary Storage Replacement, Install the Top Panel: crwdns2935265:015crwdnd2935265:02crwdnd2935265:03crwdne2935265:0 Framework Desktop Primary Storage Replacement, Install the Top Panel: crwdns2935265:015crwdnd2935265:03crwdnd2935265:03crwdne2935265:0
    • Orient the Top Panel so its arrow is pointing towards the rear of the computer.

    • While holding the Top Panel at a slight downward angle, slide it across the top of the chassis (from rear to front) until you feel its clips catch.

    • There should be a small gap between the Top Panel and the front of the Desktop.

    • Lay the Top Panel flat on the chassis to align the remaining clips.

  16. Framework Desktop Primary Storage Replacement: crwdns2935265:016crwdnd2935265:01crwdnd2935265:02crwdne2935265:0 Framework Desktop Primary Storage Replacement: crwdns2935265:016crwdnd2935265:02crwdnd2935265:02crwdne2935265:0
    • While securing the computer with one hand, use the other hand to slide the Top Panel towards the front of the computer to close the gap and engage the clips.

  17. Framework Desktop Primary Storage Replacement, Install the top panel screws: crwdns2935265:017crwdnd2935265:01crwdnd2935265:03crwdne2935265:0 Framework Desktop Primary Storage Replacement, Install the top panel screws: crwdns2935265:017crwdnd2935265:02crwdnd2935265:03crwdne2935265:0 Framework Desktop Primary Storage Replacement, Install the top panel screws: crwdns2935265:017crwdnd2935265:03crwdnd2935265:03crwdne2935265:0
    • Insert the top panel screw into its hole and twist clockwise until it feels snug.

  18. Framework Desktop Primary Storage Replacement: crwdns2935265:018crwdnd2935265:01crwdnd2935265:03crwdne2935265:0 Framework Desktop Primary Storage Replacement: crwdns2935265:018crwdnd2935265:02crwdnd2935265:03crwdne2935265:0 Framework Desktop Primary Storage Replacement: crwdns2935265:018crwdnd2935265:03crwdnd2935265:03crwdne2935265:0
    • Repeat the same procedure for the other top panel screw.

  19. Framework Desktop Primary Storage Replacement: crwdns2935265:019crwdnd2935265:01crwdnd2935265:03crwdne2935265:0 Framework Desktop Primary Storage Replacement: crwdns2935265:019crwdnd2935265:02crwdnd2935265:03crwdne2935265:0 Framework Desktop Primary Storage Replacement: crwdns2935265:019crwdnd2935265:03crwdnd2935265:03crwdne2935265:0
    • Use your finger to close the two D-rings on the top panel screws.

crwdns2915888:0crwdne2915888:0

You finished fixing your Framework Desktop!

Take your e-waste to an R2 or e-Stewards certified recycler.

If you need help, contact Framework support.

Alex Diaz-Kokaisl

crwdns2935283:001/16/22crwdne2935283:0

174,037 crwdns2915208:0crwdne2915208:0

crwdns2935297:0798crwdne2935297:0

crwdns2947412:00crwdne2947412:0

crwdns2917038:0crwdne2917038:0

crwdns2936625:0crwdne2936625:0:

crwdns2936751:024crwdne2936751:0 4

crwdns2936753:07crwdne2936753:0 20

crwdns2936753:030crwdne2936753:0 52

crwdns2942667:0crwdne2942667:0 95