crwdns2933423:0crwdne2933423:0

Epson VS240 Lens Replacement

crwdns2942213:0crwdne2942213:0

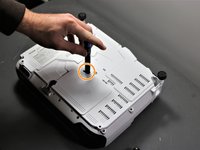
  1. Epson VS240 Lens Replacement, Shell: crwdns2935265:01crwdnd2935265:01crwdnd2935265:03crwdne2935265:0 Epson VS240 Lens Replacement, Shell: crwdns2935265:01crwdnd2935265:02crwdnd2935265:03crwdne2935265:0 Epson VS240 Lens Replacement, Shell: crwdns2935265:01crwdnd2935265:03crwdnd2935265:03crwdne2935265:0
    • Using the Phillips #2 screwdriver, loosen the single captive screw on the left side of the projector.

    • The captive screw will loosen, but it cannot be fully removed.

    • Slide the panel off and remove it from the device.

  2. Epson VS240 Lens Replacement: crwdns2935265:02crwdnd2935265:01crwdnd2935265:02crwdne2935265:0 Epson VS240 Lens Replacement: crwdns2935265:02crwdnd2935265:02crwdnd2935265:02crwdne2935265:0
    • Use the Phillips #2 screwdriver to remove the three 5 mm screws.

    • Using the same Phillips #2 screwdriver, remove the single 8 mm silver screw.

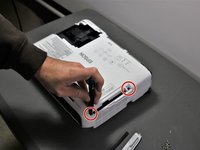
  3. Epson VS240 Lens Replacement: crwdns2935265:03crwdnd2935265:01crwdnd2935265:01crwdne2935265:0
    • Use a Phillips #1 screwdriver to remove the two 10 mm silver screws from the bottom of the device.

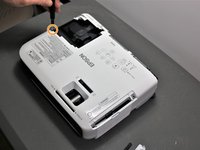
  4. Epson VS240 Lens Replacement: crwdns2935265:04crwdnd2935265:01crwdnd2935265:01crwdne2935265:0
    • Use a Phillips #1 screwdriver to remove the single 10 mm screw where the panel was removed in Step 1.

    • Remove the white back plate from the device.

  5. Epson VS240 Lens Replacement: crwdns2935265:05crwdnd2935265:01crwdnd2935265:03crwdne2935265:0 Epson VS240 Lens Replacement: crwdns2935265:05crwdnd2935265:02crwdnd2935265:03crwdne2935265:0 Epson VS240 Lens Replacement: crwdns2935265:05crwdnd2935265:03crwdnd2935265:03crwdne2935265:0
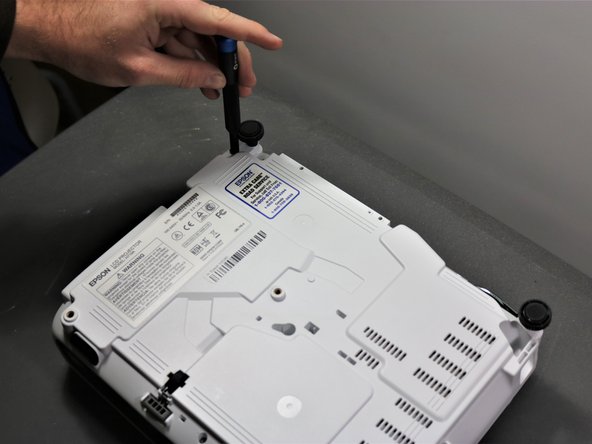
    • Flip the projector over so that the underside (side with the feet) is facing you.

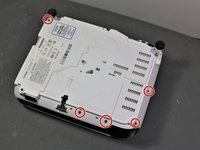
    • Use a Phillips #1 screwdriver to remove five 10 mm screws on the underside of projector.

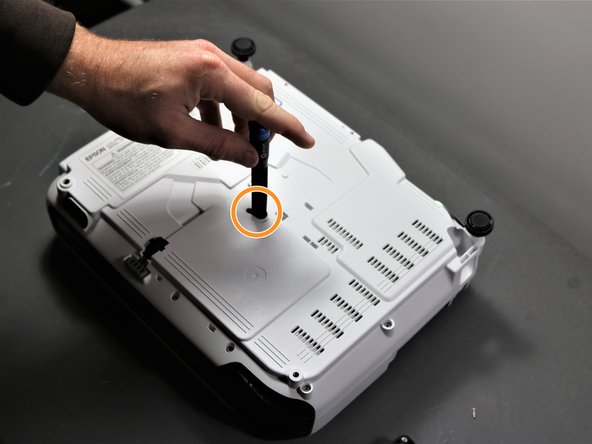
    • Using the same Phillips #1 screwdriver, remove a single 10 mm screw in the center hole.

    • You may need to use a screwdriver extender to reach the single screw.

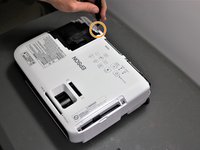
  6. Epson VS240 Lens Replacement: crwdns2935265:06crwdnd2935265:01crwdnd2935265:03crwdne2935265:0 Epson VS240 Lens Replacement: crwdns2935265:06crwdnd2935265:02crwdnd2935265:03crwdne2935265:0 Epson VS240 Lens Replacement: crwdns2935265:06crwdnd2935265:03crwdnd2935265:03crwdne2935265:0
    • Use a Phillips #1 screwdriver to remove two 10 mm screws from the openings on each side of the air filter, on the topside of the projector.

    • You may need to use a screwdriver extender to reach the two screws.

    • Using the same Phillips #1 screwdriver, remove the two 10 mm screws where the white panel was removed on the topside of the projector in Step 1.

  7. Epson VS240 Lens Replacement: crwdns2935265:07crwdnd2935265:01crwdnd2935265:02crwdne2935265:0 Epson VS240 Lens Replacement: crwdns2935265:07crwdnd2935265:02crwdnd2935265:02crwdne2935265:0
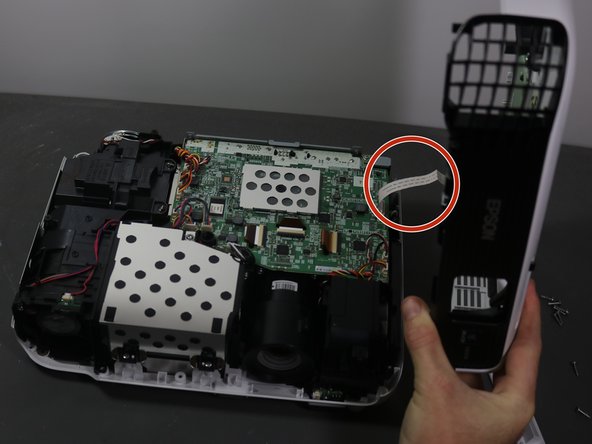
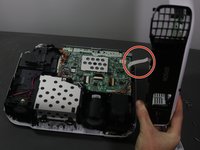
    • Be careful when removing the top cover of projector as there is as white ribbon cable connecting it to the motherboard.

    • Gently lift top cover and place it on its top next to the projector so that the ribbon has no tension on it.

    • Gently pull the brown tape connecting the cable to the motherboard and then remove the shell from the device.

  8. Epson VS240 Lens Replacement, Motherboard: crwdns2935265:08crwdnd2935265:01crwdnd2935265:02crwdne2935265:0 Epson VS240 Lens Replacement, Motherboard: crwdns2935265:08crwdnd2935265:02crwdnd2935265:02crwdne2935265:0
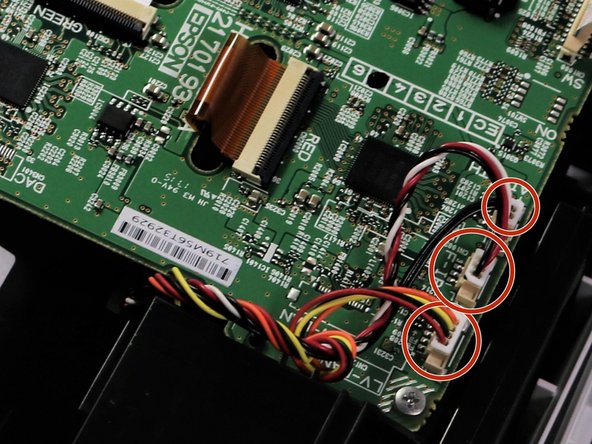
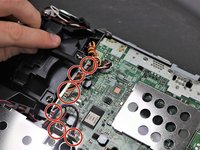
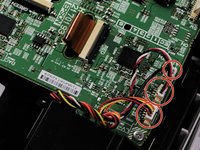
    • Using a spudger or a plastic opening tool, disconnect all of the wires connected to the motherboard.

  9. Epson VS240 Lens Replacement: crwdns2935265:09crwdnd2935265:01crwdnd2935265:02crwdne2935265:0 Epson VS240 Lens Replacement: crwdns2935265:09crwdnd2935265:02crwdnd2935265:02crwdne2935265:0
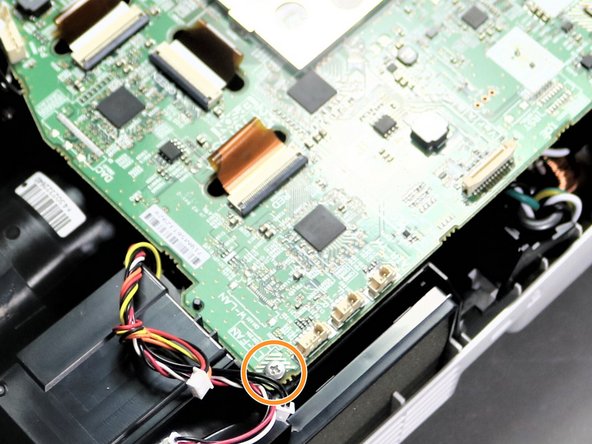
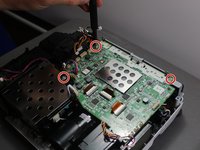
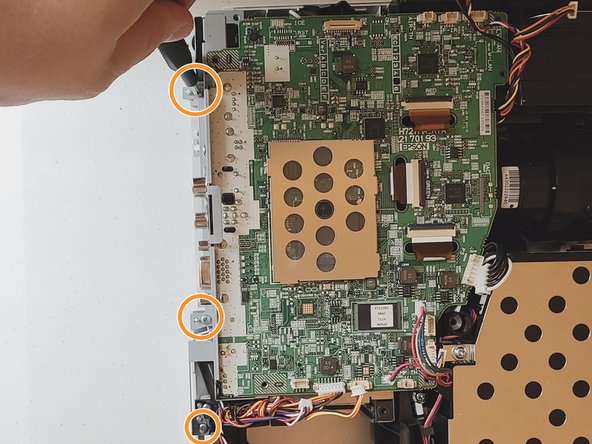
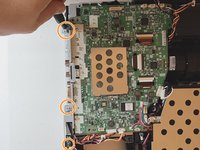
    • Using the Phillips #1 screwdriver, remove three 6 mm screws.

    • Using the same Phillips #1 screwdriver, remove a single 10 mm screw in bottom right corner of motherboard.

  10. Epson VS240 Lens Replacement: crwdns2935265:010crwdnd2935265:01crwdnd2935265:02crwdne2935265:0 Epson VS240 Lens Replacement: crwdns2935265:010crwdnd2935265:02crwdnd2935265:02crwdne2935265:0
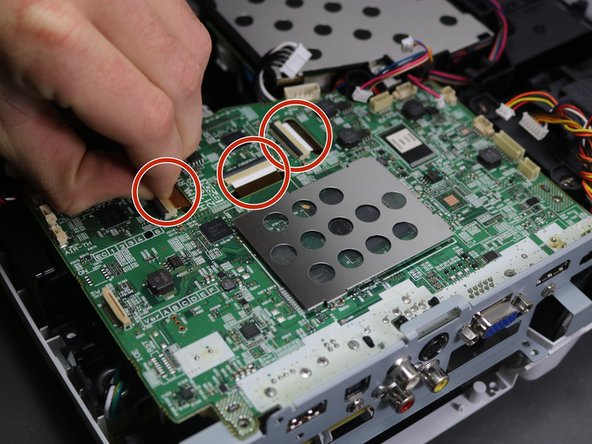
    • Using a spudger or your fingernails, lift up the black locking tabs and disconnect the three ribbon cables from the motherboard.

    • For more information on Zero Insertion Force (ZIF) connectors, please visit this guide.

    • Using the Phillips #1 screwdriver, remove three 10 mm screws on the grey piece that is located on the side of the motherboard.

  11. Epson VS240 Lens Replacement: crwdns2935265:011crwdnd2935265:01crwdnd2935265:01crwdne2935265:0
    • Lift and remove the motherboard up and away from the device.

  12. Epson VS240 Lens Replacement, Lens: crwdns2935265:012crwdnd2935265:01crwdnd2935265:02crwdne2935265:0 Epson VS240 Lens Replacement, Lens: crwdns2935265:012crwdnd2935265:02crwdnd2935265:02crwdne2935265:0
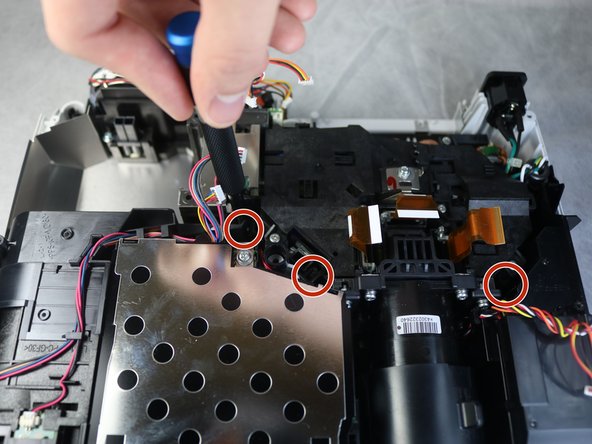
    • Rotate the projector 180 degrees to match orientation in images.

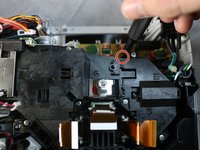
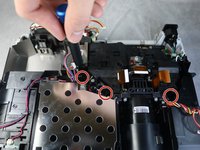
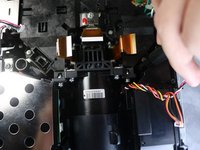
    • Using the Phillips #2 screwdriver, remove four inner 11 mm screws under the black box connected to the lens.

    • These screws are located deep into the projector and you may need a screwdriver extender to reach two of the four screws.

  13. Epson VS240 Lens Replacement: crwdns2935265:013crwdnd2935265:01crwdnd2935265:02crwdne2935265:0 Epson VS240 Lens Replacement: crwdns2935265:013crwdnd2935265:02crwdnd2935265:02crwdne2935265:0
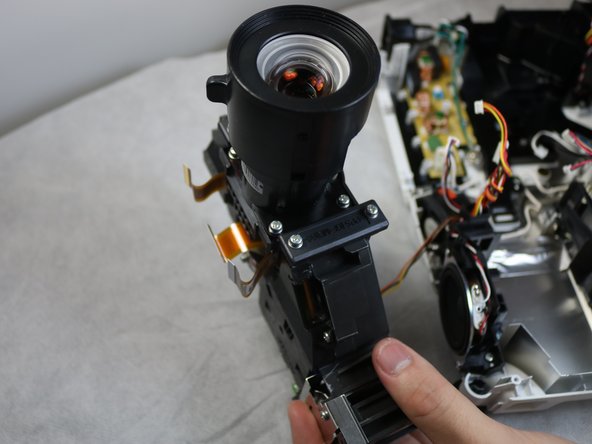
    • Detach the wire above the lens using plastic pry bar.

    • These wires can also be removed by hand; however, a plastic opening tool may be used for more prying power.

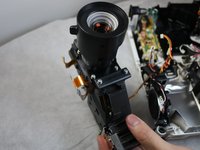
    • Slowly lift the black assembly out of the device.

    • Be careful of the wire still connected. It does not need to be removed so lay the black assembly close to the projector so no tension is on the wire.

crwdns2915888:0crwdne2915888:0

To reassemble your device, follow these instructions in reverse order.

crwdns2935227:0crwdne2935227:0

Vincent Brown

crwdns2935283:009/28/21crwdne2935283:0

105 crwdns2915208:0crwdne2915208:0

crwdns2935295:0crwdne2935295:0

crwdns2915084:0crwdne2915084:0

Clemson, Team 5-3, Hunter Fall 2021 crwdns2935289:0Clemson, Team 5-3, Hunter Fall 2021crwdne2935289:0

CLEM-HUNTER-F21S5G3

crwdns2931471:05crwdne2931471:0

crwdns2935297:06crwdne2935297:0

crwdns2947410:01crwdne2947410:0

This guide helped me remove the lens assembly and reassemble in about 1 hour. Well done guide.

DFixitGuy - crwdns2934203:0crwdne2934203:0

crwdns2917038:0crwdne2917038:0

crwdns2936625:0crwdne2936625:0:

crwdns2936751:024crwdne2936751:0 1

crwdns2936753:07crwdne2936753:0 6

crwdns2936753:030crwdne2936753:0 9

crwdns2942667:0crwdne2942667:0 230