crwdns2915892:0crwdne2915892:0
Facilitates the control panel and user interface of the overall device, this part may need to be replaced if damaged or worn. (If suspected issues arrive refer to the LCD guide first.)
crwdns2942213:0crwdne2942213:0
-
-
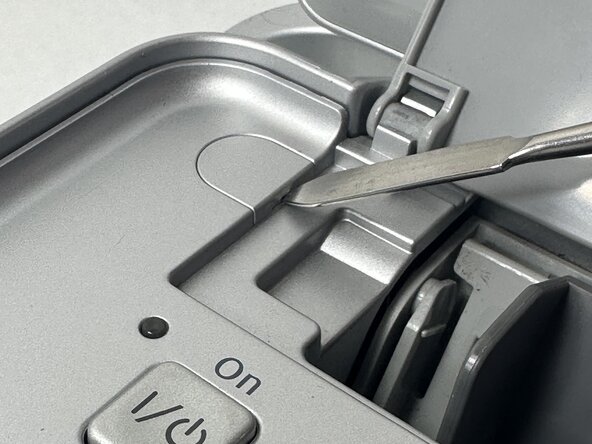
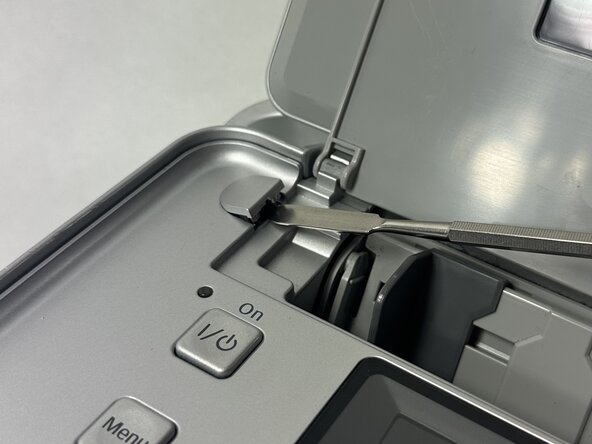
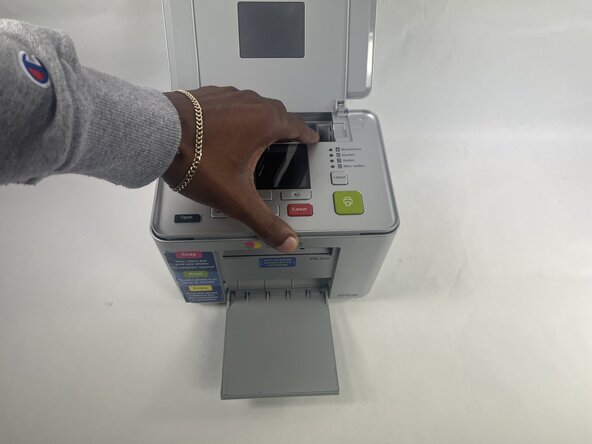
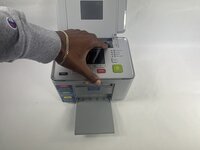
Power off device and use a metal spudger to remove each of the two caps over the screws that hold the top plate to the device.
-
-
-
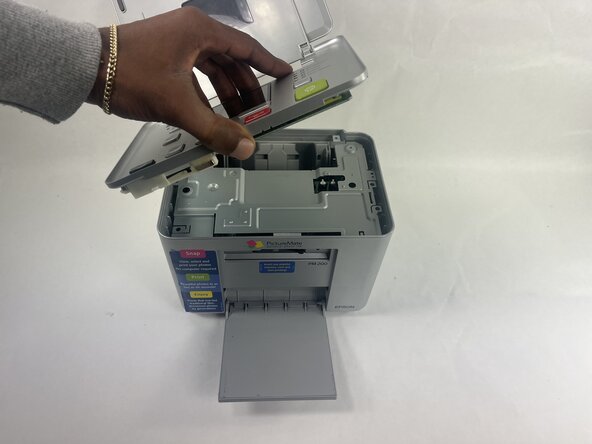
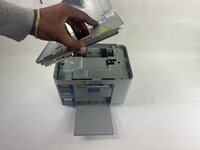
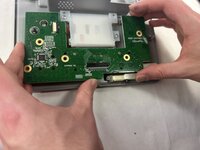
Gently lift the lid and turn it to face the daughterboard underneath.
-
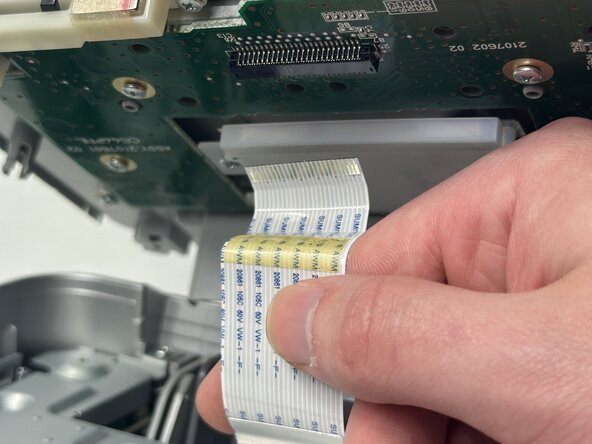
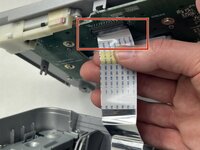
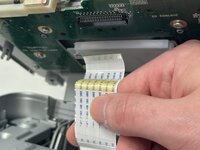
Gently pull the no-fuss ribbon cable out from its connector.
-
-
-
-
Remove the LCD ribbon cable by pulling gently away from connector.
-
-
-
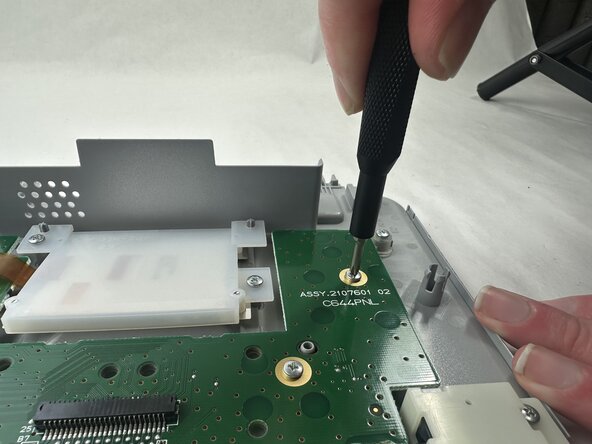
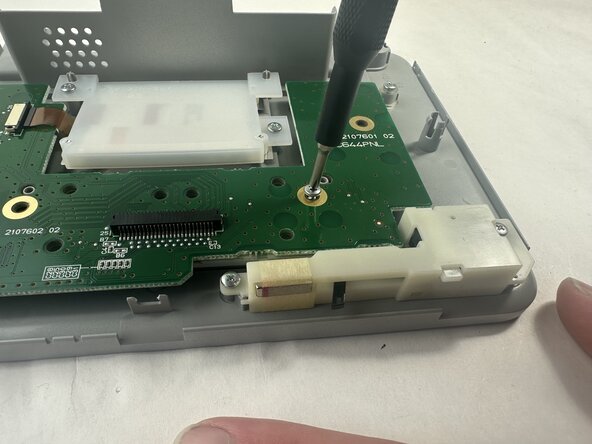
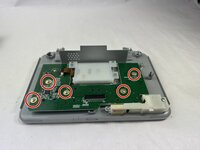
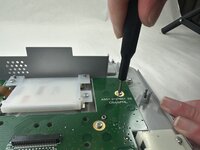
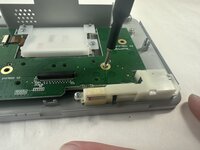
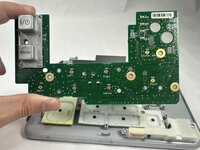
Remove all five 8 mm Phillips screws that secure the daughterboard to the top panel.
-
-
-
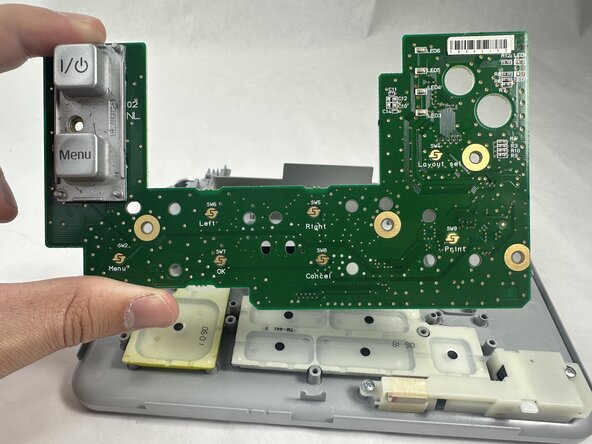
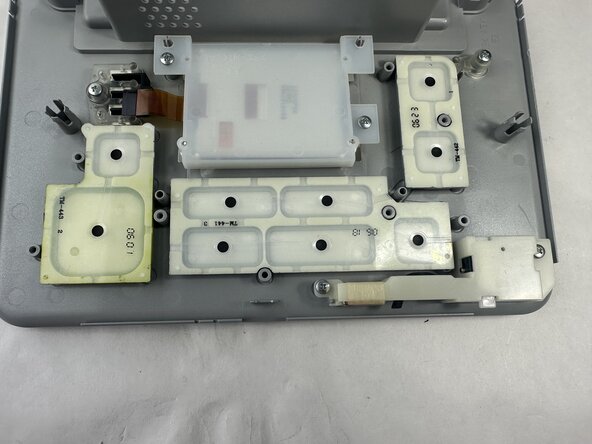
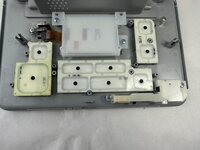
Remove the daughterboard by lifting it away from the top plate.
-
To reassemble your device, follow the above steps in reverse order.
Take your e-waste to an R2 or e-Stewards certified recycler.
Repair didn’t go as planned? Try some basic troubleshooting or ask our Answers community for help.

