crwdns2915892:0crwdne2915892:0
The battery in the Epomaker Shadow-X keyboard powers its wireless functionality, enabling use. Over time, batteries can degrade, leading to shorter usage times or an inability to charge. Replacing the battery is a straightforward process that can restore your keyboard’s wireless performance. This guide will walk you through the steps to safely and efficiently replace the battery in your Epomaker Shadow-X keyboard.
crwdns2942213:0crwdne2942213:0
-
-
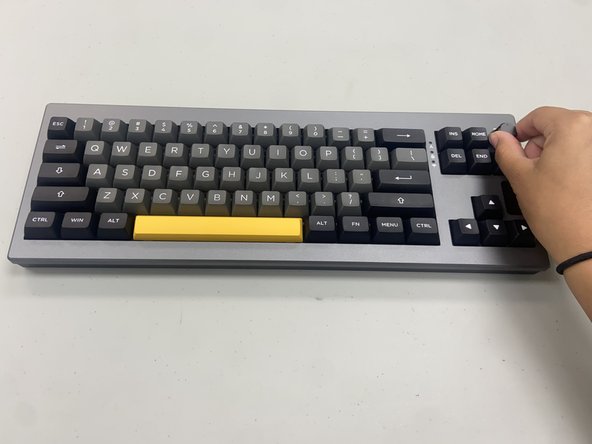
Power off the Epomaker Shadow-X keyboard.
-
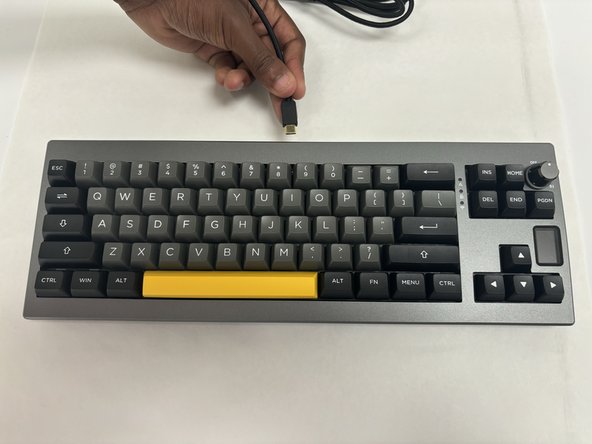
Disconnect any attached cables.
-
-
-
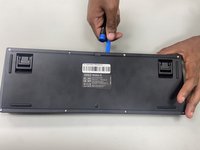
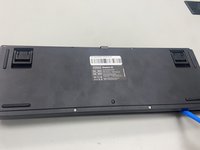
Use a hex screwdriver to remove all eight screws on the underside of the keyboard.
-
-
-
-
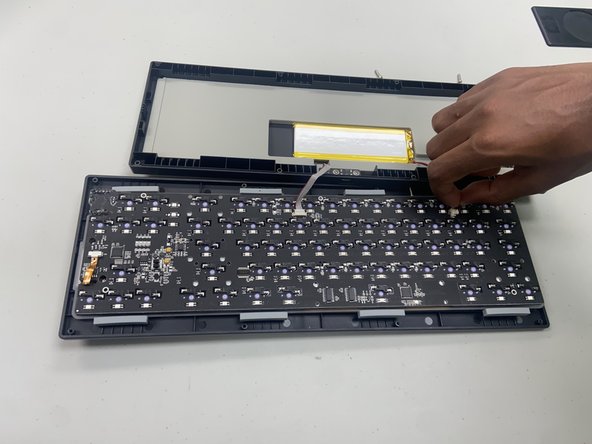
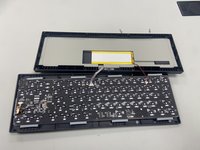
Use a plastic opening tool to gently pry open the keyboard case, working your way around each side.
-
Carefully separate the top and bottom covers, being mindful of any connecting cables between the two halves.
-
-
-
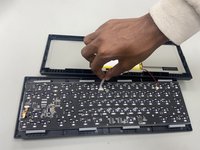
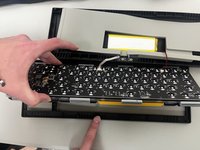
Use your fingernails to gently "walk" the battery connector directly out of its socket.
-
-
-
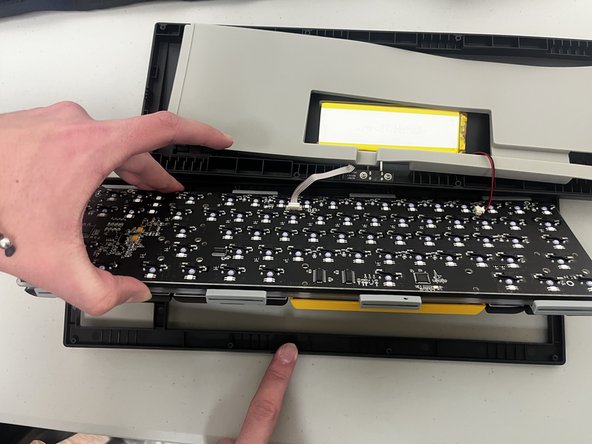
Use an opening tool to gently pry the battery out of the chassis.
-


To reassemble your device, follow the above steps in reverse order.
For optimal performance, after completing this guide, calibrate your newly installed battery.
Take your e-waste to an R2 or e-Stewards certified recycler.
Repair didn’t go as planned? Try some basic troubleshooting or ask our Answers community for help.

crwdns2915084:0crwdne2915084:0

University of North Texas, Team 6-1, Kilpatrick Fall 2024 crwdns2935289:0University of North Texas, Team 6-1, Kilpatrick Fall 2024crwdne2935289:0
UNT-KILPATRICK-F24S6G1
crwdns2931471:04crwdne2931471:0
crwdns2935297:05crwdne2935297:0