crwdns2915892:0crwdne2915892:0
Follow this guide to replace the R2 and L2 Buttons in your DualShock 4 model CUH-ZCT1U controller.
crwdns2942213:0crwdne2942213:0
-
-
Check the model number on the back of your controller. This guide was written using model CUH-ZCT1U. If you have another model, the guide procedure and replacement parts may differ slightly.
-
-
crwdns2935267:0crwdne2935267:0Microfiber Cleaning Cloths$3.99
-
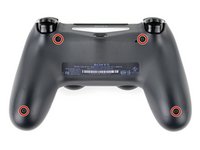
Use a Phillips screwdriver to remove the four 6.4 mm-long screws securing the rear case.
-
-
-
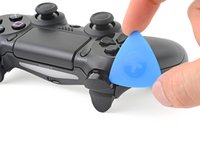
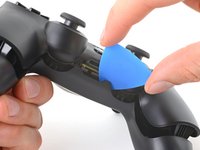
Use an opening pick to pry each corner of the L1 button from the front case.
-
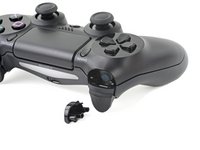
Remove the button.
-
-
-
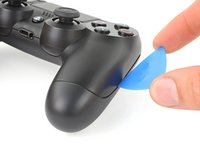
Use your opening pick to pry and remove the R1 button, just as you did for the L1 button.
-
-
-
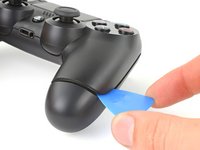
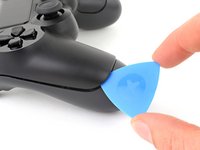
Insert your opening pick at a downward angle between the front case and rear case, halfway between the handle and the action buttons.
-
Slide your pick toward the handle and pry up to release the first clip.
-
Repeat this procedure on the other side of the controller to release the second clip.
-
-
-
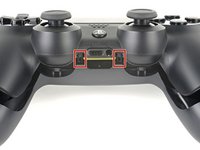
Two more clips secure the rear case near the extension port and the headphone jack.
-
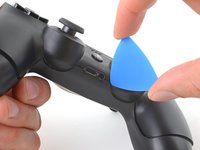
Insert your opening pick between the front case and rear case at either side of the ports.
-
Twist your pick to unclip this section of the rear case from the front case.
-
-
-
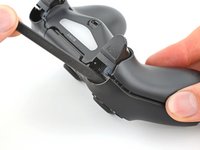
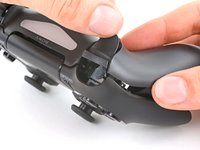
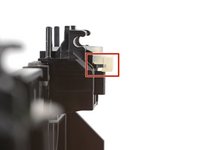
Locate the clips by looking through the gap above the R2 or L2 buttons.
-
-
-
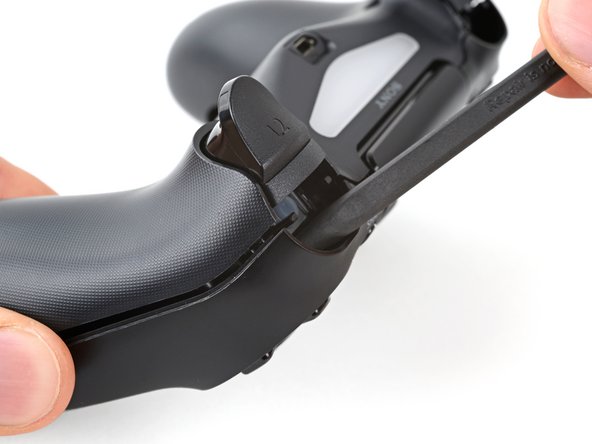
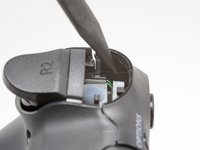
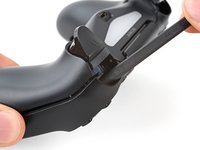
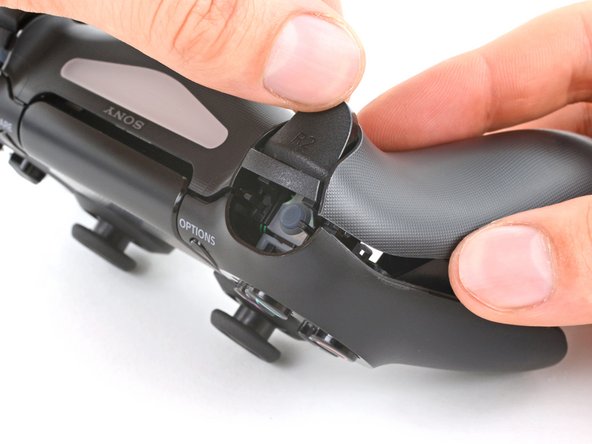
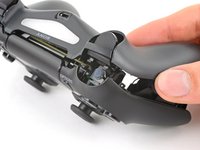
Insert the point of a spudger through the gap above the R2 button and push the retaining clip outward.
-
While pushing the clip outward, slowly pull the rear case away from the front case until you feel them separate.
-
Repeat this procedure for the clip near the L2 button.
-
-
-
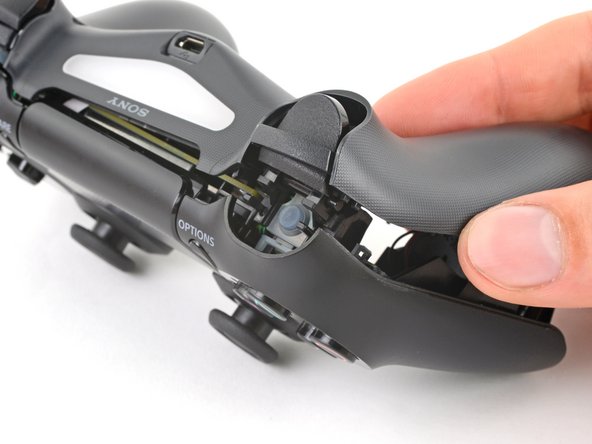
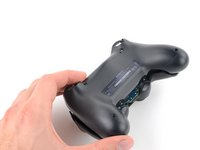
Press the R2 button and slide the rear case over it.
-
-
-
-
Press the L2 button and slide the rear case over it.
-
-
-
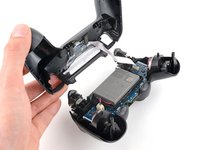
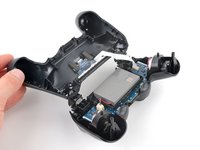
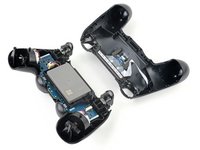
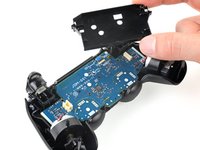
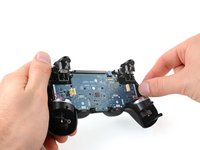
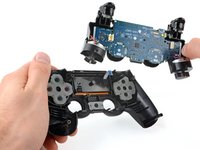
Flip the rear case over the top of the controller and lay it down, being careful not to strain the interconnect cable.
-
-
crwdns2935267:0crwdne2935267:0Tweezers$4.99
-
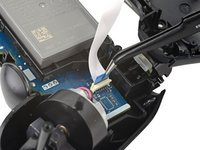
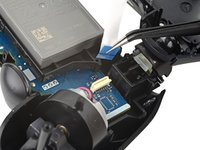
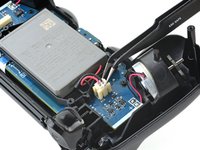
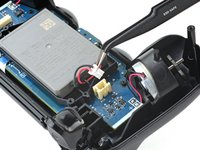
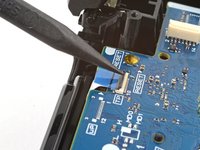
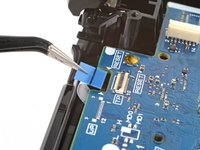
Use tweezers or your fingers to remove the interconnect cable by pulling its blue pull tab straight out of the socket.
-
-
crwdns2935267:0crwdne2935267:0Tweezers$4.99
-
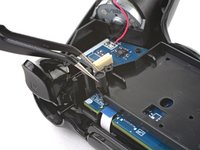
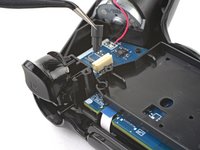
Use tweezers or your fingers to grab and disconnect the head of the battery cable from the motherboard.
-
-
-
Remove the battery.
-
-
-
Grab and remove the reset button extension from its recess in the battery bracket.
-
-
-
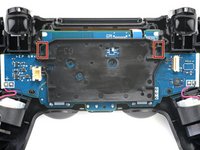
Locate the two clips securing the battery bracket to the motherboard.
-
Insert the point of your spudger into the opening behind the right bracket clip.
-
Depress the clip to disengage it from the motherboard.
-
Lift up the right edge of the battery bracket.
-
-
-
Insert the point of your spudger in the opening behind the left bracket clip.
-
Depress the clip to disengage it from the motherboard.
-
Remove the battery bracket.
-
-
crwdns2935267:0crwdne2935267:0Tweezers$4.99
-
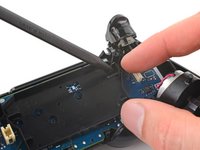
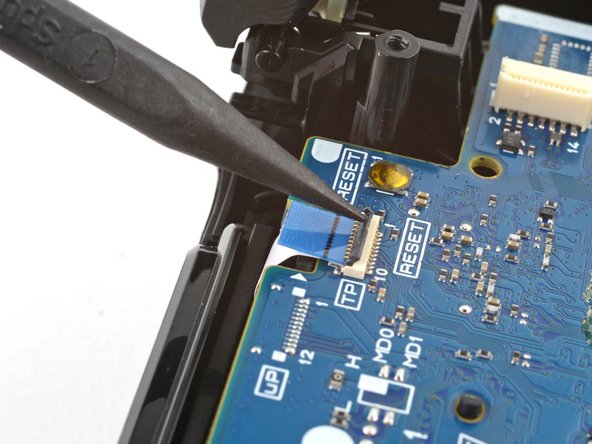
Use the point of your spudger to flip up the locking flap securing the touch pad cable ZIF connector.
-
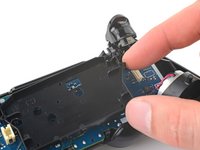
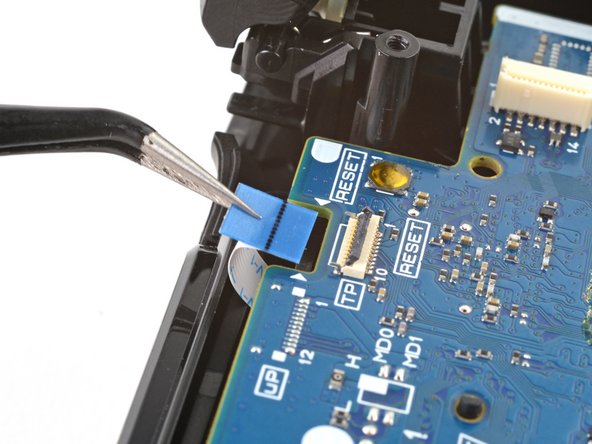
Use tweezers or your fingers to disconnect the cable using its blue pull tab.
-
-
-
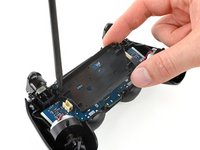
Use your Phillips screwdriver to remove the 6.4 mm screw securing the motherboard.
-
-
-
Grab the midframe by its plastic protrusions or the vibration motors and remove it.
-
-
-
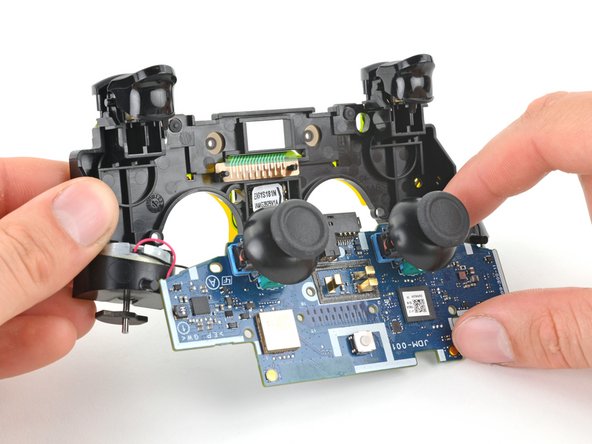
Lift the motherboard and flip it over the bottom of the midframe, leaving the vibration motor cables attached.
-
-
-
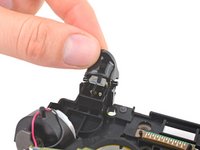
Firmly grip the R2 button and unclip each peg from the midframe.
-
Remove the R2 button.
-
-
-
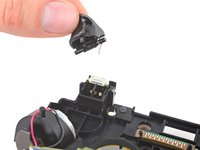
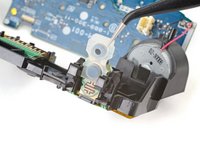
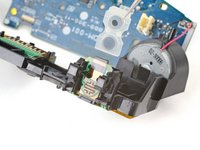
Unclip the L2 button from the midframe and remove it, making sure not to lose the small spring from the inside peg.
-
-
-
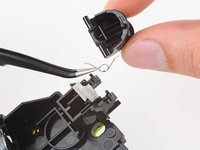
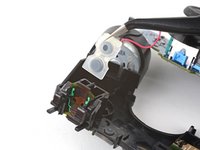
Lay the midframe face-down and orient the button properly.
-
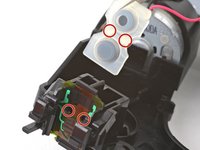
Place the spring over the inside peg with its bent ends facing upward.
-
Rest one end of the spring in its channel in the button.
-
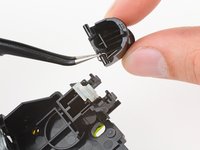
Place the button over its clips and rest the other end of the spring in its channel in the midframe.
-
Press the button's pegs into their clips until they snap into place.
-
-
-
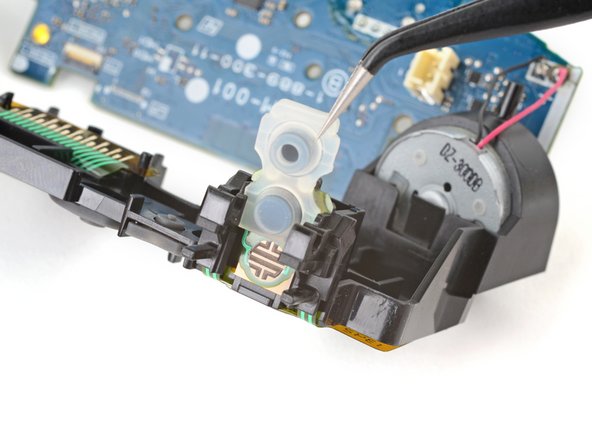
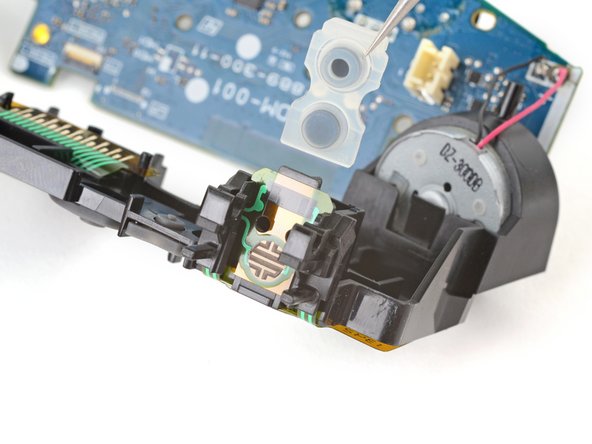
Grab the upper edge of the R1 and R2 button pad.
-
Slide the pad out of its channel in the midframe.
-
-
-
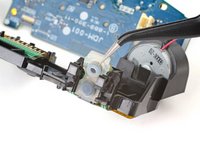
Slide the L1 and L2 button pad out of its channel in the midframe and remove it.
-
Compare your new replacement part to the original part—you may need to transfer remaining components or remove adhesive backings from the new part before installing.
To reassemble your device, follow these instructions in reverse order.
Take your e-waste to an R2 or e-Stewards certified recycler.
Repair didn’t go as planned? Try some basic troubleshooting, or ask our Answers community for help.
crwdns2935221:0crwdne2935221:0
crwdns2935229:040crwdne2935229:0
crwdns2947412:02crwdne2947412:0
Rimettere quella piccola molla è praticamente impossibile 😭
ma scusate perché disassemlare tutto il pad?


